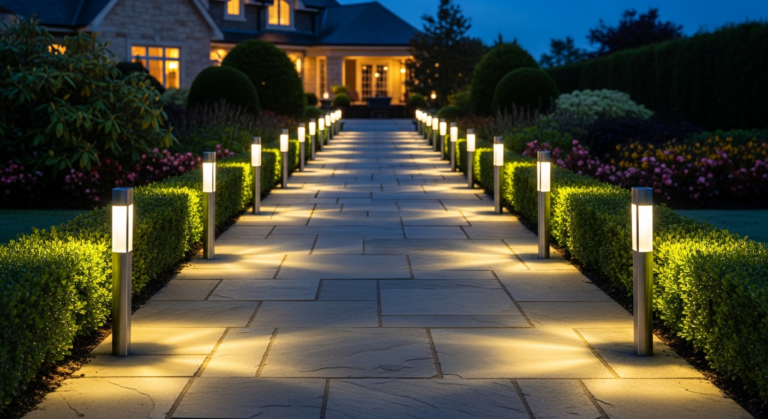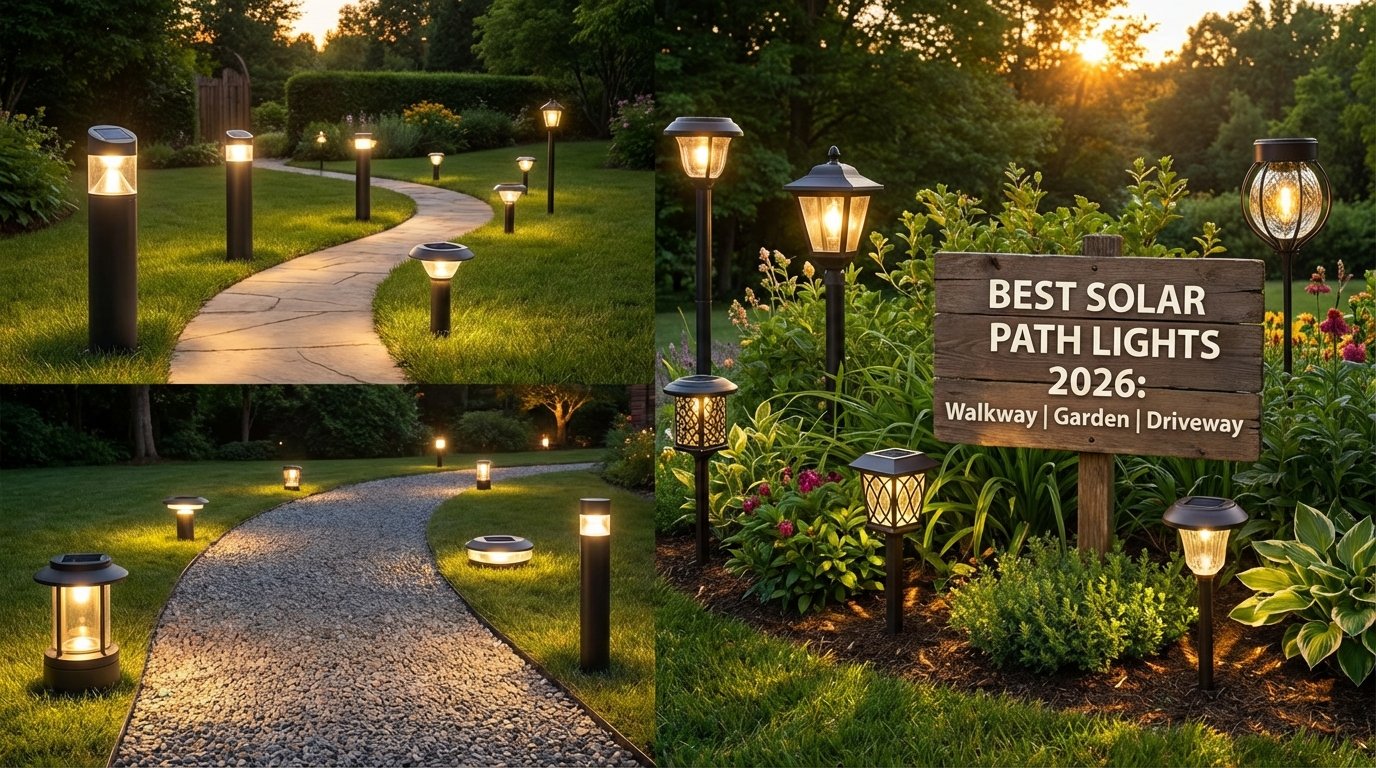
Best Solar Path Lights for Walkways, Gardens, and Driveways
The hunt for the best solar path lights for walkways, gardens, and driveways usually ends the same way: you buy something “high rated,” install it, and then it looks like a row of dying fireflies.
Here’s the truth: most solar path lights aren’t “bad” because solar is bad—they’re bad because the hardware is undersized (panel, battery, optics, sealing) and the marketing is… let’s call it “creative.”
Table of Contents
- The quick answer: what to buy (by area)
- What actually matters (specs that aren’t fluff)
- Walkways: the “just don’t trip” setup
- Gardens: make plants look expensive
- Driveways: visibility without runway glare
- A practical shortlist (what I’d actually buy)
- Installation tips that decide whether you love them
- Frequently Asked Questions
- Final takeaway
The quick answer: what to buy (by area)
Buy metal-bodied, well-sealed (ideally IP65), warm-white path lights for walkways and gardens (10–40 lumens), and use brighter or motion-assisted lights for driveways (40–150+ lumens). Prioritize panel size, battery type, and optics over “pack size” and hype ratings. If the panel is tiny, the performance will be too.
If you want a deeper framework (and fewer “why is it dim?” moments), keep going.
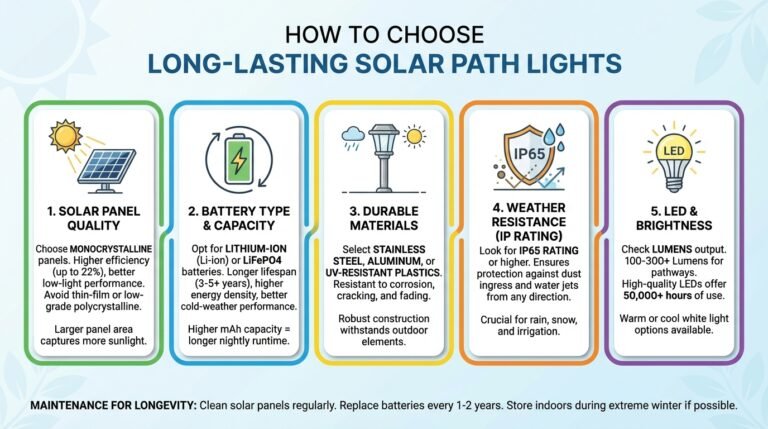
What actually matters (specs that aren’t fluff)
Most listings obsess over lumen numbers because it’s an easy badge. But brightness is only one piece of the puzzle—and it’s often measured “optimistically.” A well-designed 20-lumen light can look cleaner and more useful than a sloppy 80-lumen glare cannon.
1) Lumens + optics (brightness that looks good, not just “bright”)
“Lumens” is a measure of total light output. If you want the technical definition, it’s tied to luminous flux and human-perceived brightness. Wikipedia’s lumen entry is a decent baseline reference if you want the formalities. Wikipedia: Lumen (unit).
The problem is, solar path lights rarely tell you anything about beam shape. Optics decide whether light lands on the path (good) or blasts your eyeballs (bad). Look for diffuser lenses, downward-focused reflectors, or “lens-style” heads that control spill.

2) Battery chemistry (why cheap lights fade early)
Here’s what most people don’t realize: your solar light is a tiny power system. Panel charges battery, battery feeds LED, driver regulates output. If any link is weak, the whole thing droops.
In 2026, the best-performing sets commonly use rechargeable Li-ion (often 18650 variants in bigger fixtures) or decent NiMH in smaller stakes. The red flag isn’t “NiMH vs Li-ion” by itself—it’s tiny capacity paired with tiny panels. That combo guarantees partial charging and deep discharges, which is basically battery aging on fast-forward.
3) Solar panel size and placement (the silent deal-breaker)
If the panel is shaded for half the day, you’re buying decorative lights. Period. Want to sanity-check your location’s solar potential? The National Renewable Energy Laboratory (NREL) has solid solar resource info and mapping tools that explain why some yards do great and others struggle. NREL: Solar Resource Data.
Also, panels need cleaning. Dust, pollen, and sprinkler mineral spots can cut charging more than people expect. Not glamorous, but real.
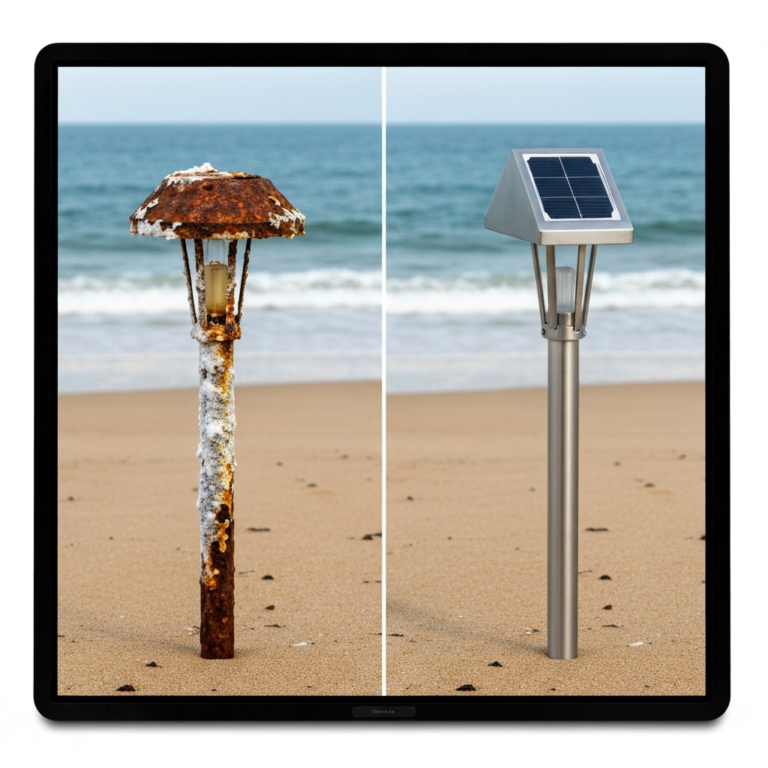
4) Weather sealing (where most “great deals” die)
Water gets in through lens seams, switch ports, and cheap battery doors. An IP rating is a useful shorthand for dust/water protection; IP65 is a strong target outdoors. If you want the official meaning of the digits, the IP Code overview is easy to reference. Wikipedia: IP Code.
Bottom line: if you have sprinklers, heavy rain, freeze/thaw, or salty air, don’t play games with weak sealing. That’s how you end up replacing lights every season and calling it “normal.” It’s not normal. It’s cheap design.
If you’re still mapping basics like placement, spacing, and avoiding rookie layout mistakes, this guide will save you time and rework: solar lighting basics and installation planning.
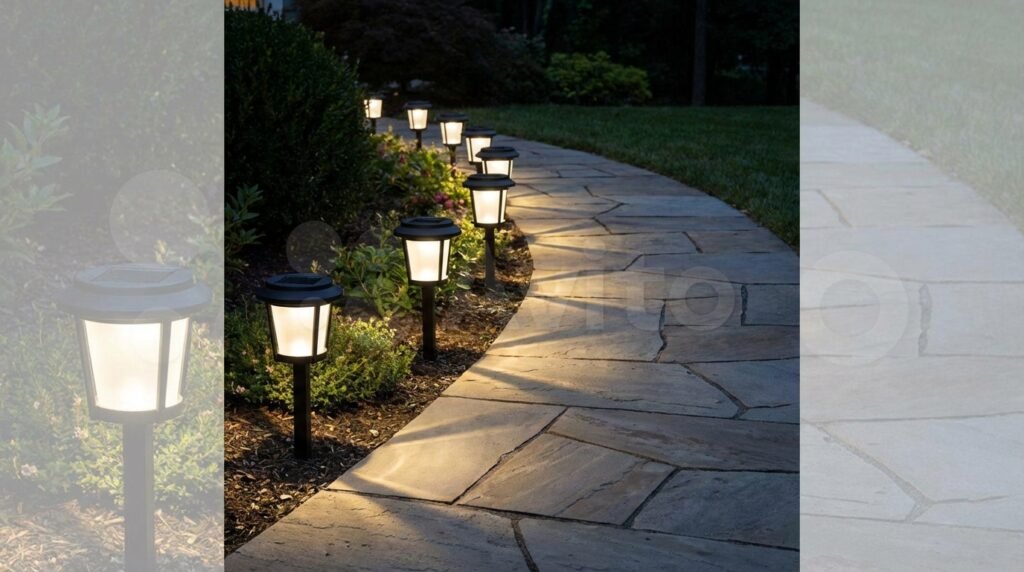
Walkways: the “just don’t trip” setup
Walkway lighting is about guidance, not stadium lighting. You want enough illumination to show edges, steps, and turns—without turning your path into an interrogation room.
What to target
- Brightness: ~10–30 lumens per light for most homes; 30–60 if your path is wide/dark or you want more presence.
- Color temp: warm white (2700K–3000K) looks natural against landscaping and masonry. If you need the technical definition of color temperature, it’s rooted in the black-body model. Wikipedia: Color temperature.
- Optics: downward-focused lenses or diffused heads.
- Build: metal or thick polymer, sealed head, no flimsy battery door.
And yes, spacing matters. Too far apart looks patchy; too close looks like an airport taxiway. If you want a pragmatic “don’t get burned” checklist for night performance, read how to choose solar path lights that don’t disappoint at night.
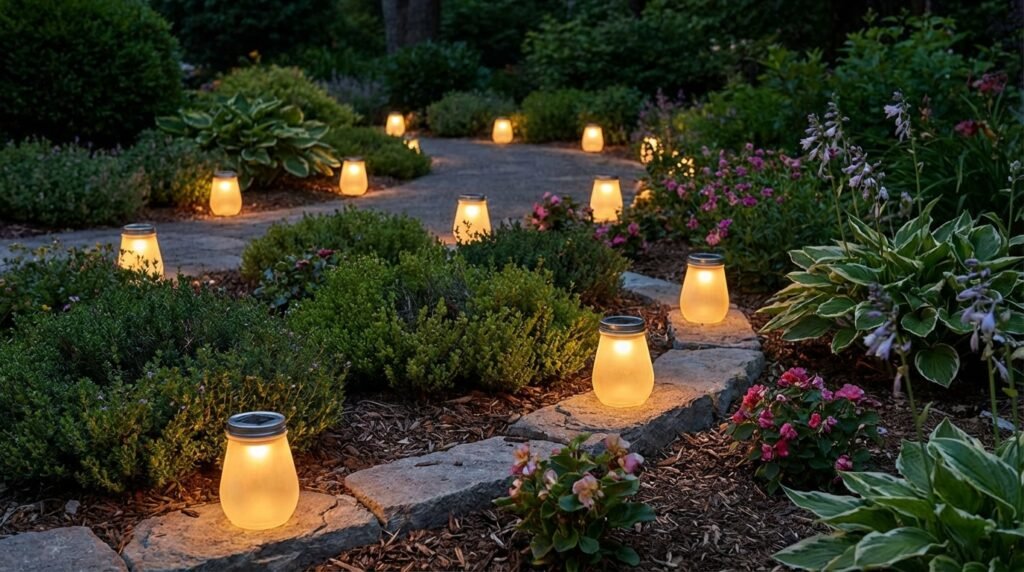
Gardens: make plants look expensive
Garden lighting is where people mess up the most, because they treat it like a walkway. The goal in a garden isn’t “visibility,” it’s composition. You’re painting with light—quietly.
What to target
- Warm white is your default. It flatters greens and wood tones instead of bleaching them.
- Lower glare, wider diffusion so you don’t get harsh points of light.
- Shorter fixtures for borders; slightly taller for beds to avoid the “glow at ankle level” effect.
- Real sealing if you irrigate. Sprinklers are basically a water-jet test you run every day.
If you want to go beyond “random stakes everywhere,” your best move is mixing fixture types (path + accent + spot) and planning the scene. This tech/upgrade breakdown explains where modern solar has improved (and where it still lies to your face): solar path lights technology and innovations.
The problem is: garden lighting looks amazing at dusk photos and terrible at 11:30 pm if the batteries are undersized. If your garden lights fade early, it’s not your imagination—your “all-night” claim is probably based on a lab cycle you don’t live in.
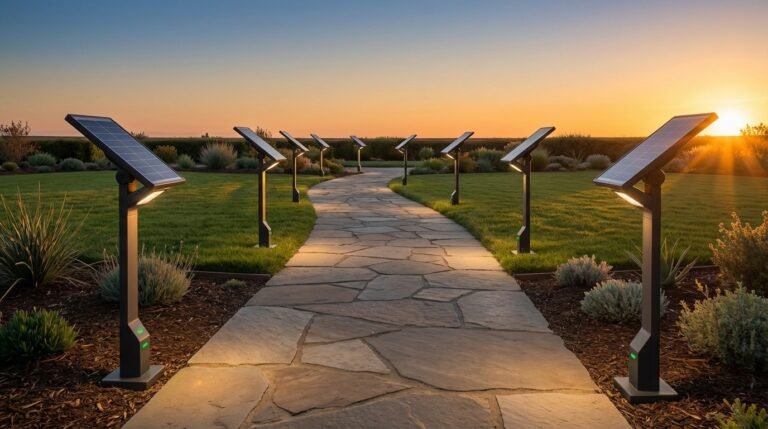
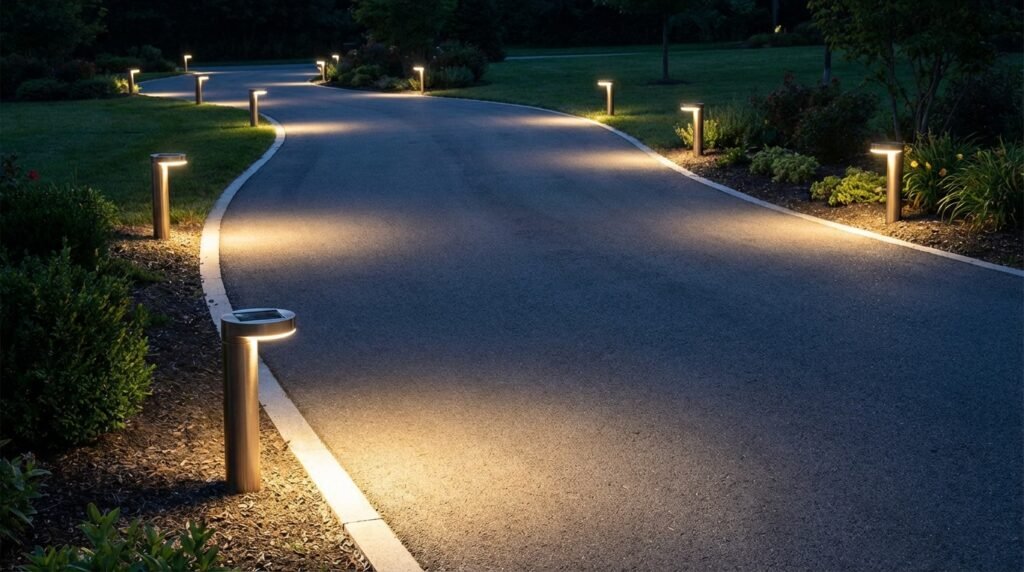
Driveways: visibility without runway glare
Driveways are different because cars, depth, and “don’t hit the curb” actually matter. Here, brighter can be justified—if you do it intelligently.
What to target
- Brightness: 40–150+ lumens (or multi-mode: low all night, bright on motion).
- Motion sensors: useful for efficiency—low output until triggered, then a burst for visibility.
- Durability: larger housings usually mean larger batteries/panels. That’s good.
- Beam control: you want light on the driveway edges, not blasting into the street or neighbors’ windows.
Also, don’t confuse “path lights” with “area lights.” If you’re trying to light the whole driveway surface like a floodlight, you’re using the wrong tool. But if you want clean edge definition and safe navigation, a solid set of brighter stakes (or bollard-style solar) works.
A practical shortlist (what I’d actually buy)
I’m not going to pretend there’s a single magical brand that wins every yard. There isn’t. But there are product archetypes that consistently work better.
1) Stainless steel (or aluminum) warm-white stakes for walkways
Look for: metal body, diffused head, warm white, and a panel that isn’t the size of a postage stamp. These tend to age better and look less “plastic toy” after one summer.
2) Low-glare, diffused garden lights (the “soft glow” set)
If your goal is a premium-looking garden, chase diffusion and warm color temperature, not max lumens. Harsh point-source LEDs make landscapes look cheap, even if the fixture costs more.
3) Brighter multi-mode lights for driveways (dim + motion boost)
This is where solar can be smart: low output for hours, then a higher mode on motion. It improves perceived brightness without draining the battery by 10 pm.
4) “Bollard-style” solar path lights (bigger body, usually better power)
These are chunkier, but that’s the point: bigger body often means bigger battery and better driver design. If you have a long walkway or wide driveway edge, this style can outperform skinny stakes.
If you want a broader, structured comparison approach (including what specs to ignore and how to evaluate “reviews” without getting played), use this deeper reference: solar path lights buyer’s guide and reviews.
Installation tips that decide whether you love them
You can buy great lights and still get mediocre results if you install them like you’re planting carrots.
1) Prioritize solar exposure like it’s the main feature (because it is)
Fast forward to the most common failure mode: lights placed where they look nice during the day… and get 2–3 hours of real sun. That’s not “solar lighting.” That’s a decoration with a slow death.
2) Keep the lens clean (yes, really)
Dust and pollen reduce charging. Sprinklers leave mineral film. A quick wipe every couple of weeks can be the difference between “still bright at midnight” and “dim by 9.”
3) Install for beam control, not symmetry
Perfect symmetry is cute until the beam hits your eyes. Tilt and placement matter. If a light’s head is too high and too exposed, it creates glare. If it’s shielded by edging or plants, you get a nice wash.
4) Don’t overbuy lumens for walkways
Brighter isn’t automatically better. A bright light with bad optics looks cheap and annoying. “More” only works when the beam is controlled.
)
Frequently Asked Questions
How many lumens should solar path lights be for a walkway?
For a typical residential walkway, 10–30 lumens per light is plenty for guidance lighting. If you want a brighter, more security-leaning feel, look for 30–80 lumens with good optics. If it’s bright but ugly, it’s not “better”—it’s just louder.
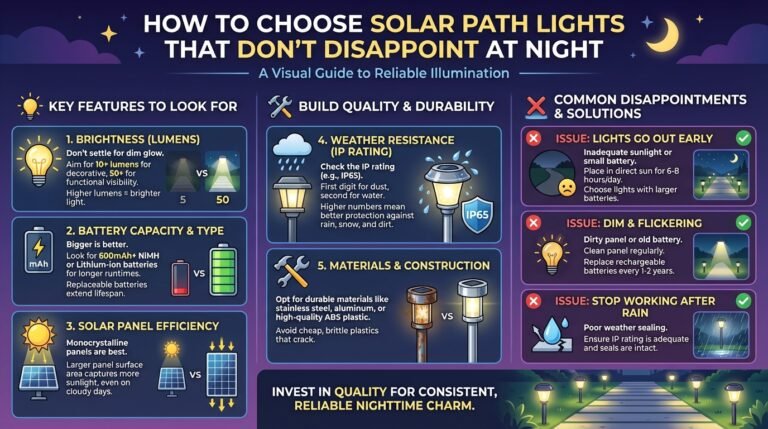
Why do solar path lights get dim after a few weeks?
Common causes: undersized panels that can’t fully recharge, weak batteries, dirty panels, and cheap drivers that sag as the battery voltage drops. Heat and frequent deep discharge cycles speed up battery aging. Translation: bargain sets often “work” briefly, then fade.
Are motion-sensor solar path lights worth it for a driveway?
Yes—when used for the right goal. Motion mode is great for driveways because it preserves energy, then gives a bright burst when needed. The catch is sensor quality and placement. Aim sensors toward approach paths, not random shrubs that sway in wind.
What does an IP rating mean, and what should I buy?
An IP rating describes dust and water resistance. For outdoor path lights, IP65 is a strong target if you deal with rain, sprinklers, or snow. Lower can work in mild climates, but water intrusion is the number-one reason “nice-looking” lights die early.
Warm white or cool white for gardens and paths?
Warm white (2700K–3000K) is the safer, nicer default for gardens and most walkways. Cool white can be useful for driveways and “visibility-first” setups, but it can look harsh against plants and stone. Pick based on vibe, not trends.
Final takeaway
Bottom line: the best-looking solar path lights aren’t the ones screaming the biggest lumen number—they’re the ones with enough panel, enough battery, decent optics, and real sealing for your climate.
If you want the best solar path lights for walkways, gardens, and driveways, buy by purpose: softer, warmer, controlled light for paths and gardens; brighter or motion-boosted output for driveways. Then place them where the sun actually hits. The sun is the boss. Everything else is marketing.
Now go make your yard look expensive. If your neighbors squint and ask “what brand is that?”, you did it right.
As an Amazon Associate, I earn from qualifying purchases.