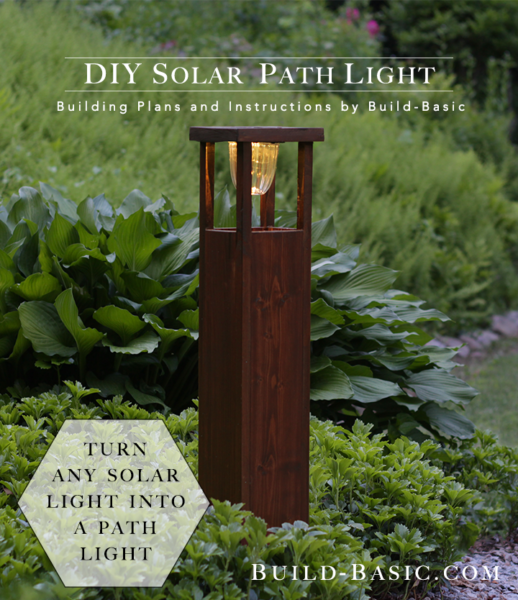
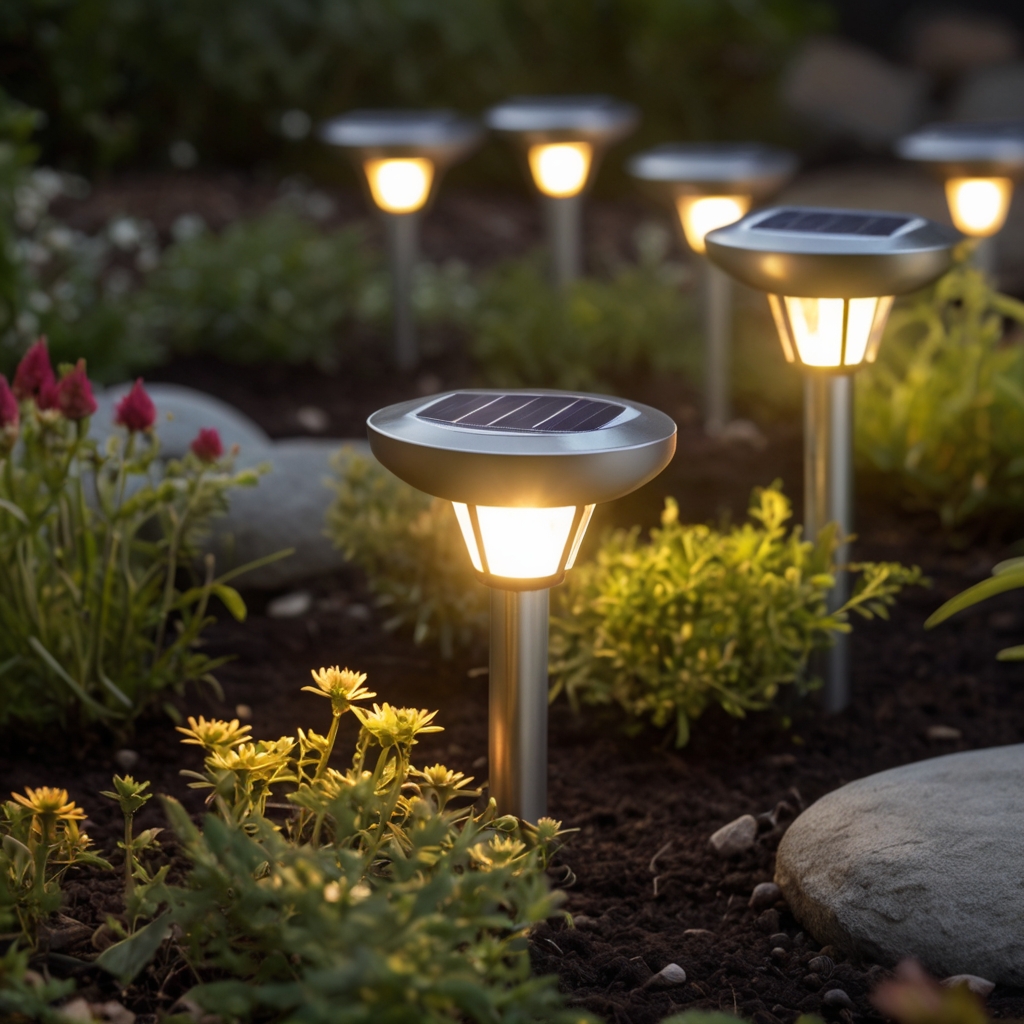
Are you looking to add some ambiance to your outdoor space without breaking the bank? One great way to achieve this is by creating your own DIY solar path lights using common materials that you can easily find. Not only is this a budget-friendly option, but it also allows you to personalize your lighting to suit your taste and style. In this article, we will dive into the details of how you can create your very own solar path lights using readily available materials, giving you the chance to transform your outdoor space into a cozy and inviting oasis.
Now, let’s get started on the exciting journey of DIY solar path lights! First off, you’ll need to gather a few materials that can be easily found in most hardware or home improvement stores. These materials include solar path lights, mason jars or other glass containers, adhesive, and some decorative elements such as pebbles, sea glass, or even small figurines. The process is quite simple: start by removing the solar panels from the path lights and attaching them to the lids of the glass containers using adhesive. Once the adhesive has dried, fill the containers with your chosen decorative elements and securely attach the lids. Finally, place your newly created solar path lights along your desired pathway or in your garden, and let them soak up the sun during the day to illuminate your outdoor space at night. In the following article, we will provide a step-by-step guide along with some tips and tricks to help you create the perfect DIY solar path lights. So, stay tuned to learn more and get started on your own creative lighting project.

Choosing the Right Materials
Selecting the Solar Panels
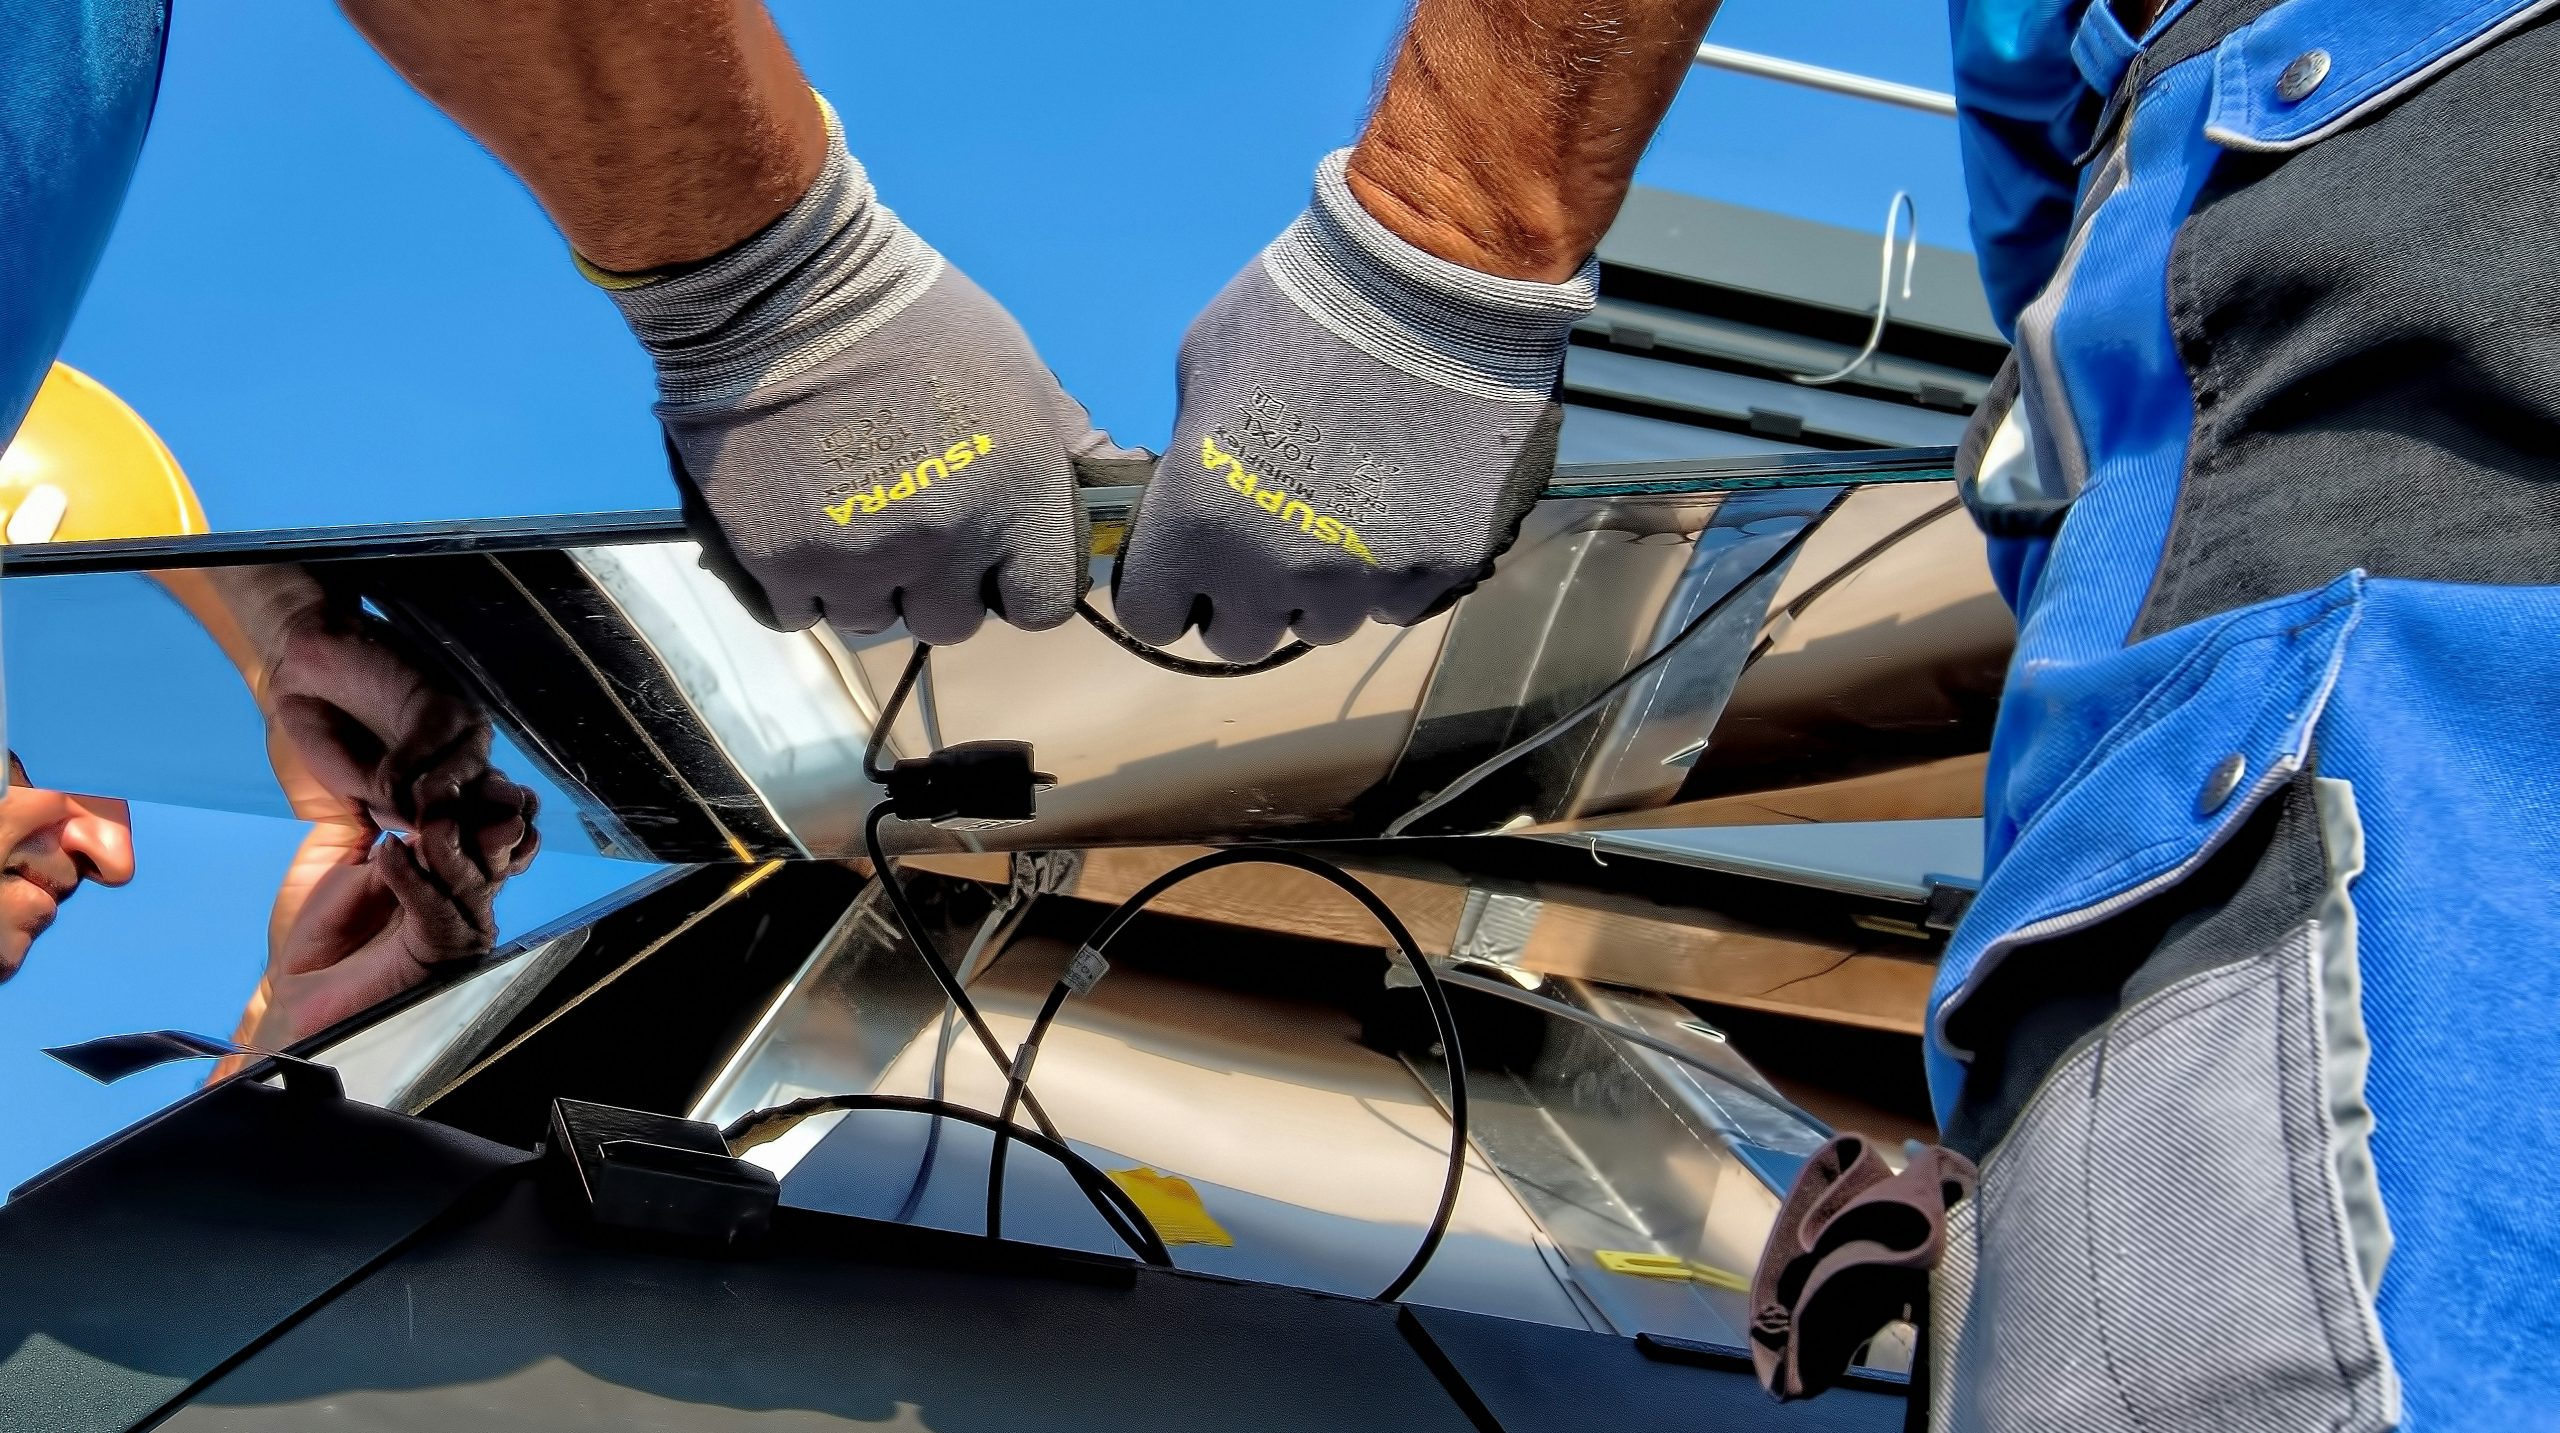
When it comes to creating your own DIY solar path lights, one of the most crucial decisions you’ll need to make is choosing the right solar panels. Solar panels are responsible for converting sunlight into electricity, which will power your path lights.
There are various types of solar panels available in the market, such as monocrystalline, polycrystalline, and thin-film. Monocrystalline panels are known for their high efficiency and sleek design, making them a popular choice among DIY enthusiasts. Polycrystalline panels, on the other hand, are more affordable but slightly less efficient. Finally, thin-film panels are flexible and lightweight, making them suitable for curved surfaces.
Consider the size and wattage of the solar panels as well, depending on the amount of light you want your path lights to emit and the average number of hours of sunlight in your area. It’s recommended to choose panels with a wattage of at least 10 to 20 watts, which should be sufficient for lighting a pathway.
Picking a Suitable Battery
Alongside solar panels, you’ll also need a suitable battery to store the energy generated throughout the day. When choosing a battery, opt for a deep-cycle battery as they are designed to discharge and recharge repeatedly. Deep-cycle batteries are commonly used in solar-powered systems due to their durability and longevity.
AGM (Absorbent Glass Mat) batteries are a popular choice due to their maintenance-free and leak-proof qualities. They are also capable of handling repeated discharges, making them perfect for outdoor solar applications. Additionally, AGM batteries are known for their ability to withstand extreme temperatures, ensuring reliable performance regardless of the weather conditions.
Choosing the LED Lights
Another important component of your DIY solar path lights is the LED lights themselves. LED lights are energy-efficient, long-lasting, and come in a variety of colors and brightness levels. When selecting LED lights for your path lights, consider the lumens (brightness) and color temperature.
For path lights, it’s recommended to choose LED lights with a color temperature around 3000K-4000K, as it provides a warm and welcoming ambiance. Additionally, opt for LED lights with a high lumen output to ensure adequate illumination along your pathway.
Preparing the Path Lights
Measuring and Marking the Path
Before you start installing your DIY solar path lights, it’s important to measure and mark the path where you want to place the lights. Use a measuring tape to determine the distance between each light, ensuring even spacing. Mark the spots where the lights will be installed using small stakes or markers.
Digging Holes for the Lights
Once you have marked the spots for your path lights, it’s time to dig holes for their installation. Use a shovel or a small garden trowel to excavate holes that are deep enough to securely hold the lights. The depth will depend on the height of your path lights and how stable you want them to be.
Make sure to space the holes according to your initial measurements to ensure a uniform appearance. It’s also a good idea to dig a slightly wider hole at the base to accommodate the wires that will connect the lights to the solar panels.
Installing the Solar Panels
Now that the holes are prepared, it’s time to install the solar panels. Place the solar panels in a location where they will receive maximum sunlight exposure throughout the day. Typically, this would be along the path or in a nearby area that is unobstructed by shade.
Secure the solar panels in place using stakes or by mounting them onto a sturdy surface. Make sure the panels are positioned at an angle that allows for optimal sunlight absorption. This angle will vary depending on your location and the season, so it’s recommended to consult resources or experts for the best angle in your area.
Assembling the Lights
Connecting the Solar Panels to the Battery
Now that the solar panels are in place, it’s time to connect them to the battery. Begin by identifying the connections on both the solar panels and the battery. Typically, solar panels have positive and negative terminals, as do the batteries.
Using appropriate wiring, connect the positive terminal of the solar panel to the positive terminal of the battery, and likewise for the negative terminals. Ensure the connections are secure and properly tightened. You may need to use connectors or soldering depending on the specific components you have chosen.
Wiring the LED Lights
Once the solar panels are connected to the battery, it’s time to wire the LED lights. LED lights often come with pre-attached wires, making the process easier. Simply connect the wires from the LED lights to the terminals on the battery, following the same polarity as before (positive to positive, negative to negative).
If your LED lights do not have pre-attached wires or connectors, you may need to strip the wires and connect them to the battery using solder or connectors. Make sure to seal the connections with electrical tape or heat shrink tubing to protect them from weather elements.
Securing the Components
After the wiring is complete, it’s important to secure the components to prevent any damage or exposure to weather conditions. Use zip ties or cable clamps to secure the wires along the path or to nearby structures. Additionally, secure the battery and any other components to a stable surface or mounting bracket to ensure they don’t move or get damaged.
Waterproofing and Weatherproofing
Applying Waterproof Sealants
To protect the electrical connections and components from moisture and water damage, it’s crucial to apply waterproof sealants. Use silicone sealant or electrical tape to cover the connections between the solar panels, battery, and LED lights. Apply the sealant generously, ensuring all exposed wires and terminals are well-sealed.
Remember, water can cause electrical shorts and damage your components, so it’s essential to take the necessary precautions to keep them dry and protected.
Protecting against Rain and Snow
In addition to waterproofing the electrical connections, it’s important to protect the entire setup from rain and snow. This can be achieved by using weatherproof enclosures or boxes to cover the battery, solar panels, and other components.
Choose enclosures made from durable materials such as plastic or metal that can withstand outdoor conditions. Ensure the enclosures have tight seals to keep moisture out. Properly seal any entry points for wires to maintain the weatherproof integrity of the setup.
Ensuring Durability
To ensure the longevity and durability of your DIY solar path lights, it’s important to choose materials that can withstand outdoor conditions. Opt for high-quality components that are designed for outdoor use, such as UV-resistant solar panels and durable batteries.
Regularly inspect your path lights for any signs of wear or damage and make necessary repairs or replacements as needed. With proper maintenance and care, your DIY solar path lights can continue to light up your pathway for years to come.

Testing and Adjusting the Lights
Checking the Solar Power Output
After completing the installation and weatherproofing, it’s important to test the solar panels and battery to ensure they are functioning properly. During daylight hours, monitor the solar panels’ power output using a multimeter or a voltage meter. A fully functional system should produce a voltage reading within the expected range for your specific solar panels and battery.
If the solar panels are not generating sufficient power, ensure they are positioned correctly and are receiving adequate sunlight. Adjust their angle or location if required. If the power output is still lower than expected, check the connections between the solar panels and the battery to ensure they are secure and properly connected.
Adjusting the Light Settings
Once you have verified the solar power output, it’s time to test the LED lights. As the sun goes down, the lights should automatically turn on using the stored solar energy. Observe the brightness and color temperature of the lights to ensure they meet your preferences.
If the lights are not turning on or are not as bright as desired, check the connections between the battery and the LED lights. Ensure the wires are properly connected and securely tightened. Adjust the positioning of the lights if necessary to achieve the desired lighting effect.
Evaluating Performance
Over the next few days and weeks, monitor the performance of your DIY solar path lights. Pay attention to the duration of the lights’ operation throughout the night and how well they hold their charge during cloudy or rainy days.
If you notice any performance issues, such as shorter operation times or inconsistent brightness, troubleshoot the system by examining the connections, inspecting the battery health, and ensuring the solar panels are receiving sufficient sunlight. Repair or replace any components that may be causing the performance issues.
Enhancing the Design
Adding Decorative Elements
While the functionality of your DIY solar path lights is important, you can also enhance their overall aesthetic appeal by adding decorative elements. Consider incorporating decorative rocks, pebbles, or planters around the lights to create a visually pleasing pathway. Alternatively, you can use decorative stakes or lanterns to make a statement.
Adding these decorative elements can make your path lights truly unique and personalized, reflecting your own style and creativity.
Choosing Unique Light Shapes
In addition to decorative elements, you can also opt for unique light shapes to add variety and visual interest to your path lights. There are various light shapes available, such as lanterns, orbs, butterflies, and flowers. Choose a shape that complements your outdoor space and matches the overall theme or style of your garden or pathway.
Customizing the Path Lights
DIY solar path lights provide the perfect opportunity for customization. Consider painting the stakes or enclosures with vibrant colors or patterns that reflect your personality and style. You can also experiment with different materials such as glass or metal for a more modern or rustic look.
Get creative and let your imagination flow to create path lights that not only serve their purpose but also add a touch of uniqueness to your outdoor space.

Maintenance and Troubleshooting
Cleaning the Solar Panels
Regular maintenance is essential to keep your DIY solar path lights operating optimally. One maintenance task is cleaning the solar panels to remove any dirt, debris, or dust that may accumulate over time. Use a soft cloth or sponge and gentle detergent to clean the surface of the solar panels. Avoid using abrasive materials or harsh chemicals that may damage the panels.
Cleaning the panels at least once every three months or as needed will ensure maximum sunlight absorption and enhance the overall performance of your path lights.
Replacing Batteries if Needed
Batteries are a crucial component of your DIY solar path lights and may need replacement over time. Monitor the battery’s health and performance regularly. If you notice a significant decrease in the lights’ operation time or if the system fails to charge adequately, it may be time to replace the battery.
When replacing the battery, ensure it’s compatible with your specific setup and follow the manufacturer’s instructions for installation. Dispose of the old battery responsibly according to local regulations.
Fixing Wiring Issues
If you experience any issues with the wiring connections or notice flickering or intermittent operation of the LED lights, inspect the wires for any signs of damage or corrosion. Exposed wires or loose connections can lead to malfunctions or even safety hazards.
Carefully examine the connections, repair or replace any damaged wires, and ensure all connections are secure and tightened. Remember to disconnect the battery or solar panels before working on the wiring to minimize the risk of electrical shock.
Safety Precautions
Avoiding Electrical Hazards
When working with electrical components, it’s important to prioritize safety. Always disconnect the battery or solar panels before performing any maintenance, repairs, or adjustments to the path lights. This will reduce the risk of electrical shock or damage to the components.
If you’re unsure about working with electrical components, consider seeking assistance from a professional or someone experienced in solar installations.
Protecting Wiring from Damage
To ensure the longevity and reliability of your path lights, protect the wiring from physical damage and exposure to weather conditions. Secure the wires using zip ties or cable clamps and ensure they are positioned away from sharp objects or areas prone to foot traffic.
Additionally, bury the wiring underground or use conduit to protect it from outdoor elements and minimize the risk of accidental damage.
Installing Proper Grounding
Proper grounding is essential for the safety and functionality of your DIY solar path lights. Ensure that the components, especially the battery, are properly grounded to protect against electrical surges or faults.
Consult local electrical codes or regulations to determine the specific grounding requirements for your setup. If you’re unsure about proper grounding techniques, it’s advisable to seek guidance from a qualified electrician or solar professional.

Cost-Effectiveness and Environmental Benefits
Saving on Electricity Bills
One of the main advantages of DIY solar path lights is their cost-effectiveness. By harnessing the power of the sun, you can significantly reduce or eliminate the need for traditional electricity to light your pathway. This translates into lower electricity bills, saving you money in the long run.
Reducing Carbon Footprint
Another significant benefit of DIY solar path lights is their positive impact on the environment. Solar power is a clean and renewable energy source that produces no harmful emissions. By switching to solar-powered lighting, you reduce your carbon footprint and contribute to combating climate change.
Long-term Return on Investment
While the initial investment in DIY solar path lights may seem higher compared to traditional outdoor lighting, the long-term return on investment is substantial. Once the lights are installed and properly maintained, the energy from the sun is free, eliminating the ongoing cost of electricity.
Over time, the savings on electricity bills will offset the initial investment, making DIY solar path lights a cost-effective and eco-friendly choice.
Conclusion
Creating DIY solar path lights with common materials is not only a rewarding project but also a practical and sustainable choice. By following the right steps and choosing the appropriate materials, you can create a beautiful pathway illuminated by clean and renewable solar energy.
Through careful selection of solar panels, batteries, and LED lights, you can ensure the functionality and efficiency of your path lights. Proper installation, waterproofing, and weatherproofing techniques will guarantee their durability and reliability even in various weather conditions.
Regular testing, maintenance, and troubleshooting will keep your DIY solar path lights in optimal condition, while customization and decorative elements will make them uniquely yours. As you enjoy the benefits of your DIY project, you’ll also contribute to sustainable living and serve as an inspiration for others to embrace solar energy.
Take pride in your creation and bask in the soft, warm glow of your very own DIY solar path lights – a true testament to your ingenuity and commitment to a greener future.


