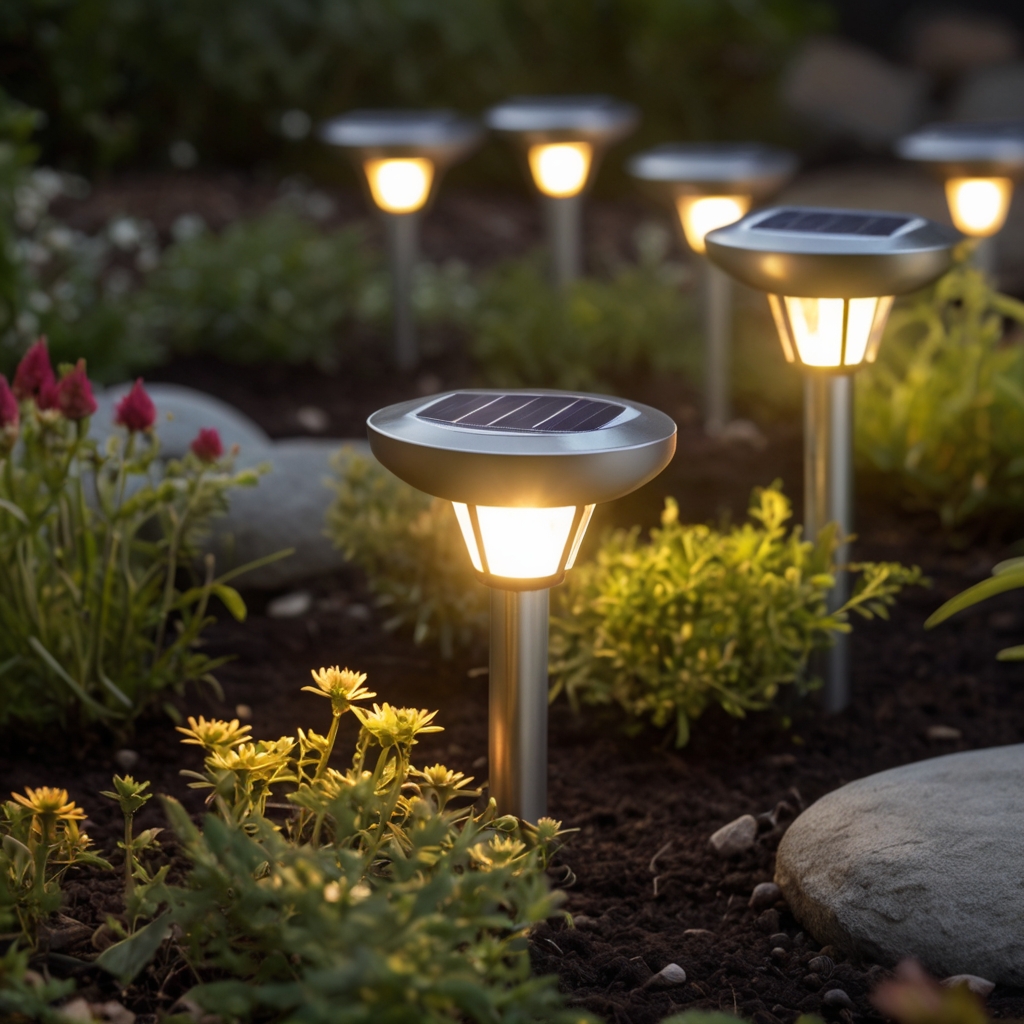
Solar path lights are a fantastic way to illuminate your garden, driveway, or walkway while being environmentally friendly and cost-effective. Creating your own DIY solar path lights is rewarding and allows you to customize the design to suit your aesthetic preferences.
This comprehensive guide will walk you through everything you need to know to start your DIY solar path light project. We’ve covered you from the materials; you’ll need step-by-step instructions.
1. Why Choose Solar Path Lights?
Environmental Benefits
Solar path lights harness the sun’s power, a renewable energy source, to provide illumination. Unlike traditional lighting that relies on electricity, solar lights reduce your carbon footprint and help conserve energy. By opting for solar, you’re positively impacting the environment.
Cost Savings
Once installed, solar path lights require minimal maintenance and no ongoing electricity costs. The savings on your utility bills quickly offset the initial investment in materials. Plus, with no wiring needed, installation is straightforward and inexpensive.
Ease of Installation
One of the most significant advantages of solar path lights is their ease of installation. You can place them almost anywhere since they don’t require electrical wiring. This flexibility lets you get creative with your garden or pathway lighting design.
2. Understanding How Solar Path Lights Work
Solar Panels
At the heart of every solar path light is a small solar panel that captures sunlight during the day. These panels convert solar energy into electrical energy stored in a rechargeable battery.
Rechargeable Batteries
The stored energy in the battery powers the LED lights at night. Most solar path lights use nickel-metal hydride (NiMH) or lithium-ion batteries, which are efficient and have a long lifespan.
LED Lights
LED (Light Emitting Diode) lights are preferred for solar path lights due to their low power consumption and high brightness. They are durable and can last for years without needing replacement.
Sensors
Many solar path lights come equipped with sensors that detect the level of ambient light. These sensors automatically turn the lights on at dusk and off at dawn, ensuring they only operate when needed.
3. Materials Needed for DIY Solar Path Lights
Before you start your DIY project, gather the following materials:
- Solar garden lights (you can purchase these or repurpose old ones)
- PVC pipes or wooden stakes (for mounting the lights)
- Adhesive or screws (for attaching the lights to the stakes)
- Paint or decorative materials (optional for customization)
- Tools (screwdriver, drill, saw, etc.)
4. Step-by-Step Guide to Creating DIY Solar Path Lights
Step 1: Choose Your Solar Lights
Select solar lights that suit your design preference and budget. You can find many options online or at your local hardware store. Ensure the lights are durable and weather-resistant for outdoor use.
Step 2: Prepare the Mounting Stakes
Choose PVC pipes or wooden stakes as your mounting base, depending on the look you want to achieve. Cut the stakes to your desired height, considering the light coverage you want.
Step 3: Attach the Solar Lights
Using adhesive or screws, attach the solar lights to the top of your stakes. Please make sure they are secure and positioned correctly to capture maximum sunlight.
Step 4: Customize Your Lights
This step is optional but allows for personalization. Paint the stakes or add decorative elements to match your garden’s theme. Be creative and have fun with the design!
Step 5: Install the Lights
Place the mounted solar lights along your pathway or garden. Ensure they are spaced evenly for consistent illumination. Push the stakes firmly, exposing the solar panels to direct sunlight.
Step 6: Test and Adjust
After installation, test your lights at night to ensure they work correctly. Adjust the placement if necessary to achieve the desired lighting effect.

5. Maintenance Tips for Solar Path Lights
Regular Cleaning
Keep the solar panels clean to ensure they can absorb maximum sunlight. Wipe them with a damp cloth regularly to remove dust and debris.
Battery Replacement
Over time, the rechargeable batteries in your solar lights may need replacing. Check the manufacturer’s guidelines for the recommended battery type and replacement schedule.
Winter Care
If you live in an area with harsh winters, consider storing your solar lights indoors during the coldest months to prolong their lifespan. Alternatively, you can opt for weather-resistant models designed to withstand extreme conditions.
6. Creative Ideas for DIY Solar Path Lights
Upcycled Solar Lights
Repurpose old garden lights or items like mason jars, wine bottles, or tin cans to create unique solar path lights. This approach is eco-friendly and adds a personal touch to your garden decor.
Themed Path Lights
Design your path lights to match specific themes, such as rustic, modern, or whimsical. Use materials and colors that complement your garden’s style.
Seasonal Variations
Change the look of your solar path lights according to the season or upcoming holidays. For example, use orange and black decorations for Halloween or red and green for Christmas.
7. Troubleshooting Common Issues
Lights Not Turning On
If your solar lights are not turning on, check if the solar panels receive enough sunlight. Clean the panels and reposition the lights if necessary. Also, check the batteries and replace them if they are old or damaged.
Dim Lights
Dim lights usually indicate a problem with the battery or insufficient sunlight. Ensure the solar panels are not obstructed and receive direct sunlight for at least 6-8 hours daily.
Short Illumination Time
If your lights are not staying on for long, it could be due to a low battery capacity or a malfunctioning sensor. Test the battery and sensor and replace them if needed.
8. Benefits of DIY Solar Path Lights
Customization
DIY solar path lights offer endless customization possibilities. You can choose the design, height, and placement to create a unique lighting solution tailored to your space.
Satisfaction
A great sense of satisfaction comes from completing a DIY project. Knowing that you created something functional and beautiful for your home adds enjoyment.
Learning Experience
Creating your solar path lights is a valuable learning experience. It enhances your DIY skills and deepens your understanding of renewable energy and sustainable living.
9. Frequently Asked Questions
How Long Do Solar Path Lights Last?
The lifespan of solar path lights varies depending on the quality of the materials. Generally, LED bulbs can last up to 50,000 hours, and the solar panels and batteries can last several years with proper maintenance.
Can I Use Solar Path Lights in Shaded Areas?
Solar path lights need direct sunlight to charge effectively. If placed in shaded areas, their performance will be significantly reduced. Consider using solar lights with detachable panels that can be placed in sunnier locations.
Are DIY Solar Path Lights Waterproof?
Most solar path lights are designed to be weather-resistant. However, checking the specifications of the lights you purchase is essential. If you make your own, ensure all electrical components are adequately sealed and moisture-protected.
10. Where to Buy Solar Path Light Materials
Local Hardware Stores
Your local hardware store is a great place to find solar lights and other materials for your DIY project. They often have knowledgeable staff who can provide helpful advice.
Online Retailers
Websites like Amazon, eBay, and specialized garden stores offer various solar path lights and DIY materials. Online shopping provides the convenience of home delivery and often a broader selection.
Specialty Solar Stores
Specialty solar stores focus on renewable energy products and often carry high-quality solar path lights. They can also offer expert guidance on choosing the best products for your needs.
Conclusion
Creating your DIY solar path lights is a rewarding project that combines creativity, sustainability, and practicality. By following this guide, you can design and install customized solar lights that enhance the beauty and functionality of your outdoor spaces. Not only will you enjoy the satisfaction of a completed project, but you’ll also contribute to a greener planet. So, gather your materials, unleash your creativity, and light up your paths with your solar creations.
Start Building DIY solar path lights.


