Many people underestimate how much planning goes into selecting solar path lights, so you should check your sunlight exposure, desired brightness and spacing, choose the correct light type for your location, and avoid cheap, low-quality units that fail in bad weather; instead opt for models with IP65 or higher ratings and helpful features like timers so your lights reliably last all night and protect your pathways.
Key Takeaways:
- Choose the right type for your location — path lights, wall lights, spotlights or string lights each suit different uses and mounting heights.
- Plan how many lights you need and their spacing — check bulb count, cable length, brightness and LED tone; avoid clustering that shades panels.
- Place lights where they get ample sun — typically 8–10 hours of direct sunlight for long runtime; shaded spots or cloudy days reduce performance.
- Buy quality and weatherproofing — opt for sturdy construction and an IP65+ rating rather than the cheapest options for longer life.
- Consider timer and mode options — built-in timers, motion sensors and adjustable color/mode settings add convenience and energy savings.
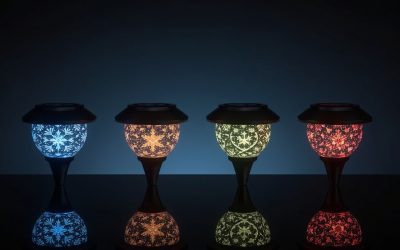
Types of Solar Path Lights
- Path lights — low, stake-mounted units for walkways and borders
- Spotlights — focused, high‑output units for accents and security
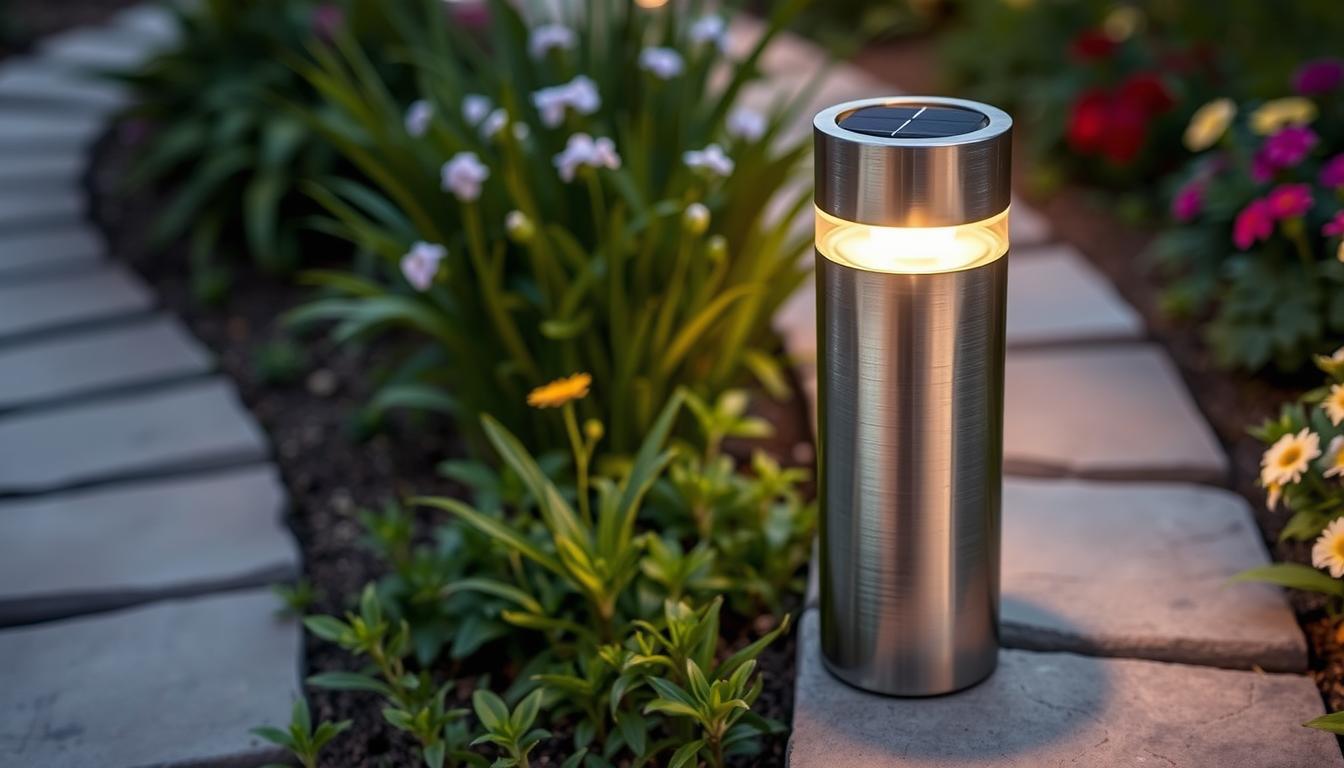
- Wall lights — mounted fixtures for entryways and fences
- String lights — decorative runs for patios and pergolas
- Motion/smart lights — sensor-driven units for security and energy saving
| Path lights | Low profile, 5–50 lumens typical, 8–12 in. stake depth, best spaced 2–4 ft apart for even coverage |
| Spotlights | 100–800 lumens common, adjustable beam (10°–60°), often require larger panels and 600–2000 mAh batteries |
| Wall lights | Mounted 3–6 ft high, typically 20–150 lumens, ideal when ground space is limited and where panels get direct sun |
| String lights | Measured by run length and bulb count; check voltage and total watt draw—longer runs may need separate solar panels |
| Motion/smart lights | Combine PIR sensors and timers; can cut nightly runtime from ~10–15 hours to 2–6 hours per activation to extend battery life |
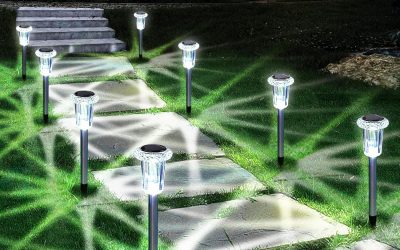
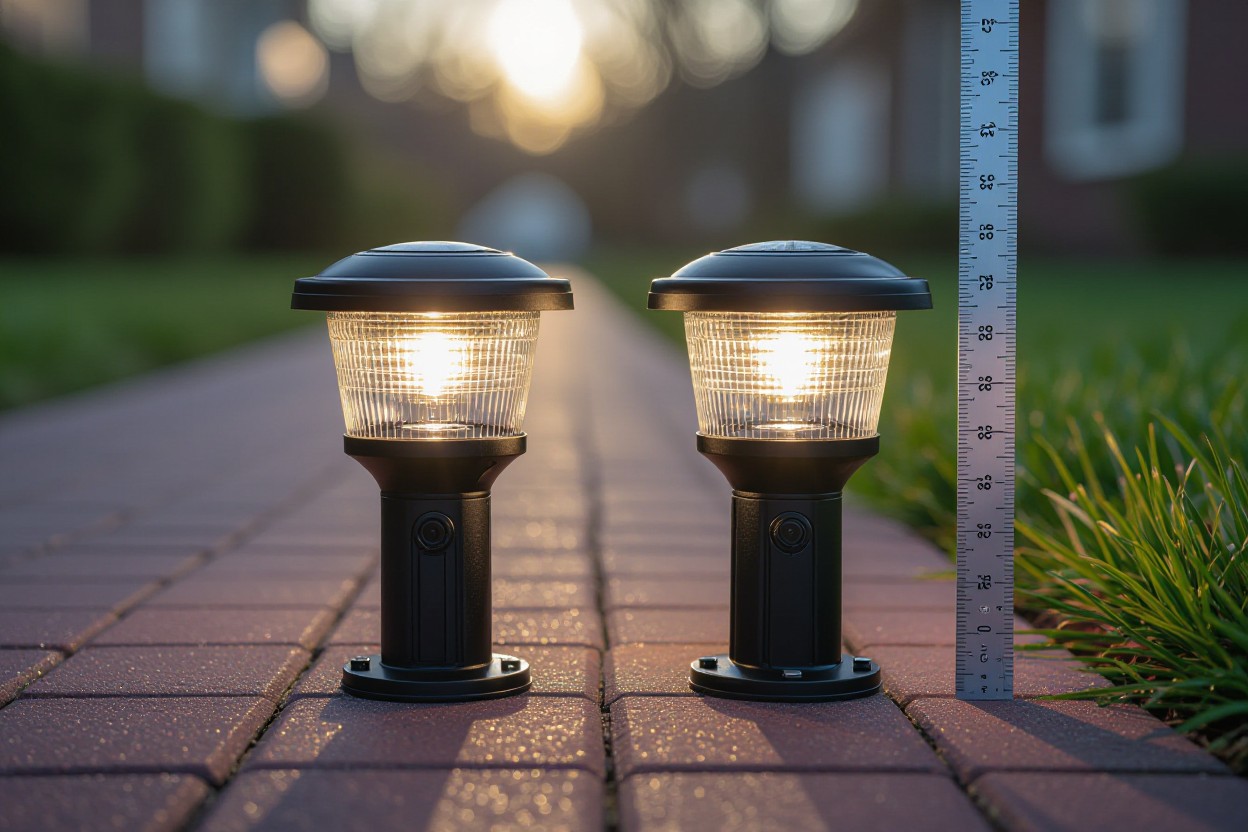
Path Lights
You’ll find most path lights are designed for subtle, distributed illumination: typical modules output between 5–50 lumens and last 8–15 hours after a full charge from 8–10 hours of sun. Place stakes 2–4 ft apart along a walkway to avoid dark gaps, and choose units with an IP65 rating or higher if they’ll face heavy rain or garden sprinklers.
If you want a brighter look, select path lights with wider beam lenses or higher-lumen LEDs, but be aware that doubling lumen output often requires larger batteries and panels; for example, a 30–50 lumen path fixture commonly uses a 600–1200 mAh cell, while premium models push >1200 mAh for all-night performance.
Spotlights
Spotlights give you concentrated punch for landscaping or security: expect 100–800 lumens depending on model and battery size, with beam angles from tight 10° for tree uplighting to 60° for wider washes. Mount them on stakes or brackets and aim carefully—moving a spotlight just 12 in. can change perceived brightness dramatically, so plan positioning with test runs at dusk.
High-output spotlights demand more sun and bigger panels; a 300–500 lumen unit typically needs a solar panel area 2–4× larger than a standard path light and batteries of 1200–2000 mAh to sustain 6–10 hours of usable light. Also check that the fixture head and cable are rated for outdoor use—metal housings with IP65 or higher resist corrosion and keep optics clear.
For targeted features, you can choose adjustable-beam spotlights with 3-mode heads (constant, dimmed, motion-activated); these give a mix of ambiance and security while managing battery drain so your spotlights still perform after cloudy days.
Thou should test a few placements at dusk to confirm charging and coverage before committing to a full set.
Factors to Consider
When opting for solar path lights, focus on the elements that directly affect performance and longevity: sunlight exposure, battery capacity, panel angle, IP rating and placement. Inspect spec sheets for realistic run-times (many units quote 10–15 hours after a full charge) and for battery sizes — typical built-in batteries range from about 600mAh to 2,200mAh, which dramatically changes night-time output. Check warranty periods and customer reviews for failure rates in wet conditions, since an advertised LED output means nothing if the housing fails after one season.
Look beyond aesthetics: a decorative lamp with a tiny panel or low-capacity battery will underperform even if it looks perfect for your path. For example, lights with an IP65 rating will resist heavy rain and pressure-wash cleaning, while cheaper plastic fixtures with no rating may crack or leak after a single winter freeze. Factor in typical local weather: in cloudy northern climes you’ll want larger panels and at least 1,500mAh cells to approach consistent all-night illumination.
- Sunlight Exposure
- Battery Capacity
- Panel Angle
- IP Rating
- Placement
Sunlight Exposure
Place panels where they receive direct sun for about 8–10 hours on clear days; that charging window typically yields roughly 12–15 hours of light output on full charge for mid-range units. If your yard has morning shade from a tree but full sun in the afternoon, position the lights on the sunny side and angle panels toward the afternoon sun — photovoltaic cells are sensitive to incident angle, and tilting panels between 30° and 50° can raise daily charge by 10–30% depending on season.
Cloudy or winter months reduce charge dramatically, so plan for seasonal variation: a south-facing spot gets the best year-round exposure in the northern hemisphere, while east- or west-facing locations give stronger morning or evening charge respectively. If you expect prolonged overcast periods, choose lights with larger panels and higher-capacity batteries, or plan to supplement by moving units to a sunny window for a few hours during the day to top up the charge.
Location and Placement
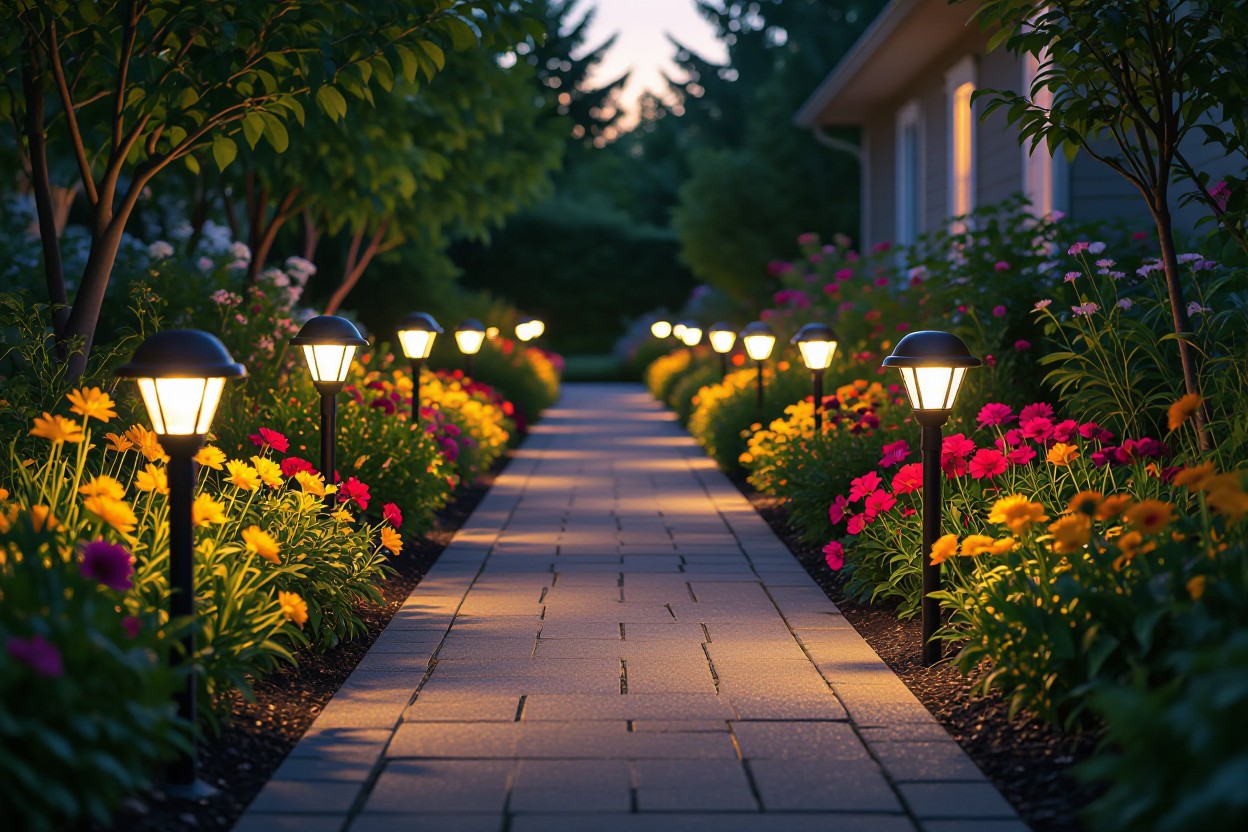
Space path lights according to purpose: for decorative edging, place fixtures every 2–3 feet; for functional walkway illumination, space them 4–8 feet apart to maintain consistent light levels without dark gaps. Mount wall lights at about 6–8 feet high so the beam casts evenly across a path; for spotlights aimed at trees or architectural features, set the stake 6–12 inches from the base and angle the lamp to avoid glare into windows or driving lanes.
Be mindful of shading from plants, fences or eaves — even small shadows over the panel for an hour or two each day can cut effective charging by 20–40%. If you have overhanging branches, trim back enough to preserve the recommended 8–10 hours of direct sunlight, or opt for a model with a separate wired panel that you can mount higher or in a sunnier location.
Assume that you’ll need to test placements over several days — install a single light in the intended spot and monitor its evening run-time across sunny and cloudy days to confirm it meets your expectations.
Tips for Choosing Solar Path Lights
You want lights that deliver the right mix of brightness, runtime and durability: aim for fixtures that put out between 20–100 lumens depending on use (20–30 lm for subtle edging, 50–100+ lm for safe walkways), carry a waterproof rating of at least IP65, and use batteries in the 800–2000 mAh range for reliable all-night performance. Expect panels to need roughly 8–10 hours of direct sun to yield ~12–15 hours of light; tilt panels between 30–50° for winter sun and avoid shading from plants, fences or overhangs.
- IP65 or higher for weather resistance
- 20–100 lumens depending on purpose
- 3–6 ft spacing for even walkway illumination
- Li‑ion batteries last longer than cheap NiMH packs
- Look for a 1–3 year warranty and replaceable batteries
Quality Over Price
Cheap solar path lights often save pennies up front but fail within months due to thin housings, weak panels and low-capacity batteries; expect reliable mid‑range units to last 2–5 years under normal conditions. Prioritize stainless or die‑cast metal bodies and tempered glass or impact‑resistant polycarbonate tops, a sealed IP65 rating, and lithium‑ion battery chemistry when possible—these translate into steadier lumen output, fewer replacements and less maintenance.
Buy sets from brands that publish lumen figures and battery capacity rather than vague “bright” claims; a 5W equivalent LED with a stated 80–120 lm output will be noticeably more functional than an unlabeled novelty light even if the price is higher.
Number of Lights Needed
Calculate using simple spacing: divide your path length by your chosen spacing (common ranges are 3–4 ft for low‑level accenting and 5–8 ft for brighter fixtures). For example, a 32‑ft walkway spaced every 4 ft needs about eight lights (32 ÷ 4 = 8). If you choose fixtures rated 70–100 lm, you can stretch spacing toward the upper end; if you pick 20–30 lm accent lights, plan closer spacing to avoid dark gaps.
Also factor in fixture beam angle and mounting height: narrower beams and higher mounts require tighter spacing to produce overlapping light pools, while wide‑angle lenses cover more ground per unit. Avoid clustering lights too close together—clusters shade panels and reduce charging—so stagger placement to keep each panel exposed to sun.
Test one or two lights in situ before committing to a full purchase, buy a few extras in the same finish for future replacements, and check whether batteries are replaceable to extend overall system life; Thou can see head‑to‑head lab and field tests at Put to the Test: The Best Solar Path Lights for a Brilliant Walkway.
Pros and Cons of Solar Path Lights
| Pros | Cons |
|---|---|
| No wiring or trenching — easy install and zero electrician costs. | Dependent on sunlight — performance drops in shade or on overcast days. |
| Low running cost — solar lights use no grid electricity after purchase. | Lower peak brightness than wired fixtures; many path lights output 20–200 lumens. |
| Portable and repositionable so you can change layout seasonally. | Battery wear: cells commonly need replacement after 1–3 years depending on quality. |
| Wide aesthetic choices — stakes, lanterns, low bollards and color options. | Quality varies widely — cheap units often fail within months. |
| Good for eco-conscious projects — reduces carbon footprint at zero operating emissions. | Some models have limited weatherproofing; water ingress can cause failure. |
| Many include timers or motion modes to extend battery life and add security. | Inconsistent runtime: typical full charge gives 6–12 hours, less in winter. |
| IP65 or higher-rated lights withstand heavy rain and garden conditions. | Possible theft or vandalism since units are portable and often inexpensive. |
| Minimal maintenance — occasional cleaning of panels and battery swaps. | Upfront cost for high-quality units is higher than the cheapest plug-in alternatives. |
Advantages
You get genuine flexibility with solar path lights: you can stake lighting along curves, beds and steps without running conduit, and reposition them in minutes to suit seasonal planting or events. Typical LED solar path lights deliver between 20–200 lumens, which is enough for guiding walkways and adding ambiance; with a full sun charge of 8–10 hours many models will run 6–12 hours overnight. If you want a deeper investigate performance specs and purchasing considerations, check this guide: Everything You Should Know Before Purchasing Solar Landscape Lighting.
You’ll also save on operating costs: once installed, solar path lights use no grid electricity, so they reduce your household energy use and are an easy way to lower emissions. Choosing units with an IP65 rating or better gives you durable weather performance, and picking lights with replaceable batteries or higher-quality Li‑ion packs extends useful life to several years if you maintain them.
Disadvantages
Solar path lights can underperform in shaded yards or during long cloudy stretches; you’ll notice dimmer output and shorter runtimes in winter when daylight is limited. Battery degradation is another downside — most NiMH packs start to lose capacity after about 12–24 months, and even better cells typically show measurable decline by year three, meaning you may need to budget for replacements.
Low-end units often skimp on waterproofing and component quality, which can lead to water ingress, corrosion and complete failure within a season. Additionally, if you rely on them for safety lighting around steps and paths, be aware that insufficient lumen output can create a trip hazard; in those cases you should select higher-lumen models or supplement with wired fixtures.
To mitigate these disadvantages, position panels to receive direct sun for most of the day, choose lights with replaceable batteries and an IP65+ rating, and plan for a battery replacement cycle of roughly every 1–3 years depending on usage and cell type.
Step-by-Step Guide to Installation
Installation at-a-glance
| Step | Details |
|---|---|
| Site survey | Map sun exposure for 8–10 hours/day; avoid areas shaded by trees or walls between 10am–4pm. |
| Tools & materials | Garden trowel, cordless drill, masonry anchors (if needed), silicone sealant, level, tape measure (1.5–3 ft spacing for path lights). |
| Mounting method | Stake: soften ground or dig 6–8″ pilot hole. Wall: use proper anchors for siding/brick and apply silicone around penetrations. |
| Panel angle | Tilt solar panels 30–50° toward the equator (south-facing in Northern Hemisphere) for max winter output. |
| Electrical safety | Call before you dig if digging deeper than a few inches; avoid drilling into unknown wiring or gas lines. |
| Testing | Charge for a full sunny day, then test run for 2–3 nights; adjust spacing/angle to eliminate dark patches. |
Preparation
Gather all parts and test each light before you install: charge them in direct sun for at least 8–10 hours and confirm they run for the advertised time (many claim 10–15 hours). Check the package for battery type — most path lights use AA NiMH cells rated between 600–2000 mAh; if batteries are old or missing, fit fresh ones to avoid underperformance.
Mark the exact locations using stakes or spray paint, spacing pathway lights about 1.5–3 ft apart depending on bulb output (higher-lumen units can be spaced wider). If you’re mounting to walls, identify stud locations or use appropriate masonry anchors for brick; seal all wall penetrations with silicone to preserve the IP65+ rating you paid for. For more practical tips and pitfalls I learned, see 5 things I wish I knew before buying solar lights.
Installation Process
Start with the easiest units first: stake-mounted path lights. Soften compacted soil with water, insert the stake fully, and use a level to keep tops even; for very hard ground, drill a 6–8″ pilot hole with a long masonry or auger bit to avoid snapping the stake. When installing wall or fence fixtures, hold the bracket in place, mark holes, drill pilot holes sized for the supplied anchors, then fasten with stainless hardware and seal around the flange with silicone to prevent water ingress.
Angle the solar panel toward the sun (south in the Northern Hemisphere) and set it between 30–50 degrees depending on your latitude — steeper in northern areas to catch low winter sun. After mounting, run a two- to three-night test: note any dim spots and shift lights closer or farther apart to eliminate glare or shadowing; ensure panels are not shaded by new growth or seasonal furniture.
Wear protective gloves and eye protection while drilling, and if your layout requires digging deeper than a few inches, contact local utility marking services to avoid striking buried cables or pipes — hitting a line can be dangerous and costly. Swap out rechargeable cells every 12–24 months depending on performance, and keep a small silicone tube or cap to re-seal any cut wires or cable entries after adjustments.
Maintenance Tips for Longevity
Stay proactive with basic upkeep to keep your solar path lights performing season after season. Wipe panels and lenses every 4–6 weeks, inspect seals after storms, and rotate placements if nearby vegetation starts casting shade; small actions like these can prevent the common 20–40% drop in output many owners see after a year of neglect.
- Clean panels monthly (every 4–6 weeks)
- Inspect batteries and contacts quarterly
- Check IP rating and replace units with damaged housings (look for IP65 or higher)
- Trim foliage to ensure 8–10 hours of direct sunlight where possible
If run-times fall below 4–6 hours or brightness is noticeably reduced, prioritize panel cleaning and a battery check before buying replacements — often a 1–2 year old NiMH cell (600–2500 mAh) is the limiting factor, not the LED.
Regular Cleaning
Use a soft microfiber cloth and mild soapy water to remove dust, pollen and bird droppings; heavy grime can cut panel efficiency by over 30%. For glass housings, a standard glass cleaner is fine, but avoid abrasive pads or solvents that can scratch anti‑reflective coatings.
Do not use high‑pressure washers — they can breach seals even on IP65 models. If you live near the coast, check fixtures every 2–4 weeks for salt spray corrosion and wipe contacts dry after cleaning; apply a small amount of dielectric grease to metal connections to slow corrosion.
Battery Care
Most garden lights use rechargeable NiMH AA/AAA cells (600–2500 mAh) or, on higher‑end models, Li‑ion packs. Expect about 300–500 full cycles from NiMH under normal use, so plan on replacing cells every 12–24 months depending on seasonal sunlight and nightly run-time.
Test cells with a multimeter: a healthy NiMH cell should read about 1.2V at rest; anything consistently below 1.0V under no load indicates replacement. If you store lights for a month or more, remove cells or store units at roughly 50% charge in a cool, dry spot to extend life.
Thou should always match the original chemistry and capacity when replacing cells — swapping NiMH for alkaline or mismatched capacities can harm the internal charge controller, void warranties, and shorten run-times; recycle old batteries at designated drop‑off points and aim to replace cells every 12–24 months to keep your solar lights operating near peak output.
Final Words
Considering all points, you should choose the right fixture for the location, plan how many lights and their spacing, assess daily sunlight and panel angle, opt for durable IP65+ construction and reliable batteries, and decide whether timers or motion modes fit your routine.
If you plan and buy accordingly, you’ll avoid premature failures and mismatched lighting and secure attractive, dependable illumination through the seasons; test placements in daylight, tilt panels to roughly 30–50°, and favor quality over bargain options to protect your investment.
FAQ
Q: What type of solar path light should I choose for my location?
A: Match the light type to the task: stake-mounted path lights for walkways, spotlights to highlight plants or features, wall/fence lights for compact yards or entrances, and string lights for ambience. Check build materials (metal or thick glass last longer than thin plastic), solar panel type (monocrystalline panels charge more efficiently), and an IP rating of IP65 or higher for outdoor durability and weather resistance.
Q: How many solar path lights do I need and how should I space them?
A: Count the run length and the intended brightness. For low-output path fixtures (5–15 lumens) space 2–4 ft apart; for medium-output fixtures (15–30 lumens) space 4–8 ft apart. For even illumination, place lights at consistent intervals and avoid clustering so panels don’t shade each other. For string lights, verify bulb count and cable length to cover the area before buying.
Q: How much sunlight do solar path lights need to work well?
A: Aim for 8–10 hours of direct sunlight for a full daytime charge; that typically yields up to ~12–15 hours of night illumination on good batteries. Avoid locations shaded by trees, walls or roofs. Lights will still charge on cloudy days but with reduced runtime. As a workaround, bring lights indoors to a sunny window during the day—photovoltaic cells can charge through glass.
Q: Are cheap solar path lights a good bargain or should I spend more?
A: Very inexpensive lights often use lower-quality panels, weak batteries and fragile housings that fail sooner. Invest in lights with replaceable batteries, sealed weatherproofing (IP65+), and sturdier materials. Look for reliable battery types and a reasonable warranty—spending more upfront usually gives longer life and better night performance.
Q: Should I look for timer settings or smart features in solar path lights?
A: Yes—consider lights with dusk-to-dawn sensors, built-in timers (common 2–6 hour auto-off options), dim/motion modes or app connectivity. Timers and motion sensors extend battery life by reducing run time, and multiple modes let you choose full brightness, dimmed background light, or motion-triggered bursts for security. Pick based on whether you want continuous ambience or power-saving automation.