


Table of Contents
Introduction
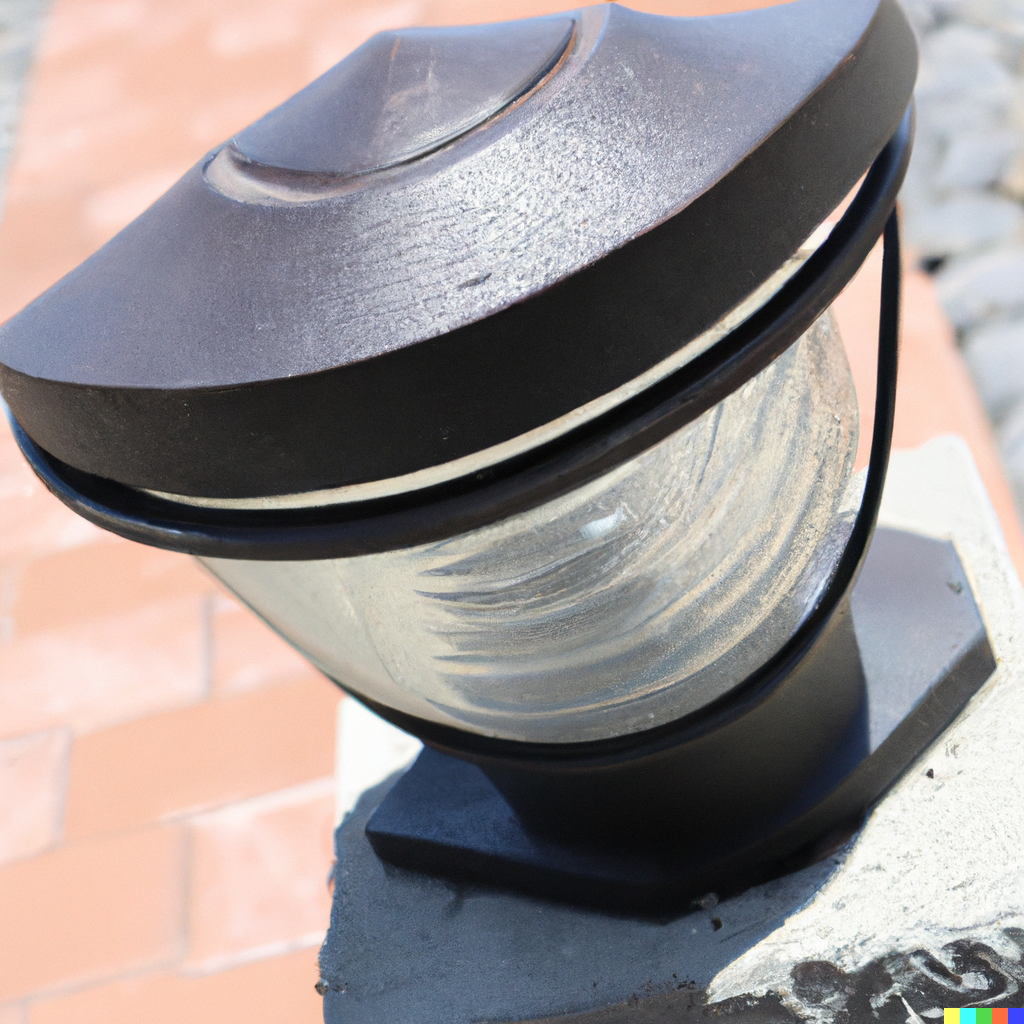
Hey there, DIY enthusiasts! Are you looking to brighten up your outdoor space while also saving some bucks? Look no further! Solar path lights are gaining popularity for their energy efficiency and ease of installation. But why settle for generic store-bought options when you can unleash your creativity and make your own custom solar path lights? In this guide, we’ll walk you through the process of creating personalized outdoor lighting that perfectly matches your style and budget. Let’s dive in!
II. Choosing the Right Materials
A. Key Components for Solar Path Lights
To get started on your DIY solar path lights, you’ll need a few essential components. The key players include solar panels, rechargeable batteries, LEDs, and light fixtures. These components work together to harness solar energy during the day and provide ambient illumination in the evening.
B. Affordable and Accessible Materials
The beauty of DIY projects lies in the freedom to repurpose materials or use affordable options. Consider using repurposed mason jars, PVC pipes, or reclaimed wood for your solar path lights. Not only will this save you money, but it also adds a unique touch to your creation. However, don’t skimp on the quality of solar panels and batteries as they play a crucial role in the performance and longevity of your lights.
III. Planning the Design
A. Considering Your Outdoor Space and Personal Style
Before diving into construction, take some time to envision how you want your solar path lights to enhance your outdoor space. Consider factors like the size of your pathway, the desired light intensity, and any specific aesthetic preferences you have. This step allows you to align your design with your personal style and ensure the lights blend seamlessly with your overall outdoor decor.
B. Design Inspiration and Examples
In the world of DIY, inspiration is key. Explore various styles and configurations of solar path lights to spark your creativity. You can find inspiration online or even draw ideas from nature and your surroundings. From sleek and modern to rustic and whimsical, the design possibilities are endless.
C. Practical Considerations for Optimal Functionality
While aesthetics are important, don’t forget about the practical aspects of your solar path lights. Ensure that the light intensity is sufficient for safe navigation along the pathway. Consider the length of the path and the positioning of the lights to achieve optimal coverage. Taking these factors into account will ensure your custom lights are both beautiful and functional.
IV. Step-by-Step Construction Guide
A. Preparing the Chosen Materials
First things first, gather all the materials you’ll need based on your chosen design. Double-check that you have the necessary solar panels, batteries, LEDs, and fixtures. It’s also a good idea to lay out your repurposed materials, ensuring they are clean and ready for transformation.
B. Assembly Process
- Connect the Solar Panels: Begin by wiring the solar panels to the rechargeable batteries. Follow the manufacturer’s instructions for proper connections.
- Wiring the LEDs: Attach the LEDs to the rechargeable batteries, ensuring correct polarity. Carefully route the wires through your chosen fixtures or containers.
- Integrating Rechargeable Batteries: Position the rechargeable batteries in a secure location within your solar path lights. Ensure they are easily accessible for future maintenance.
C. Sealing and Weatherproofing Tips
To ensure your solar path lights withstand the elements, it’s crucial to seal and weatherproof them properly. Consider using a waterproof sealant on any joints or connections. Additionally, choose materials that can withstand outdoor conditions, or apply a weather-resistant coating to protect your lights over time.
V. Customization and Personalization
A. Unleashing Your Creativity
Now comes the fun part – customizing your solar path lights! Let your imagination run wild and incorporate decorative elements or unique designs. From colored glass to intricate patterns, the choice is yours. Get inspired by your favorite colors, themes, or even the flora and fauna in your surroundings.
B. Personalization Ideas
- Colored Glass: Enhance the ambiance by using colored glass or tinted materials for your light fixtures.
- Painting the Fixtures: Give your lights a personal touch by painting the fixtures with your favorite colors or designs.
- Patterns and Shapes: Use stencils or carve out patterns and shapes on the light fixtures to add visual interest and uniqueness.
C. Examples of Customized Solar Path Lights
Need some inspiration? Check out these examples:
- Mason Jar Magic: Transform ordinary mason jars into enchanting solar path lights by adding fairy lights and decorative accents.
- Whimsical Woodwork: Create a rustic vibe by repurposing reclaimed wood into charming light fixtures, embracing the natural textures and shapes.
- Artistic Elegance: Paint ceramic planters in vibrant colors and attach solar panels to create eye-catching and functional art pieces.
VI. Maintenance and Troubleshooting
A. Proper Maintenance Practices
To keep your DIY solar path lights in top shape, regular maintenance is essential. Here are some maintenance practices to follow:
- Clean the solar panels periodically to ensure optimal energy absorption.
- Replace rechargeable batteries as needed to maintain consistent performance.
- Inspect the fixtures and wiring for any signs of damage or wear.
B. Troubleshooting Tips
Encountering an issue? Here are some troubleshooting tips for common problems:
- Dimming Lights: Ensure the solar panels are free from debris and positioned to receive ample sunlight.
- Malfunctioning Solar Panels: Test the solar panels individually to identify any faulty units and replace them accordingly.
C. Importance of Regular Maintenance
Regular maintenance not only ensures the longevity of your solar path lights but also guarantees they continue to illuminate your pathway effectively. By investing a little time and effort, you’ll enjoy the full benefits of your custom outdoor lighting for years to come.
VII. Conclusion
In conclusion, creating your own DIY solar path lights offers a world of possibilities. Not only do you save money, but you also get to personalize your outdoor lighting to match your style and preferences. So, don’t hesitate to embark on this creative journey. Get inspired, gather your materials, and let your imagination shine! With a little DIY magic, you’ll create unique solar path lights that illuminate your pathway and showcase your creativity. Enjoy the process, and revel in the satisfaction of crafting something both functional and beautiful for your outdoor space. Happy crafting!
FAQ
Q1: Are DIY solar path lights cost-effective?
A1: Absolutely! By using affordable materials and repurposing items, you can create solar path lights at a fraction of the cost of store-bought options.
Q2: Do DIY solar path lights perform as well as store-bought ones?
A2: With high-quality components and proper construction, DIY solar path lights can perform just as well, if not better, than their commercial counterparts.
Q3: How long do the rechargeable batteries last?
A3: The lifespan of rechargeable batteries can vary based on factors like usage, quality, and maintenance. Generally, you can expect them to last several years before needing replacement.
Q4: Can I customize the brightness of my solar path lights?
A4: While most DIY solar path lights provide a standard level of brightness, you can experiment with different LEDs and battery configurations to adjust the light intensity according to your preferences.
Q5: What if I encounter issues with my DIY solar path lights?
A5: Don’t worry! We’ve provided troubleshooting tips in this guide to help you address common issues such as dimming lights or malfunctioning solar panels. Regular maintenance and care will also minimize potential problems.
Q6: Can I create solar path lights without prior DIY experience?
A6: Absolutely! This DIY project is beginner-friendly and allows you to learn and experiment along the way. Just follow the step-by-step guide and let your creativity guide you.


