


Table of Contents
Introduction:
As an outdoor lighting enthusiast, I understand the importance of proper installation when it comes to solar path lights installation. These lights not only enhance the aesthetics of your outdoor spaces but also provide safety and increase energy efficiency. In this guide, I’ll take you through a step-by-step installation process to help you achieve optimal performance from your solar path lights. By following this detailed guide, you’ll be able to install your lights hassle-free and enjoy all the benefits they have to offer.
Solar Path Lights Installation Pre-Installation Preparation:
Before diving into the solar path lights installation process, it’s crucial to assess the installation area. Take a walk around your pathways, gardens, or driveways to determine where you want to install the solar path lights. Consider the layout and the areas you want to highlight. Measure the installation area and determine the desired spacing between the lights to achieve a balanced and visually pleasing result. Additionally, ensure that the installation area receives sufficient direct sunlight for the lights to charge effectively.
Gathering the Required Tools and Materials:
To start the solar path lights installation, gather the necessary tools and materials. Here’s a comprehensive list to help you get started:
- Solar path lights: Choose high-quality lights that suit your style and requirements.
- Stakes: These will provide stability and support for the lights.
- Shovel: You’ll need a shovel for digging holes in the ground.
- Mallet: A mallet will help you insert the stakes firmly into the ground.
Each item on this list serves a specific purpose and is crucial for a smooth installation process.
Step-by-Step Solar Path Lights Installation Guide:
Step 1: Marking the Pathway:
Start by marking the pathway where you want to install the solar path lights. Use stakes or string to establish a clear guide for placing the lights. This will ensure a straight and consistent alignment throughout the installation.
Step 2: Digging Holes for the Lights:
Using a shovel or auger, dig holes for the lights along the marked pathway. Make sure the holes are deep enough to provide stability for the lights, especially in areas with soft soil or high wind.
Step 3: Inserting the Stakes:
Once the holes are ready, insert the stakes firmly into the ground, aligning them with the marked pathway. Ensure that the stakes are placed securely and evenly spaced to maintain a consistent look.
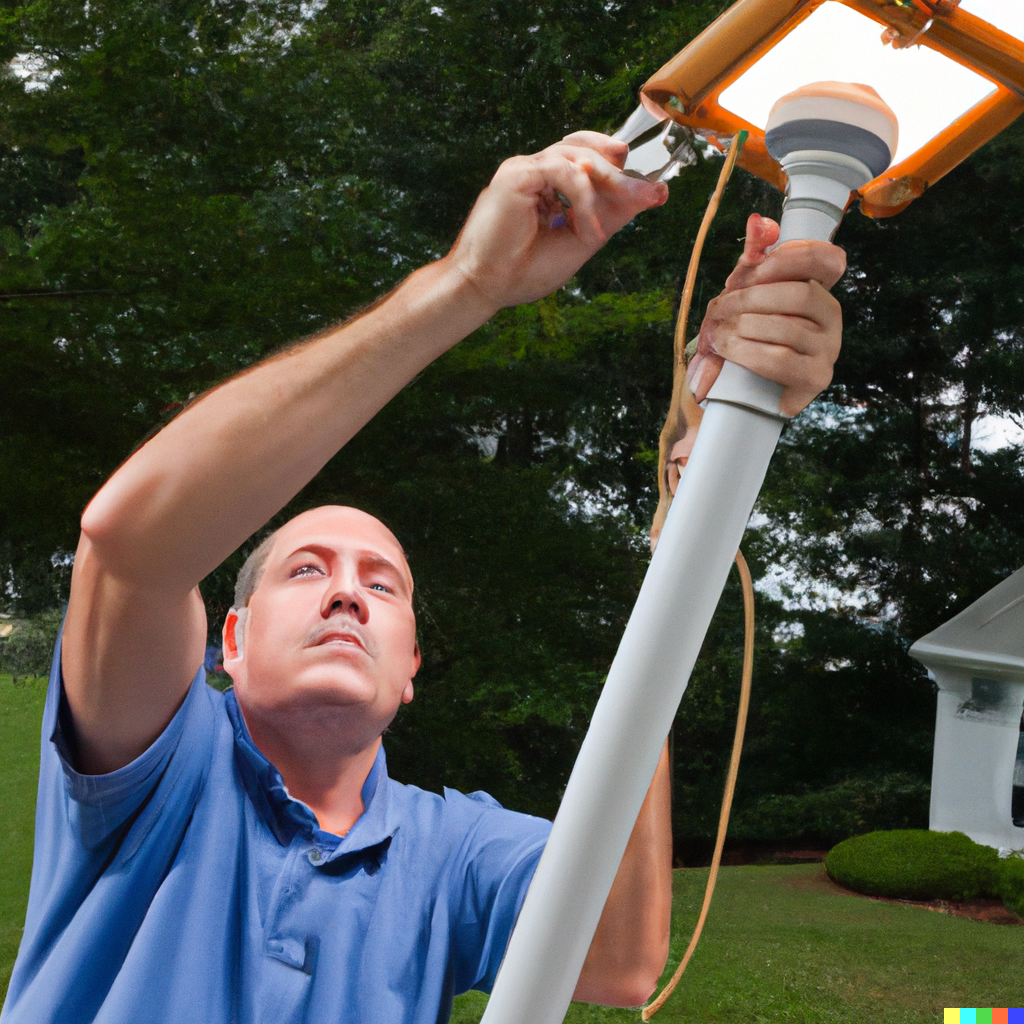
Step 4: Attaching the Solar Path Lights:
Follow the manufacturer’s instructions to attach the solar path lights to the stakes. Most lights come with connectors or brackets that allow you to secure them easily. Take care to attach them securely to prevent any movement or wobbling.
Step 5: Adjusting the Lights:
After attaching the lights, adjust their angle and position to achieve the desired lighting effect. Tilt the lights to face the desired direction and ensure they are positioned at the right height to illuminate the pathway effectively.
Securing the Lights:
To ensure the stability of your solar path lights installation, it’s essential to secure them properly. Reinforce the stakes by pressing the surrounding soil firmly to provide additional support. If the ground is soft or prone to movement, consider using concrete or gravel around the stakes for added stability.
Testing and Troubleshooting:
Once the solar path lights installation is complete, it’s time to test the solar path lights. Allow them to charge for a full day in direct sunlight before testing. In the evening, check if the lights illuminate as expected. If you encounter any issues such as dim lights, inadequate charging, or malfunctioning sensors, refer to the troubleshooting tips provided by the manufacturer.
Maintenance and Care:
To keep your solar path lights in optimal condition, regular maintenance is key. Clean the solar panels periodically to remove any dirt or debris that may obstruct sunlight absorption. Check the connections between the lights and the stakes to ensure they are secure and free from corrosion. If the lights dim over time, it may indicate a need to replace the batteries. Refer to the manufacturer’s guidelines for specific maintenance recommendations.
Conclusion:
In conclusion, installing solar path lights can greatly enhance your outdoor spaces. By following this step-by-step installation guide, you’ll be able to enjoy the benefits of energy-efficient and eco-friendly lighting in your pathways and gardens. Remember to consider your specific installation area, gather the necessary tools and materials, and follow the instructions provided by the manufacturer. With proper installation and maintenance, your solar path lights will illuminate your outdoor spaces for years to come.
FAQs (Frequently Asked Questions)
Q1: How many solar path lights do I need for my pathway?
A: The number of lights required depends on the length and width of your pathway. As a general guideline, spacing the lights about 6 to 8 feet apart provides sufficient illumination.
Q2: Can I install solar path lights in shady areas?
A: Solar path lights require direct sunlight to charge effectively. While they may still work in partially shaded areas, the amount of light they emit may be reduced.
Q3: How long do solar path lights typically last?
A: The lifespan of solar path lights varies depending on the quality of the lights and the care taken in maintenance. On average, solar path lights can last anywhere from 2 to 5 years or more.
Q4: Can I leave solar path lights out during winter?
A: Most solar path lights are designed to withstand various weather conditions, including winter. However, it’s recommended to remove and store the lights if you live in an area with extremely cold temperatures or heavy snowfall to protect them from potential damage.
Q5: How can I make my solar path lights shine brighter?
A: To enhance the brightness of your solar path lights, ensure that the solar panels receive ample sunlight for charging and clean the panels regularly to maximize their efficiency.
Remember to consult the manufacturer’s guidelines and instructions for specific questions related to your solar path lights.


