Solar Path Lights Not Working? Here’s the Fix
Have you ever invested in outdoor lighting only to find it dims out quickly? This frustration is shared by many. It turns a promising upgrade into a source of annoyance.
These garden fixtures are designed to be hassle-free. They run on free energy and need no wires. Yet, they can fail for several common reasons.
Most often, the issue is not a complete breakdown. It’s usually a simple maintenance problem. Throwing them away creates waste and repeats the cycle.
This guide walks you through each typical failure point. We’ll cover worn-out batteries, blocked sunlight, dirty panels, and faulty sensors. Practical fixes usually cost less than ten dollars.
I’ve researched expert methods to help you repair, not replace. With basic tools, you can solve most problems yourself. Let’s restore your evening ambiance.
Table of Contents
Key Takeaways
- Most outdoor lighting failures stem from simple, fixable issues.
- Regular cleaning and timely battery replacement prevent many malfunctions.
- Proper placement for direct sunlight is critical for consistent operation.
- Water damage is a frequent cause; always check protective seals.
- Troubleshooting is often more cost-effective than buying new units.
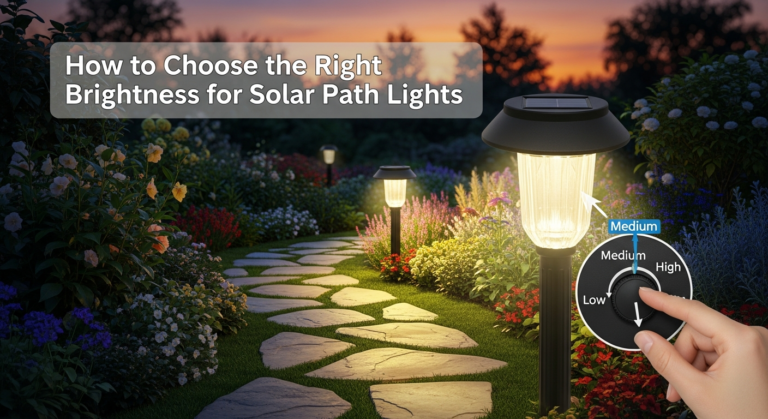
- Understanding the light sensor helps you adjust its sensitivity correctly.
- A step-by-step diagnostic approach quickly finds the root cause.
Understanding the Basics of Solar Lighting
Think of each unit as a tiny, self-sufficient power station for your yard. This fundamental knowledge is your first tool for diagnosis. When you know how it’s supposed to work, pinpointing the failure becomes straightforward.
How Solar Panels Capture Sunlight
The solar panel contains photovoltaic cells. These cells generate electrical energy when exposed to sunlight. This is the foundation of the entire system.
Most fixtures need 6-8 hours of direct sunlight to charge fully. Partial sun provides only 30-50% of needed power. For every hour of quality light the panel receives, you get roughly 2-3 hours of illumination at night.
Key Components and Their Roles
Several parts must work together. The solar panels capture energy. Rechargeable batteries store this power.
The LED bulb provides light output. A photocell sensor detects darkness and triggers the unit automatically. A charge controller regulates the flow between panels and battery.
Failure in any one component can stop the entire system. Understanding this helps you diagnose problems the right way. Optimal sunlight exposure determines the whole system’s efficiency.
Troubleshooting: Solar Path Lights Not Working After Installation
When freshly installed landscape lighting refuses to turn on, don’t assume the product is defective. A methodical inspection starting with the simplest checks solves most problems. I recommend following a clear sequence to find the root cause quickly.

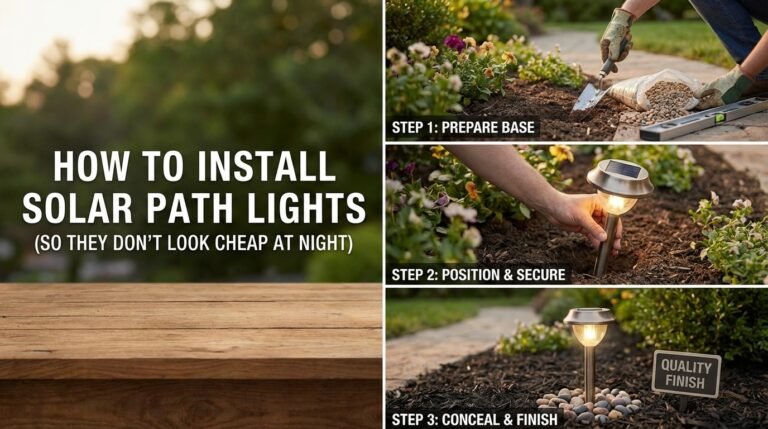
Step-by-Step Inspection Process
First, verify the unit’s power switch is in the “on” position. Many fixtures ship with this switch off. Next, check for any protective plastic film on the panel or insulating tabs between the batteries. Removing these is a crucial first step.
Then, perform a darkness test. Completely cover the panel with your hand during the day. If the LED illuminates, the sensor and bulb work. This confirms the core function is intact.
Identifying Common Blockages and Issues
Look at the installation spot. Is it receiving direct sun for 6-8 hours, or is it shaded? This is a frequent oversight. Also, new units often need 2-3 full sunny days to charge depleted batteries before they’ll glow at night.
Nearby ambient light from porch or street lamps can trick the photocell. It may think it’s still daytime. Finally, for persistent issues, consult this comprehensive step-by-step troubleshooting guide. Most post-installation failures are simple fixes, not major defects.
Optimizing Solar Panel Position and Sunlight Exposure
Many performance issues stem from one simple oversight: where you point the energy-gathering module. Even the best units fail if their panel doesn’t receive enough sunlight throughout the day.
Aligning Panels for Maximum Direct Sunlight
In the Northern Hemisphere, always face your solar panels south. The sun travels through the southern sky, making this direction optimal.
Your panel needs full, unobstructed direct sunlight from 10 AM to 4 PM minimum. Hiding it in a flowerbed is a common mistake. Moving shadows from leaves can block crucial rays.

Adjusting Tilt and Facing Direction
A general tilt between 30° and 50° works for most locations. For precise efficiency, use your latitude.
Seasonal changes affect the sun’s angle. You must adjust the tilt to match.
| Season | Tilt Angle Formula | Example (40° Latitude) |
|---|---|---|
| Winter | Latitude + 15° | 55° |
| Spring/Fall | Latitude | 40° |
| Summer | Latitude – 15° | 25° |
Partial shade under a patio may only provide 30-50% of needed energy. Observe a spot for a full day before installing. A slight adjustment can dramatically improve charging. For more on this, see these guides on detailed troubleshooting and common installation mistakes.
Managing Batteries, Sensors, and Wiring Challenges
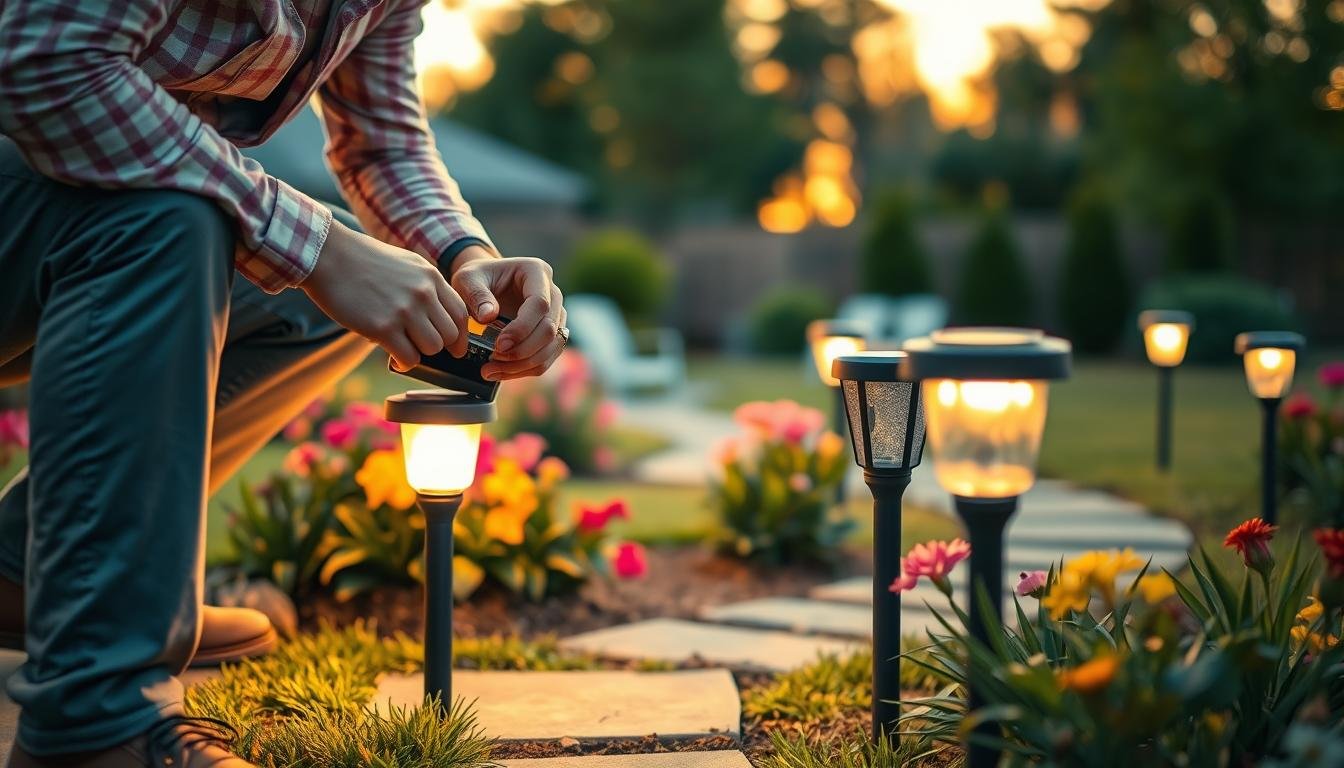
Focusing on three core areas—power cells, automatic switches, and electrical links—solves numerous issues. Most failures originate here, not from the fixture itself.
Replacing and Testing Rechargeable Batteries
The batteries are the most common failure point. They typically last just 2-3 years. Always use the correct type: NiMH (1.2V) or LiFePO4 (3.2V).
Never use standard alkaline cells. The voltage mismatch can damage the internal circuit.

If a unit turns on but dies within an hour, the battery can’t hold a charge. Replacing rechargeable batteries is a simple, sub-$10 fix.
Inspecting Sensors and Internal Connections
The light sensor (photocell) is a tiny automatic switch. Cover the panel during the day. If the LED glows, the sensor works.
Check all connections and terminals for white or green crust. This corrosion blocks power. Clean it with a pencil eraser.
- Open the battery compartment.
- Inspect for frayed wiring or loose connections.
- Look for moisture damage inside the housing.
Temperature changes pull humid air in, causing water condensation. Apply dielectric grease to terminals. This creates a seal.
Fixtures with an IP65 rating resist this damage far better than IP44-rated ones. Proactive care every few years extends life.
Preventive Maintenance Tips for Lasting Performance
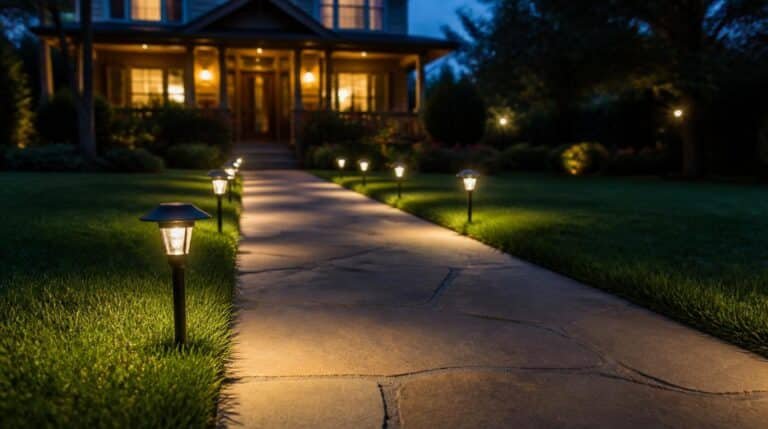
The difference between a fixture that lasts one season and one that lasts a decade often comes down to minutes of monthly attention. A proactive care routine is the most effective way to ensure consistent, bright illumination for years.
Regular Cleaning and Debris Removal
Wipe the solar panel every month or two. Use a soft cloth with warm water and mild soap. Dry the surface thoroughly to prevent spots.
This simple cleaning can double brightness. A layer of dirt, often invisible, can block over half the sun’s energy. Treat the light sensor with the same care.
Dust or webs on it can stop activation at night. Set a phone reminder for this quick task. It’s a small effort for a major boost in performance.
Seasonal Adjustments and Inspections
Shadow patterns change with the seasons. A spot with full sun in summer may be shaded in winter. Observe your units’ locations throughout the day at different times of year.
Reposition them to catch optimal rays. In freezing weather, remove the batteries. This prevents permanent water damage from condensation inside.
Annually, check housing seals for cracks. Reseal any gaps with clear silicone gel. This way, you make sure moisture stays out.
Investing a few minutes protects your investment. For a complete look at your responsibilities, please review our important disclaimer. Well-maintained solar lights can shine brightly for many seasons.
Conclusion
The frustration of a dark pathway is usually resolved not by shopping, but by a quick diagnostic check. Most outdoor lights fail due to simple fixes like a dirty panel or a tired battery.
Repair your garden light if the housing is intact and it’s relatively new. Replace it only if you find major corrosion or internal water damage. For a deeper dive into specific common solar light problems, that guide is excellent.
Understanding this basic system empowers you. You can now confidently troubleshoot most issues. Regular cleaning and seasonal adjustments will prevent future problems.
This knowledge turns a moment of annoyance into a quick win. You save money and reduce waste. For future purchases, rely on research-based guidance to choose quality lighting that captures energy efficiently.
Your outdoor ambiance is back under your control.