Solar Path Lights Stopped Working? Here’s Why
Have you ever trusted a product to work flawlessly, only to find it dimming or failing when you need it most? That’s the exact frustration many homeowners face when their solar path lights stop working.
I understand that feeling. Your pathway was once beautifully lit, enhancing both safety and the look of your home. Now, it’s plunged into shadows. But what if I told you the problem likely isn’t a broken fixture?
In my years of experience, most failures aren’t true equipment failures. They are simple maintenance or setup issues you can fix yourself. Common reasons include blocked sunlight, dirty panels, or old batteries.
This guide will walk you through a clear, authoritative diagnostic process. I want to do more than offer a quick fix. My goal is to empower you with the knowledge to prevent problems from coming back.
You’ll learn to accurately diagnose faults and perform effective repairs. This saves you time, money, and the hassle of unreliable lights. For detailed steps, see our comprehensive troubleshooting guide. Remember, performance factors like sunlight and season affect all outdoor solar products.
Table of Contents
Key Takeaways
- Most solar light failures are due to maintenance, not broken equipment.
- Dirty solar panels and insufficient sun exposure are primary culprits.
- Batteries degrade over time and are a common point of failure.
- Faulty light sensors can prevent proper on/off operation.
- Simple cleaning and battery replacement can often restore full function.
- A proactive care routine prevents the majority of common issues.
- Knowing when to repair versus replace saves money in the long run.
Understanding why solar path lights stop working after installation
When your pathway’s glow fades prematurely, the root cause often traces back to one of three fundamental system elements. These are sunlight intake, energy storage, and the control mechanisms that manage operation. Grasping how these interact is key to restoring and maintaining your outdoor lighting.
The Impact of Sunlight Exposure on Charging
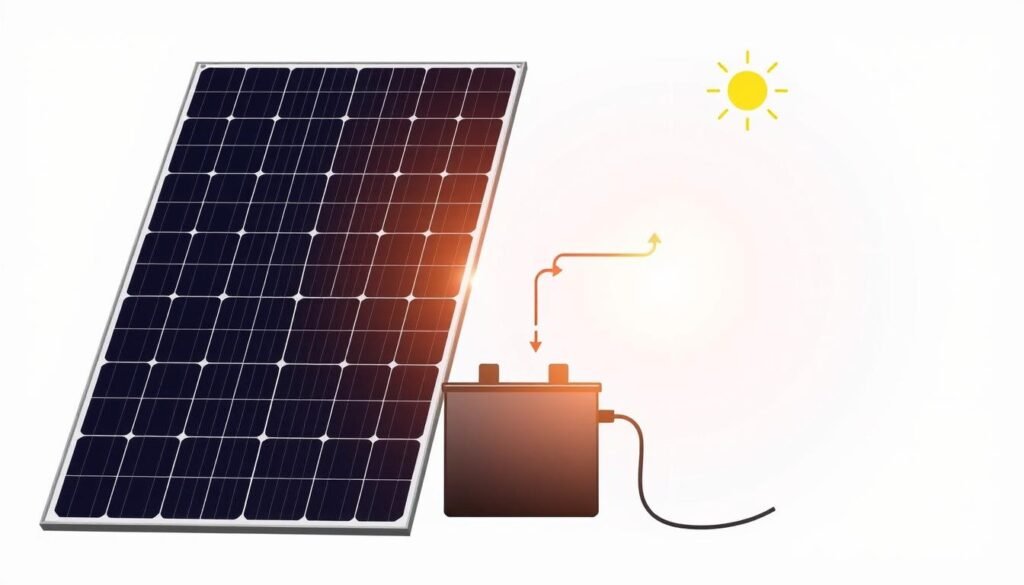
Your fixture’s solar panel is its engine. For a full charge, it needs 6 to 8 hours of direct, unobstructed sunlight every day. I’ve measured this consistently: one hour of good sun typically yields two to three hours of nighttime illumination.
Partial shade from a tree or fence can slash energy absorption by over half. This directly shortens runtime. Proper placement is the first thing I check in any step-by-step diagnostic process.
Battery Life, Sensor Function and Wiring Concerns
Even with perfect sun, the battery has a finite life. Most last 3-5 years. After about 1000 cycles, capacity fades. Always replace with the correct type—NiMH or LiFePO4. Standard alkaline cells damage the circuit.
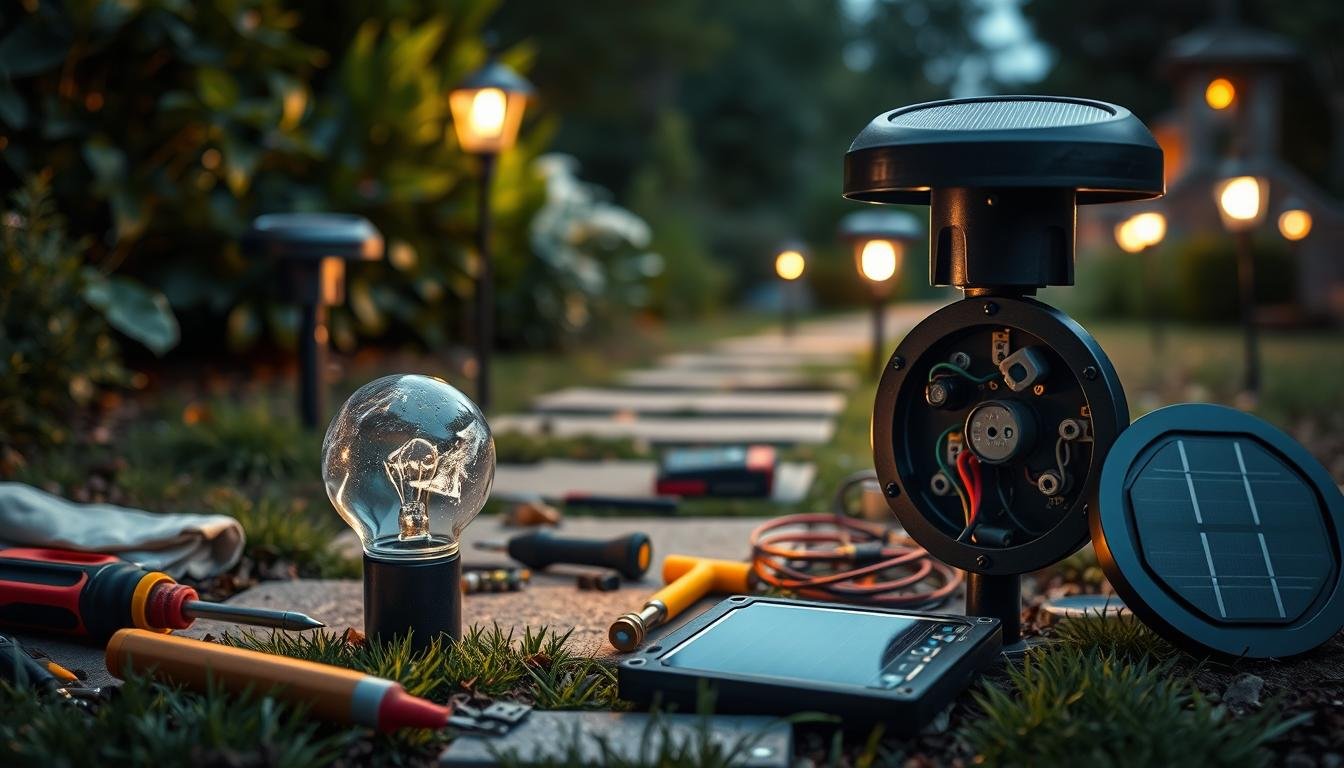
The photocell sensor acts as the brain, turning the light on at dusk. If it’s dirty or confused by a porch lamp, it won’t function. Loose or corroded wiring from weather exposure is another common, hidden fault that disrupts performance. Ensuring these components are sound is crucial for safe and reliable pathway illumination.
Common Outdoor Solar Lighting Issues
A shadow creeping over a panel or a layer of dust can silently cripple your outdoor lighting system’s performance. Most frustrations stem from three core environmental challenges.
Addressing these directly restores brightness and prevents future reasons solar fixtures underperform.
Insufficient Sunlight and Shadow Problems
I’ve identified poor sunlight exposure as the top cause of failure. A fixture under a patio or in building shadows gets limited direct sun.
Seasonal changes matter too. The sun’s lower winter angle can cast long shadows, darkening previously well-lit panels.
I recommend a monthly check of your light’s location. Look for new shadows from growing plants or structures.
Dirty Solar Panels and Debris Interference
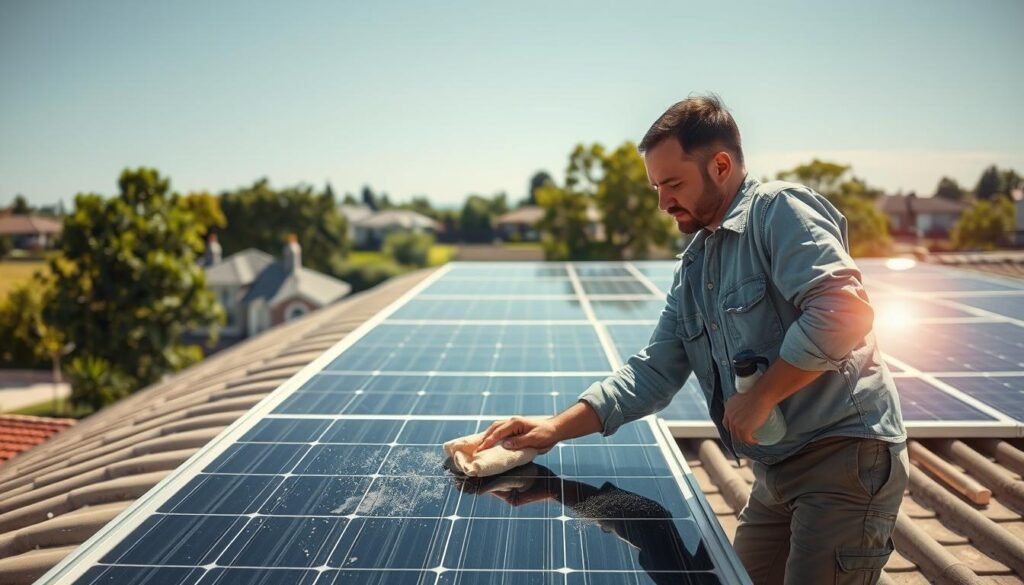
Dirty solar panels are a major energy thief. A film of dust, pollen, or bird droppings can slash charging efficiency by over half.
This starves the LEDs of power needed for the night. Clean panels every few months with a soft cloth and warm water. Avoid soap, as it can leave a residue.
Effects of Weather and Moisture
Weather damage often involves hidden moisture. Daily heating and cooling can “breathe” damp air into fixtures through tiny seal gaps.
Check the IP rating. IP65-rated units withstand jets of water, while IP44 offers only splash protection. Cold weather also speeds up battery wear.
Understanding these common solar problems is the first step to a reliable solar pathway.
In-Depth Troubleshooting of Solar Light Components
Dim or non-functional fixtures frequently point to exhausted batteries or a confused sensor. My methodical approach isolates these internal failures for accurate repair.
Diagnosing Battery Failures and Replacements
I check battery age first. Standard NiMH rechargeable batteries last about 2-3 years. Premium lithium types can exceed 5 years.
A common symptom is “ghost charge.” The cells appear to charge but cannot hold charge at night. This causes brief illumination that fades fast.
Always inspect terminals for white or green corrosion. Clean it gently with a pencil eraser. For reliable replacements, consider models with replaceable batteries.
Evaluating Light Sensor and Photocell Performance
The photocell sensor is the brain. To test it, cover the panel completely during the day. A functional light sensor will turn the light on immediately.
I make sure to clean the tiny lens with a soft cloth. Dirt or webs block its view.
Nearby porch lights can confuse it, preventing activation. For motion-activated units, ensure the sensor has a clear, independent field of view.
This component-level troubleshooting restores reliable operation. If your solar light is older, you may need to address both batteries and the sensor for a complete fix.
Maintenance Tips to Maximize Solar Lighting Performance
The longevity of your garden’s glow depends not on chance, but on a simple, proactive maintenance routine. Consistent care prevents most common failures and ensures your lighting delivers its full potential every night.
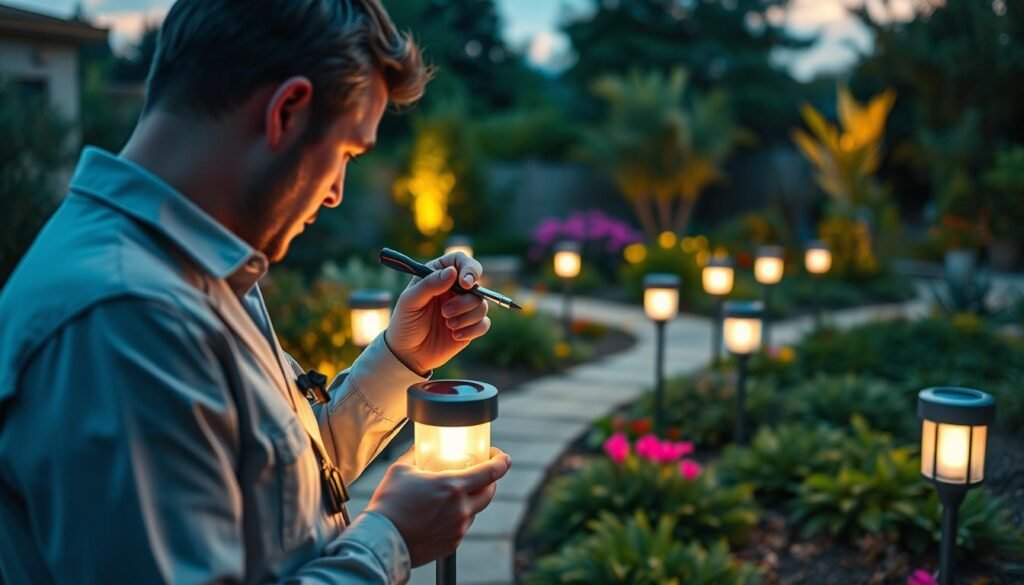
Routine Cleaning and Inspection Practices
I set a phone reminder to clean my solar panels monthly. In dusty areas, do this every two weeks. A two-minute wipe can literally resurrect fixtures.
Use a slightly damp cloth with warm water only. Gently clean the entire panel surface. Dry it with a clean cloth to prevent spots.
During each session, inspect housing gaskets. If they are cracked, seal gaps with clear silicone gel. This stops moisture damage.
I also apply dielectric grease to battery terminals. This creates a moisture barrier and prevents corrosion.
Optimizing Installation Locations for Better Sun Exposure
For optimal exposure, your fixture needs full, unobstructed sun from 10 AM to 4 PM. Observe the location as seasons change.
In the Northern Hemisphere, south-facing spots work best. They receive maximum sun throughout the year for consistent energy.
Always trim back vegetation that casts shadows. Growing branches can block critical hours of light without you noticing.
For shaded solar pathway areas, consider systems with separate panels. You can mount the panel in a sunny spot and run a cable to the lights. This solves the fundamental geometric problem.
I track all this on a page in my log. Recording dates and performance notes helps me spot issues early. This proactive approach saves time and guarantees brilliant illumination.
Conclusion
You now possess the knowledge to transform unreliable outdoor illumination into a dependable feature of your property. Most issues stem from simple causes like dirty panels or aged batteries.
Through systematic troubleshooting, you can identify fixes. Regular cleaning and inspection extend your lighting system’s life by years.
Understand when to repair versus replace. Quality fixtures with proper sealing offer better performance. For deeper insights into early shut-off, review this guide on common solar light issues.
Adopt a proactive mindset. View your pathway setup as a system needing occasional attention. This ensures consistent illumination and maximizes energy savings.
Implement the practices from these pages to avoid common installation mistakes. Your home will enjoy reliable, bright nights.