
How to Store Solar Lights for Winter: Battery-Safe Steps
Your solar lights survived summer. The question now is whether to leave them beside a snowy walkway or pack them away—and what to do with the batteries. Here is how to store solar lights for winter: clean and dry the fixtures, switch them off, remove user-replaceable batteries when the manual recommends it, and keep everything in a dry indoor location within the specified storage temperature range.
The crucial detail is battery chemistry. A storage rule for one rechargeable cell does not automatically apply to another. Skip universal “50% charge” recipes and start with the instructions for your light and its battery. Here is a practical routine that also makes spring setup easier.
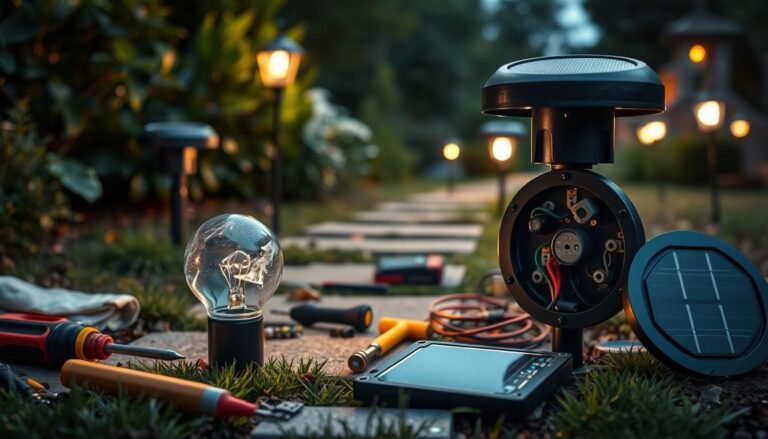
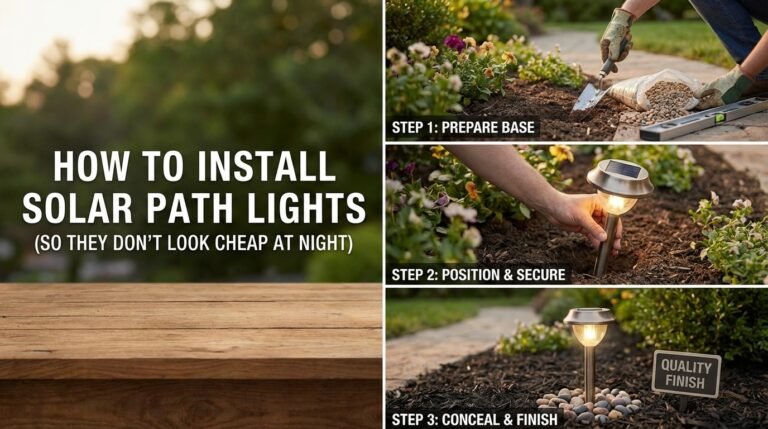
Images in this guide are AI-generated editorial illustrations, including the featured image.
Table of Contents
Should you store solar lights or leave them outside?
Bring decorative lights indoors when their manual calls for winter storage, when expected temperatures exceed their ratings, or when snow removal would put them in the path of a shovel or plow. An exposed garden border and a sheltered patio can present very different conditions, even at the same address.
Some fixtures can stay outside within their stated limits. However, suitability for outdoor use does not guarantee useful light throughout a winter night. Before removing lights from an entrance or steps, arrange dependable replacement illumination. Review our guide to lighting steps, turns, and entry routes to identify the areas that still need coverage.
Manufacturer instructions differ: the Northlight ESL-01 manual, for example, directs owners to bring that model indoors for winter. Treat this as a model-specific instruction, rather than proof that every solar fixture must be stored.
Decide before the ground freezes
Photograph the layout while the lights are still installed. Give each fixture a simple number and note any that already fade early. That separates an existing fault from a problem discovered after storage. Choose a dry day for removal so you can inspect the equipment comfortably.
If a stake resists removal, wait for workable ground instead of pulling on the panel head. Separate only the joints the manufacturer designed to come apart. Put small screws straight into a labeled container; a missing battery-cover screw can delay the entire spring restart.
How to store solar lights for winter: the practical routine
1. Find the model and battery information
Locate the model number underneath the head, on the packaging, or in your purchase record. Photograph the battery label before removing anything. Record its chemistry, nominal voltage, size, capacity, and polarity. A familiar AA-shaped cylinder is not enough information to choose a replacement or charger.
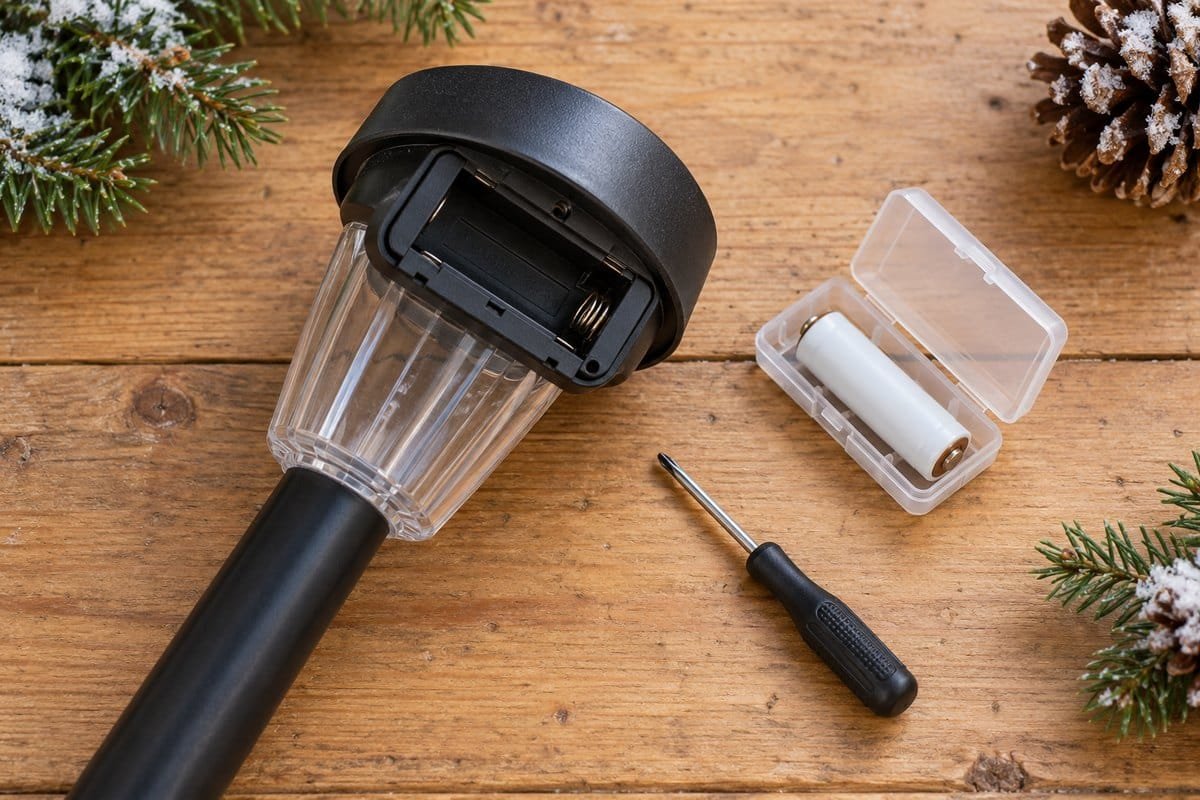
If the compartment is intended for user access, open it with the correct screwdriver. If the light is sealed, do not pry it apart or disconnect soldered wires. Keep the whole fixture intact and use its storage instructions. For future purchases, our guide to solar lights with replaceable batteries explains what accessible designs offer.
2. Clean gently, then let everything dry
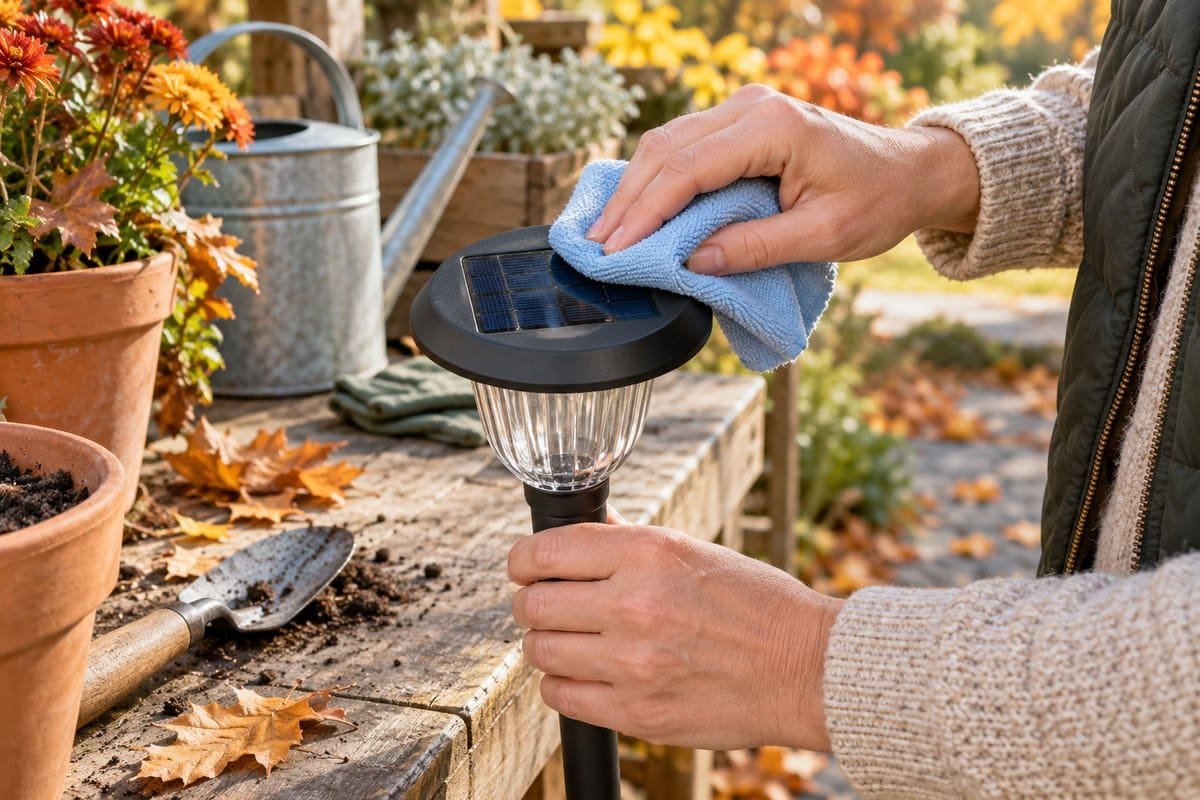
Remove loose soil from the stake separately from the electrical head. Wipe the panel and lens with a soft, damp cloth, using a mild cleaning solution only if the manual permits it. Avoid pressure washing, abrasive pads, solvents, and improvised coatings on the panel.
Look closely at the battery cover, lens edge, and cable entry points. Set aside fixtures with broken covers or persistent moisture inside. Dry the accessible surfaces and allow the parts to air-dry before packing. A tightly closed storage box is useful only after the contents are dry.
Use this pause to make a repair list: missing gasket, cracked lens, loose stake, or damaged cable. Photograph each issue next to the fixture number. Ordering a correctly identified spare is easier than trying to remember which of eight nearly identical lights was faulty.
3. Switch off and manage the batteries separately
Set the switch to OFF before packing. If the manual allows battery removal for a long period of non-use, store the removed cells in a suitable nonconductive battery case, keeping their terminals away from coins, screws, and tools. Keep sets from multi-cell fixtures together and clearly identified.
Panasonic’s eneloop battery guidance recommends nonmetallic storage cases and warns against mixing cells of different types, ages, brands, or capacities. It also gives maintenance guidance for batteries left unused. Apply the instructions relevant to the actual cells you own.
Battery storage: why one charge percentage is misleading
Online winterizing advice often combines NiMH and lithium batteries into one rule. That is an unreliable shortcut. Your decision needs two sources: the fixture instructions, which describe its electrical system, and the battery instructions, which describe the cell. If either is missing, contact the manufacturer before attempting external charging.
| Battery or fixture | What to check | What to avoid |
|---|---|---|
| Removable NiMH AA or AAA | Specified charging method and storage maintenance interval | Assuming every cell needs a 50% storage charge |
| Removable lithium-based cell or pack | Exact chemistry, approved charger, storage charge and temperature limits | Using a NiMH charger or choosing by shape alone |
| Older NiCd-powered light | Original battery specification and compatible charging instructions | Treating it as interchangeable with another chemistry |
| Sealed rechargeable fixture | Whole-unit storage procedure and any periodic charging instructions | Prying open the housing to remove the battery |
A charger with a simple charging light may not display an accurate storage percentage. Do not deliberately run batteries flat to reach a guessed target, or infer remaining capacity from a brief voltage reading. Follow the documented procedure instead of manufacturing precision your equipment cannot provide.
Likewise, a higher-capacity replacement is not an automatic winter upgrade. Check the light manufacturer’s permitted specification before changing capacity. Storage is a good opportunity to identify the right spare, but it is not a reason to replace healthy batteries or modify the charging circuit.
A useful video: individual slots versus paired charging
The Gizmo Garage’s comparison of Panasonic and older Sanyo chargers shows why independent slots can be convenient when each garden light uses one cell. The relevant explanation is around 2:00–4:35. This 2016 video illustrates charger operation; use current manufacturer instructions for compatibility and disregard its historical shopping advice.
Choose a dry, protected storage location
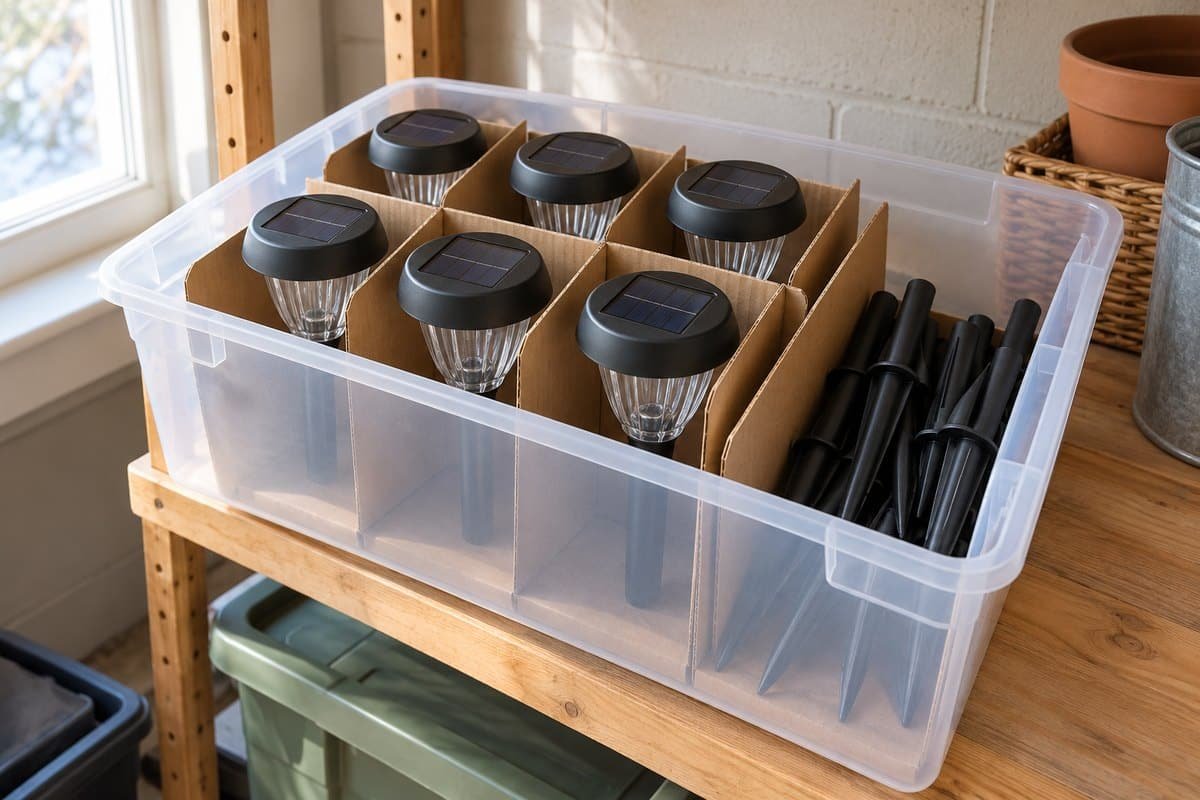
Pick a shelf in a dry utility room or another location that stays within the equipment’s specified storage limits. An unheated garage is suitable only if its actual conditions meet those limits. Keep the box away from leaking pipes, heaters, direct sunlight, and places where it might be knocked down.
Separate fragile lenses and panel surfaces with clean dividers. Pack the stakes alongside the lights without letting their points press against the heads. Keep hardware in a labeled bag outside the battery case. There is no need to buy a special tote if an existing dry container protects the parts.
Add a short inventory on paper: number of lights, battery type, storage date, and next check required by the manual. Put a reminder on your calendar if periodic inspection or charging is specified. Avoid inventing a monthly charging routine for equipment whose manufacturer gives different instructions.
Two optional tools for the job
This article contains affiliate links. As an Amazon Associate I earn from qualifying purchases. These are practical options, not products we have personally tested; use supplies you already own when they suit the task.
Amazon Basics microfiber cleaning cloths, 24-pack
These reusable cloths suit households that want separate cloths for dirty stakes and cleaner panel surfaces. Keep a clean cloth reserved for the panel, and remove grit before wiping. The buying consideration is quantity: a 24-pack may be unnecessary for a handful of lights, and any dirty cloth can drag debris across a delicate surface. View the Amazon Basics microfiber cloths on Amazon.
Panasonic BQ-CC17KSBA eneloop charger
This charger suits owners of compatible eneloop or eneloop pro AA/AAA NiMH cells who need individual charging slots. It can be useful when a fixture has only one removable cell. Check both manuals first: it is not a universal charger for lithium, LiFePO4, NiCd, or unidentified solar-light batteries. It also does not provide a numerical storage-charge display. View the Panasonic BQ-CC17 charger on Amazon.
If you keep some lights outside
Check their condition after storms and keep panels clear using the method permitted by the manufacturer. A Portfolio solar-light instruction manual specifically advises clearing debris and snow and allowing adequate direct-sun charging after prolonged snow cover. Its charging times apply to that product, not every garden light.
Assess light where and when you actually use the path. A good glow at dusk does not establish overnight performance. Our explanation of why early-evening brightness can mislead helps you plan that check. If essential steps become dark, improve their dependable lighting rather than relying on decorative stakes.
Restart carefully in spring
Unpack the lights before the day you need them. Inspect covers and contacts, reinstall the correct batteries with the marked polarity, and follow the initial charging procedure. Test one fixture before reinstalling the entire row. Keep questionable units aside instead of mixing them into the finished layout.
If a unit still fails after the specified charge, work through our solar-light troubleshooting guide. Do not try to revive a swollen, leaking, or damaged cell. The EPA’s household battery guidance explains recycling routes and terminal protection; rechargeable batteries need appropriate collection rather than routine household disposal.
Example: one set, two different storage decisions
Imagine six removable stake lights around a summer flower bed and two sealed fixtures fixed beside a gate. Number and photograph all eight. Store the decorative stakes after checking their manuals, cleaning them, and identifying their batteries. Keep each battery with its fixture number so a weak unit can be investigated separately in spring.
The gate lights need a separate decision. Read their operating and storage limits, inspect the mounts, and check whether they provide adequate illumination at your normal arrival time. If they must come indoors, arrange another suitable light before removing them. If they remain outside, make a simple inspection plan that accounts for snow and access.
This approach avoids treating every fixture alike. It also gives you a useful record: what was stored, what stayed outdoors, which batteries belong together, and which repairs remain. Keep that record with the packed equipment rather than relying on memory several months later.
Pack for an easier spring
A useful winter routine leaves you with clean, dry fixtures, identified batteries, protected parts, and a clear restart plan. Make the storage decision from the product instructions and your conditions. The goal is to preserve equipment you can safely use again, without unnecessary purchases or battery-care guesses.
Frequently asked questions
Should I remove batteries from solar lights for winter?
Remove user-replaceable batteries when the fixture instructions recommend it for extended non-use. Store them in a suitable nonconductive case. Leave sealed fixtures intact and follow their whole-unit storage procedure.
Should solar-light batteries be stored at 50% charge?
There is no universal 50% rule for all solar-light batteries. Use the storage-charge instructions for the exact battery chemistry and model. Do not deliberately discharge cells to reach a guessed percentage.
Can I store solar lights in an unheated garage?
Only if the garage stays dry and within the storage temperature limits for the fixture and battery. Check those limits against actual garage conditions; otherwise choose a suitable indoor location.
Can I leave solar path lights outside all winter?
Some models can remain outdoors within their ratings; others specify winter storage. Check the manual and protect lights from snow-removal equipment. Keep dependable illumination at essential steps and entrances.
Can I put ordinary AA batteries in a rechargeable solar light?
Do not put non-rechargeable AA batteries into a solar charging circuit. Match the chemistry, voltage, size, and other specifications required by the fixture manufacturer. AA size alone does not establish compatibility.
Why do solar lights not work after winter storage?
Check the switch, battery polarity, required charging procedure, and visible damage first. Use only an approved charger if external charging is permitted. Replace damaged batteries through an appropriate recycling route rather than attempting to revive them.