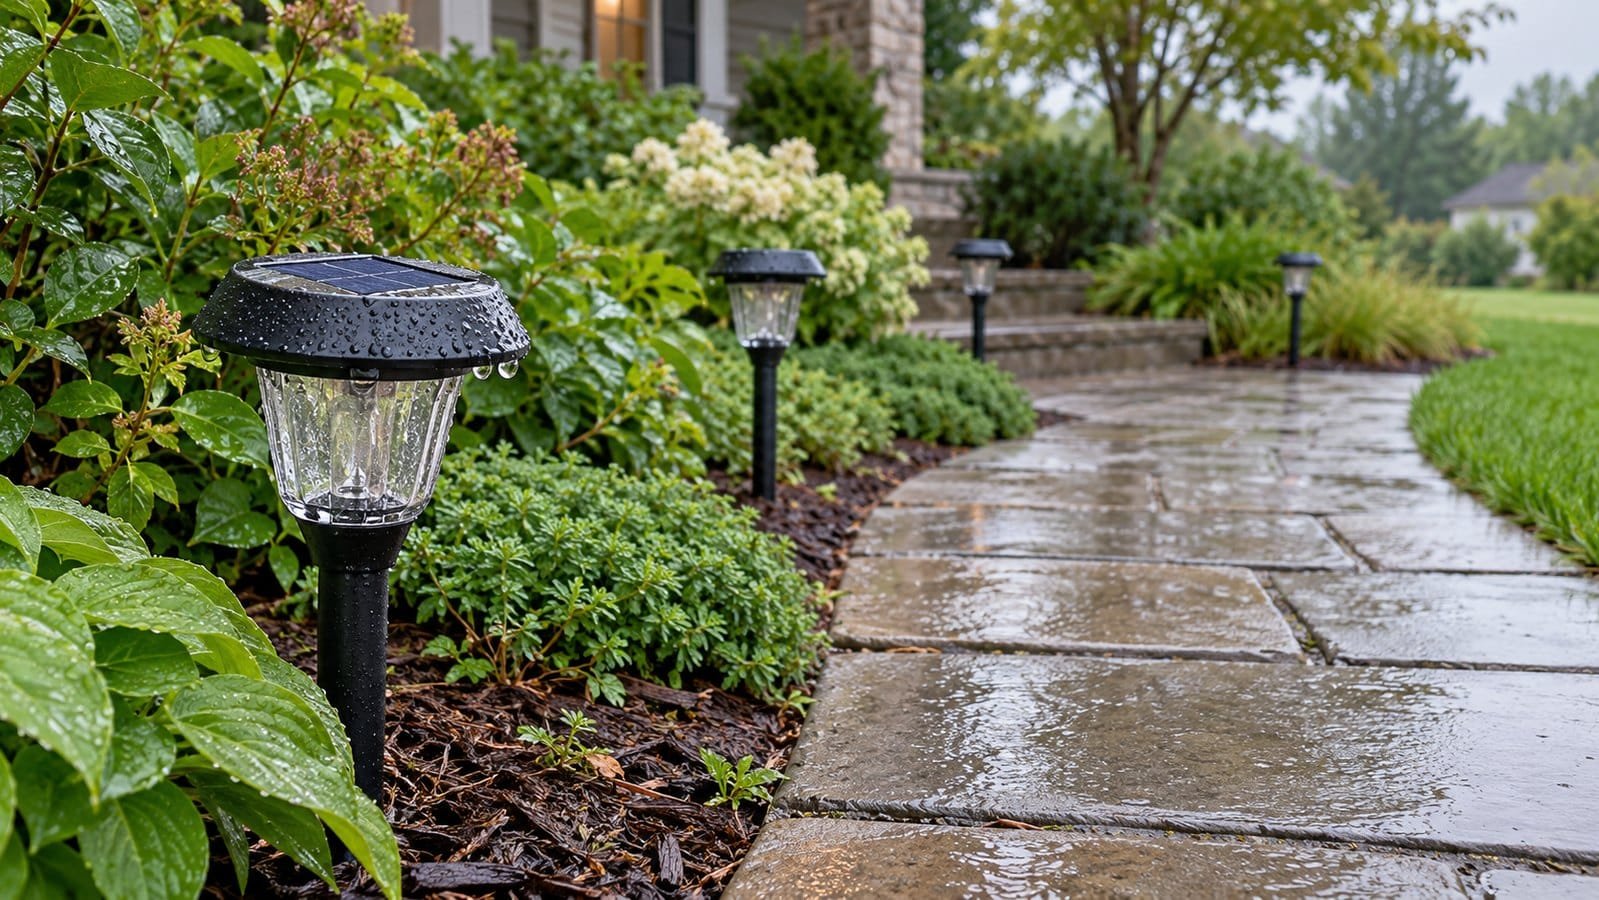
Solar Lights Not Working After Rain? 5 Practical Checks
The rain stops, the path dries, and three garden lights stay dark. It is tempting to buy batteries—or cover every seam with sealant. Start with a better distinction: solar lights not working after rain may have collected too little sunlight, admitted water, or developed an unrelated switch or sensor problem. The timing alone does not tell you which.
Check for visible damage and moisture first. A dry, intact light can be checked for charging and nighttime activation; a wet or damaged unit needs to be switched off and handled according to its instructions before any powered test. These five checks help you decide what to clean, what to monitor, and when replacement or manufacturer support makes more sense.
All images, including the featured image, are AI-generated editorial illustrations. They do not document product testing.
Table of Contents
First, identify the light and the failure pattern
This guide covers small, self-contained rechargeable solar garden lights. If your fitting connects to household power, a transformer, or wiring you cannot identify, use its own troubleshooting procedure. Do not apply a stake-light repair routine to a mains-powered installation.
Look across the whole row before taking anything apart. Did all the lights fade after several overcast days, or did one light fail after sitting in a puddle? Photograph the affected fixture, its position, and any visible moisture. Give identical units simple numbers so you can keep track of them.
Keep essential steps and entrances illuminated while investigating. A decorative light that sometimes recovers is not dependable evidence that a walking route will remain lit. For problems that began before the storm, our general solar-light troubleshooting guide covers the broader starting checks.
| What you observe | What it suggests | Next step |
|---|---|---|
| Several dry lights have shorter runtime | Reduced charging is a possibility | Check sunlight, cleanliness, and settings |
| One light has water inside | Possible enclosure or seal problem | Switch off and check service instructions |
| A light flickers after wet weather | Moisture, contact, or battery fault | Inspect before further operation |
| A dry light works away from the porch | Ambient light may affect its sensor | Check nighttime placement |
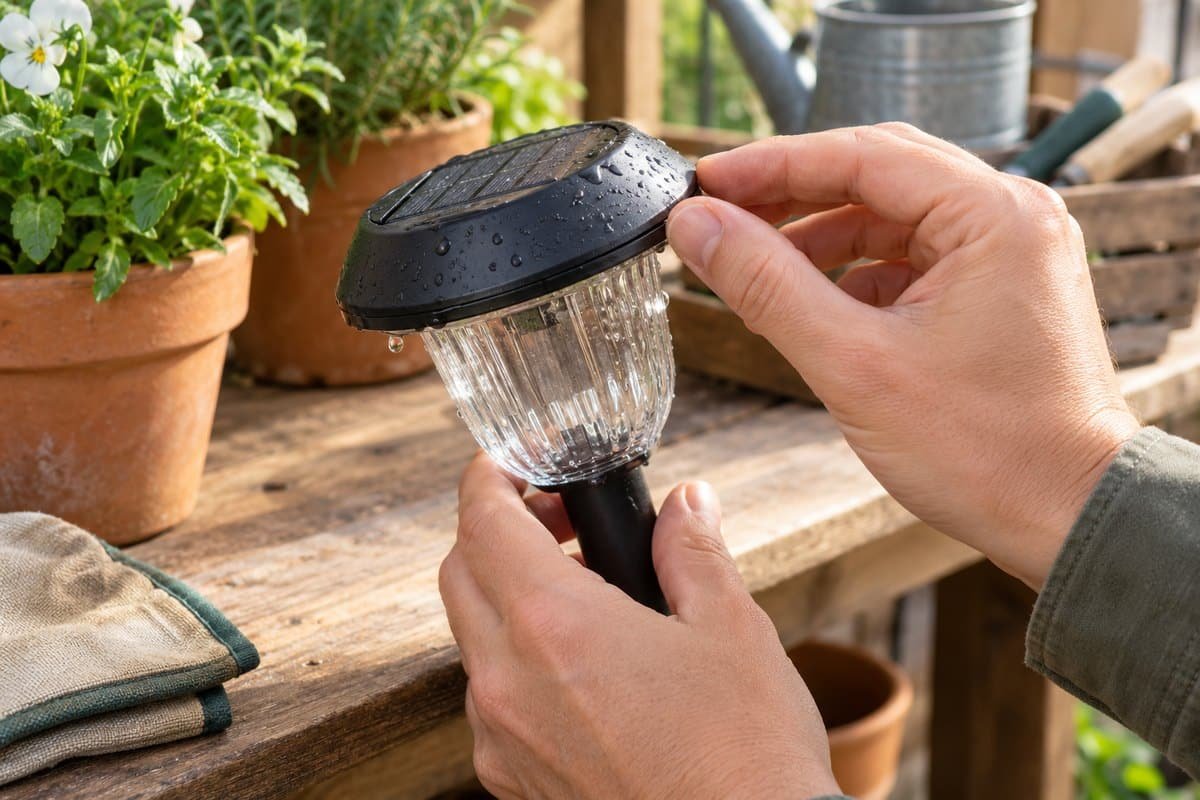
Five checks for solar lights not working after rain
1. Look for water entry before testing the electronics
Switch the affected light off and move it to a dry inspection area if it can be removed normally. Examine the lens, cap seam, battery-cover edge, and any cable entry. Look for cracks, a cover sitting crooked, trapped dirt, loose screws, or visible water inside. Take photographs before wiping away the evidence.
Exterior droplets do not establish that water reached the electronics. Equally, a clear-looking panel does not prove that an inaccessible compartment is dry. A film of fog, larger droplets, and pooled water are useful observations to report, not reliable measures of electrical damage.
The Sunnydaze solar gazing-globe manual specifically asks owners to check for accumulated water after rain and temperature changes. That instruction belongs to that model, but it illustrates why moisture inspection and sunlight checks are separate jobs.
2. Check charging conditions if the fixture is dry and intact
A run of cloudy days can leave a solar light with less stored energy. Inspect the panel for mud, wet leaves, bird droppings, and overhanging plants. Clean the exterior using the method allowed by the manual, then follow its charging procedure in the best available direct sunlight.
Do not assume every light charges with its switch OFF. Some require ON, and models with separate panels, remotes, or selectable modes behave differently. Use the specified settings rather than a generic reset sequence. A window ledge or a phone flashlight is not a substitute for the prescribed charging conditions.
For a practical comparison, record the result for a dry affected fixture and a dry working fixture from the same set. Note their locations and settings. If both improve after suitable charging, investigate the energy supply before buying replacement parts. If one stays faulty, continue with its individual checks.
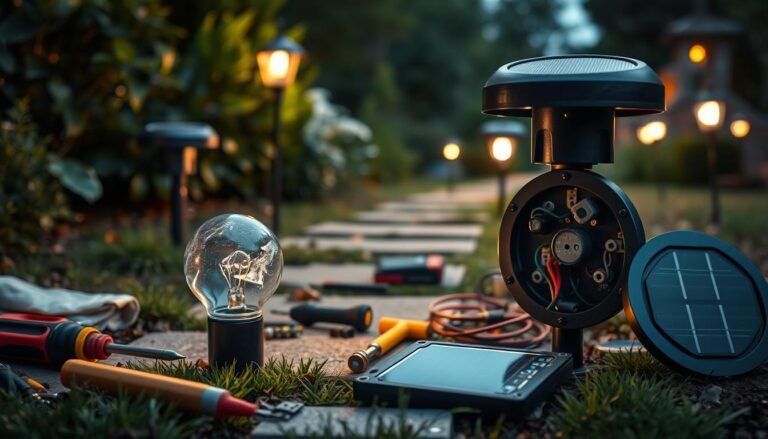
3. Inspect only the battery compartment designed for user access
Open a battery cover only when the manual permits it and the exterior is dry. Use a screwdriver that fits the fastener, keep screws together, and photograph the battery label and polarity. Stop if you encounter a sealed case, bonded cover, damaged battery, or wires that would need cutting or soldering.
Look for moisture, damaged contacts, or a displaced cover gasket. Do not scrape a circuit board or apply a household chemical mixture to unidentified residue. Follow the manufacturer’s cleaning instructions or request support. Drying a fixture does not establish that damaged contacts or a failed seal have been repaired.
Replace a battery only with the chemistry, voltage, size, and other specifications required for that light. A similar-looking cylinder can be electrically incompatible. Never put an ordinary non-rechargeable cell into a solar charging circuit, and do not buy a higher-capacity battery as an assumed cure for rainy weather.
4. Rule out a misleading nighttime sensor test
Once the light is dry, intact, and charged as instructed, test it under appropriate nighttime conditions. A bright porch lamp, nearby floodlight, or changed position can affect a dusk sensor. Check whether the fault follows the fixture or stays with one location, without leaving an entrance dangerously dark.
Use a cover-the-panel test only if the manufacturer recommends it, and remember that some designs have a separate sensor. Do not permanently tape over a panel or sensor. If the unit responds in one position but not another, our solar-light sensor troubleshooting guide explains the next checks.
5. Separate short runtime from complete failure
Record whether the light never switches on, flickers, or starts normally and fades later. These are different observations. A brief glow proves only that some light was produced at that moment. It does not identify the battery’s condition or confirm reliable operation after a wet spell.
Project Farm’s solar-security-light comparison is useful here: the section starting around 14:00 revisits brightness after several hours. It demonstrates why checking only at dusk misses changes over time. These are the creator’s tests of security lights, not our tests of path lights or a certification of rain resistance.
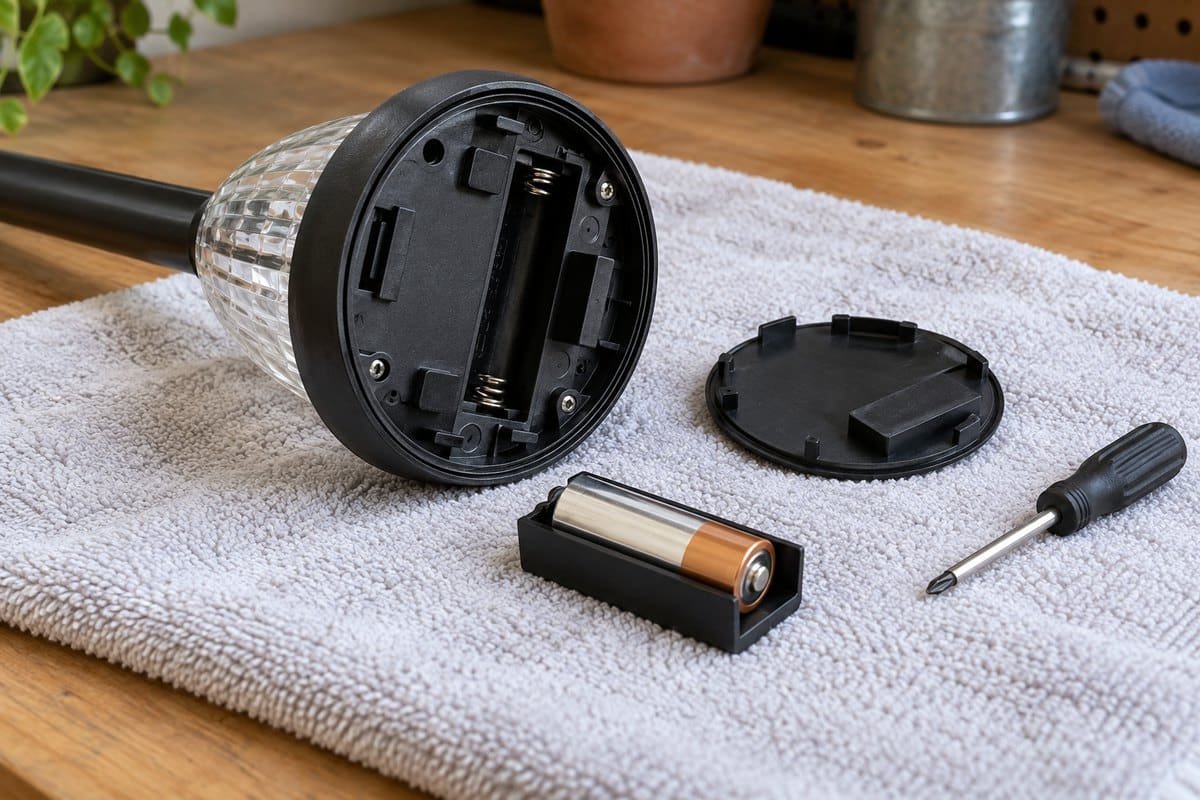
How to dry a wet solar light without guessing
Keep a wet light switched off and sheltered. Follow its service instructions for removable covers and batteries; leave sealed units intact. Gently blot accessible exterior water with a clean cloth. Do not reconnect a wet unit to a USB charger or another external supply while trying to diagnose it.
Nanoleaf’s solar garden-light support guidance tells owners to let lights dry completely before attempting to switch them on again after water exposure. Its remote reset and USB charging instructions are model-specific; do not transfer them to a different light.
There is no universal “two hours” or “48 hours” that proves an enclosed light is dry and undamaged. Keep it away from heaters, ovens, and concentrated hot air. Rice is not a manufacturer-approved repair method. If internal moisture remains inaccessible, or the fixture repeatedly becomes wet inside, contact the supplier rather than cycling it on to see what happens.
What an IP rating can—and cannot—tell you
“Waterproof” on a listing is not a complete installation instruction. The IEC’s explanation of ingress-protection ratings describes separate dust and water digits and different levels of water exposure. Read the rating together with the manufacturer’s limitations and assembly instructions.
Protection against a specified water test is not permission to bury a light head, pressure-wash it, or leave it submerged indefinitely. A missing cover, damaged seal, or improvised modification also changes the situation. Our IP65 versus IP67 solar-light guide gives more context for comparing ratings.
Two useful tools, if you need them
This article contains affiliate links. As an Amazon Associate I earn from qualifying purchases. These recommendations are based on documented product features, not personal testing. Check what you already own before buying.
Amazon Basics microfiber cleaning cloths, 24-pack
A clean, soft cloth is useful for exterior panels and lenses when the light’s instructions allow it. This pack suits households that can reserve separate cloths for dirty stakes and cleaner optical surfaces. The limitation is quantity: twenty-four cloths may be excessive for a small garden. Remove grit before wiping; a cloth cannot repair a leaking enclosure. View the Amazon Basics microfiber cloths on Amazon.
Klein Tools 32581 4-in-1 electronics screwdriver
This compact screwdriver offers Phillips #0 and #00 plus two slotted tips, which may suit small user-serviceable battery covers. Check the actual screw before buying: these tips will not fit every fixture, and the tool is not insulated. Use it for permitted maintenance on the switched-off solar light, never as a pry bar or a reason to open a sealed housing. View the Klein Tools 32581 on Amazon.
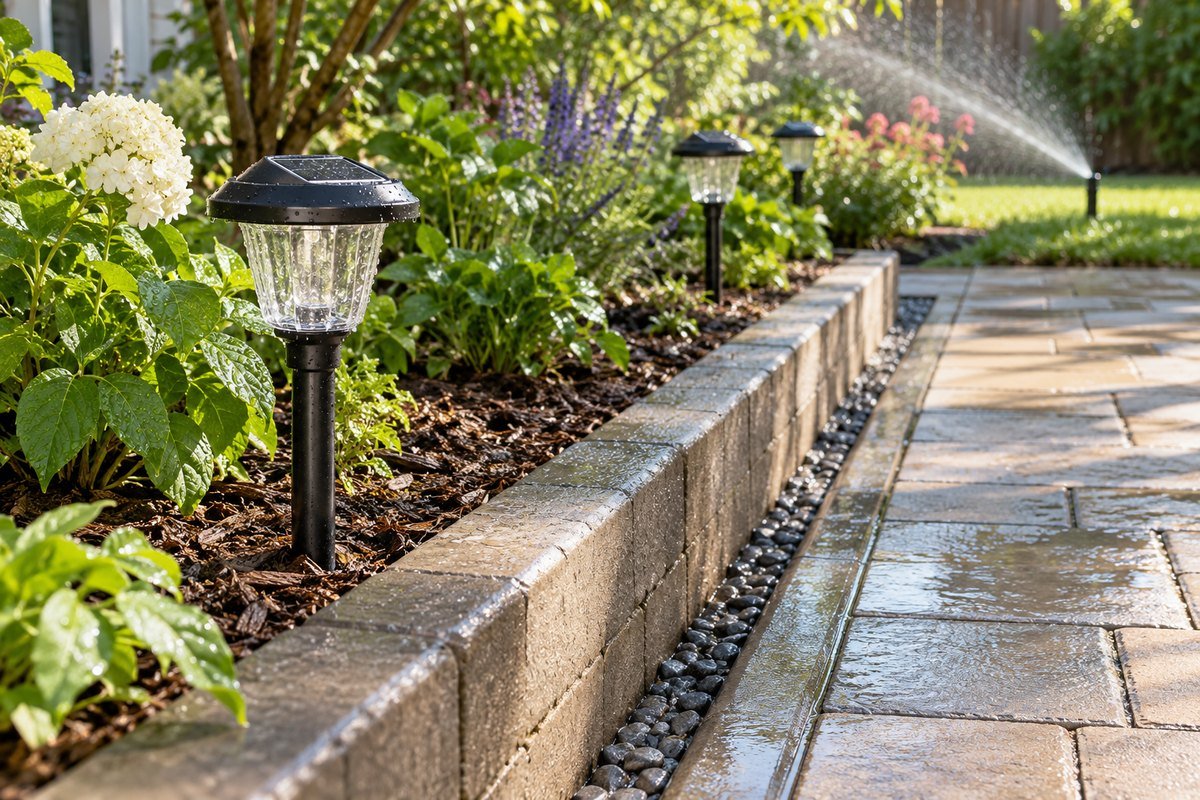
Prevent the next wet-weather failure
Walk the route after rain and note where water actually collects. Move permitted freestanding lights away from runoff, roof drips, and repeated sprinkler spray while preserving sunlight and useful path coverage. Keep covers and manufacturer-provided drainage features clear, and reinstall gaskets as instructed. Do not drill a new drain hole or seal every opening with adhesive.
Keep a simple record for each suspect light: location, visible moisture, charging conditions, settings, and nighttime behavior. A photo of the fault and the model number will help support more than a vague report that the set stopped working. Check warranty terms before attempting modifications.
Stop using a swollen, leaking, or otherwise damaged battery. The EPA’s household battery guidance explains appropriate collection and recycling routes. When seasonal storage is recommended for your equipment, use our winter solar-light storage routine instead of leaving unused fixtures exposed.
Use the pattern to choose the next step
Start with visible condition, then test charging and nighttime behavior only when the light is suitable for operation. A dry row that improves after sunshine points you toward charging; repeated internal moisture points you toward the enclosure and manufacturer support. That distinction helps you spend less on guesses and make a more useful repair decision.
Frequently asked questions
Why do solar lights stop working after rain?
Poor charging during cloudy weather, internal moisture, a damaged enclosure, or an unrelated sensor or battery issue can cause similar symptoms. Inspect the light first; the timing of the failure alone does not establish water damage.
How long should I let a wet solar light dry?
Follow the manufacturer’s instructions. There is no fixed drying time that proves every housing is dry or undamaged. Keep the unit off, avoid heat, and contact the supplier if internal moisture is inaccessible or keeps returning.
Does IP65 mean a solar light can sit in a puddle?
Do not assume that it does. Use the stated rating alongside the manufacturer’s installation limits. A claim of water resistance does not establish suitability for indefinite submersion, burial, or pressure washing.
Can I drill drainage holes in a solar light?
Do not add holes unless the manufacturer specifically instructs you to. Modifying the enclosure can create a new water path and affect the warranty. Keep existing drainage features clear according to the manual.
Should I put a wet solar light in rice?
Use the drying and service method approved for that fixture instead. Rice does not verify that internal electronics are dry or undamaged, and it does not repair the seal that allowed water in.
Why are all my solar lights dim after several rainy days?
Reduced sunlight is one possibility, especially if every fixture is dry and intact. Check panel cleanliness, shade, and the correct charging settings. Follow the manual’s charging procedure before deciding that all the batteries need replacement.