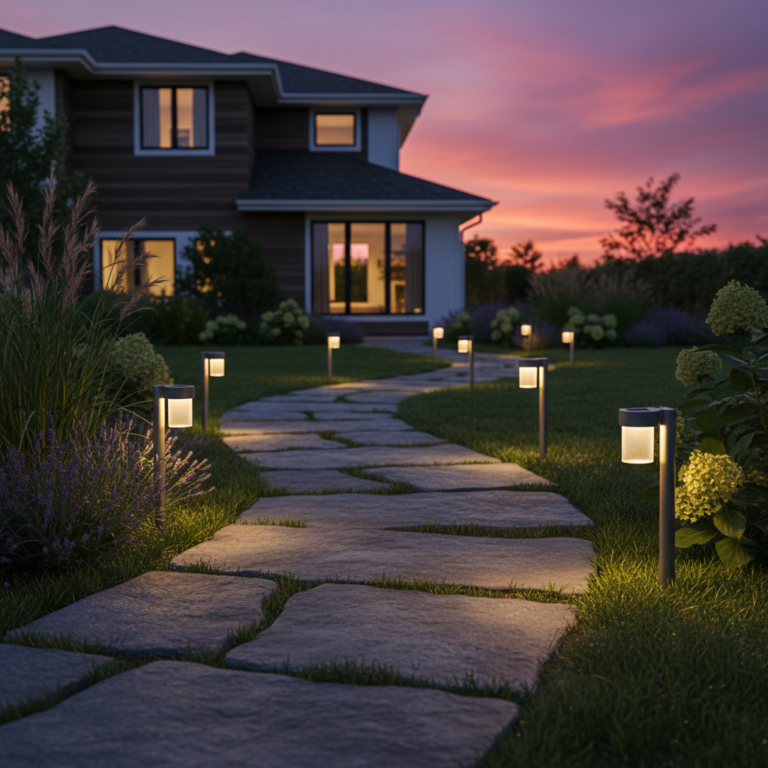
Solar Path Light Spacing: 7 Steps to a Custom Look
If your solar path lights look off, the problem almost always comes down to one thing: spacing. You bought the sleek black stakes. You pushed them into the dirt. And somehow your yard still looks like a garage sale. The lights aren’t the problem. Your solar path light spacing is. Even spacing is the single move that separates a yard that looks designed from one that looks decorated by accident. And with modern minimalist lights, it matters more, not less. Let me show you why — and then show you exactly how to do it.
Are Solar Path Lights Actually Any Good? Let’s Settle the Junk Myth
I know the objection. You’ve been burned before. You bought a six-pack at the hardware store. They glowed for two weeks. Then they died, leaned sideways, and turned that ugly foggy yellow.
Fair. That happened to a lot of people. But that was the old stuff. Modern minimalist solar path lights are a different animal:
- They use real LEDs, not the dim bulbs from a decade ago.
- Many now carry replaceable lithium batteries instead of sealed junk.
- The good ones use a clean downward beam, not a glowing plastic dome.
The light quality caught up. If you want to see how far the hardware has come, our rundown of the latest solar path light upgrades covers what actually changed. But here’s the thing most people never fixed: the layout. And layout is free.
Why Solar Path Light Spacing Matters More Than Brightness
Here’s the truth cheap-light critics never admit. Your eye doesn’t judge one light. It judges the rhythm of all of them together.
Think about a runway at an airport. What makes it read as a path isn’t the brightness. It’s the even beat of lights in a line. Break that beat, and your brain notices right away — even if you can’t say why.
That’s the real secret of good landscape lighting. People don’t notice the spacing on purpose. They just feel it. A calm, even run feels expensive. A cluttered, uneven run feels cheap. Your solar path light spacing is what creates that feeling. Nothing else does.
How Minimalist Solar Lights Punish (and Reward) Your Layout
Here’s the twist a skeptic misses. A busy, ornate light can hide sloppy spacing. A minimalist light cannot.
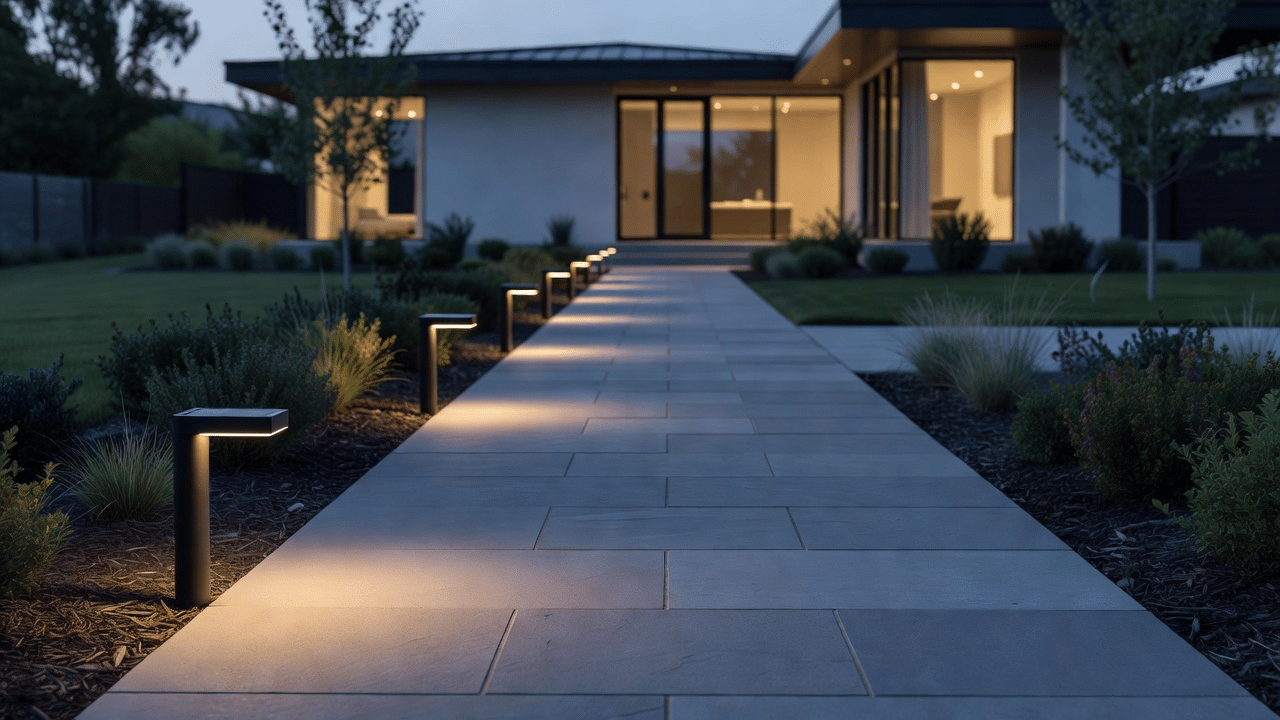
When a light is a plain matte post with a small glow, nothing distracts the eye. The spacing is the design. So a clean modern light punishes bad layout — but it rewards good layout more than any fancy fixture ever could.
Get the spacing right, and a $15 minimalist stake can look like a $200 fixture. That’s not hype. That’s just how the eye works.
How Far Apart Should Solar Path Lights Be? The 6-to-8-Foot Rule
Let’s get practical. How far apart should solar path lights be?
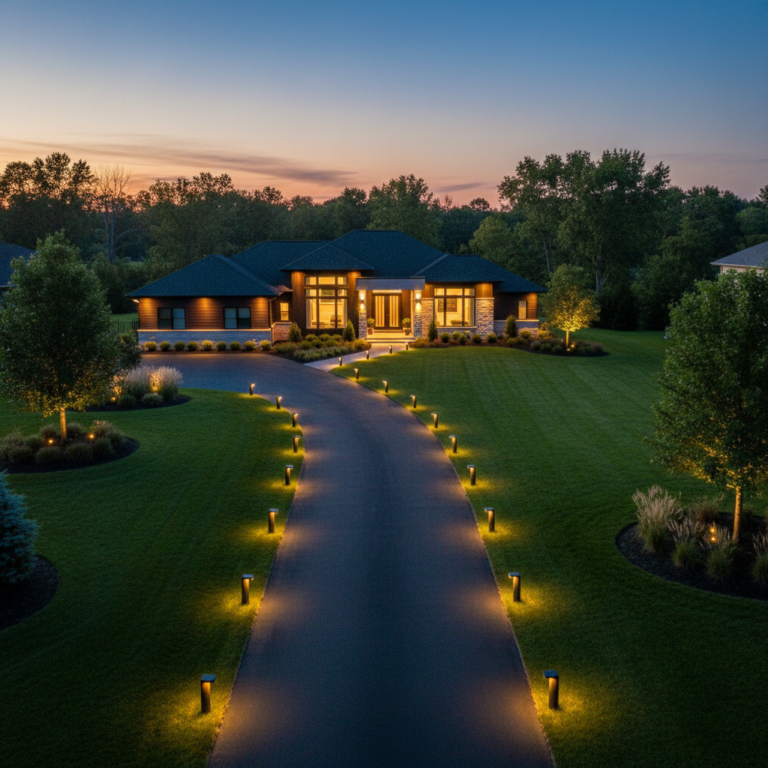
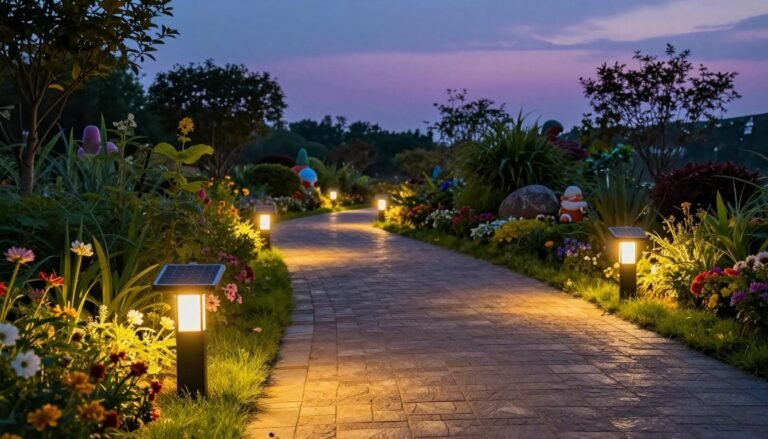
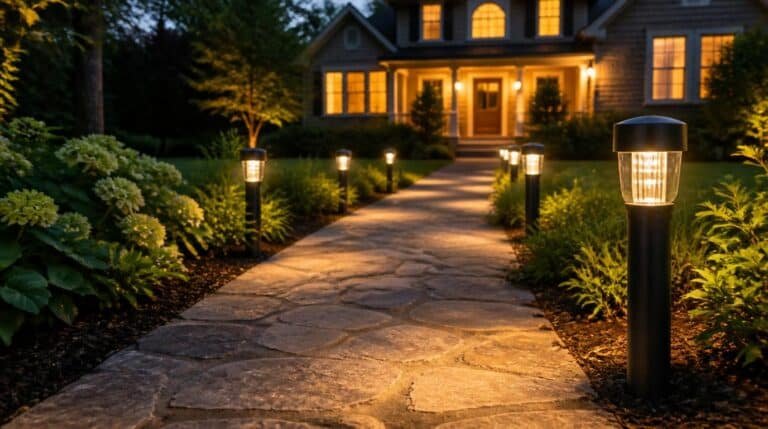
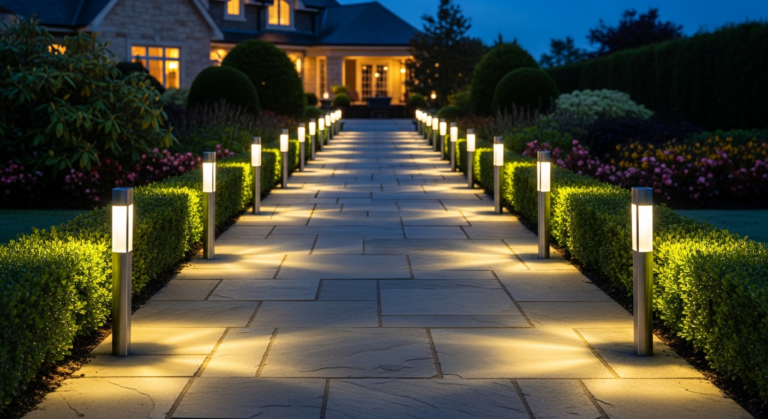
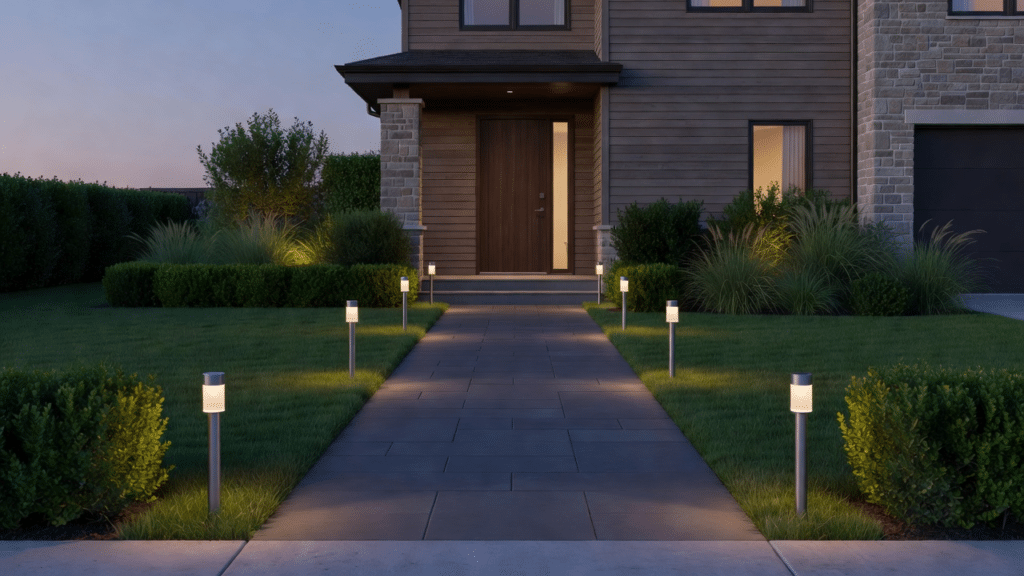
Space solar path lights 6 to 8 feet apart for most walkways. Move them closer (4 to 6 feet) for continuous, gap-free light, or wider (8 to 10 feet) for a calm, modern look. Very bright lights should sit farther apart so they don’t crowd each other and wash out the effect.
That 6-to-8-foot range is where most pros start. Why? Because it leaves a soft pool of light, then a small gap, then another pool. It guides the walk without turning your yard into a landing strip.
But the number depends on your goal:
- Want continuous light with no dark gaps? Move closer, around 4 to 6 feet.
- Want a calm, spaced-out modern look? Push wider, around 8 to 10 feet.
- Have very bright lights? Go wider so they don’t crowd each other.
There’s no single magic number. There’s a range, and a decision. Pick the effect you want first. Then pick the spacing that delivers it.
Step 1: Measure Your Path Before You Plant a Single Light
This is the step everyone skips. Don’t.
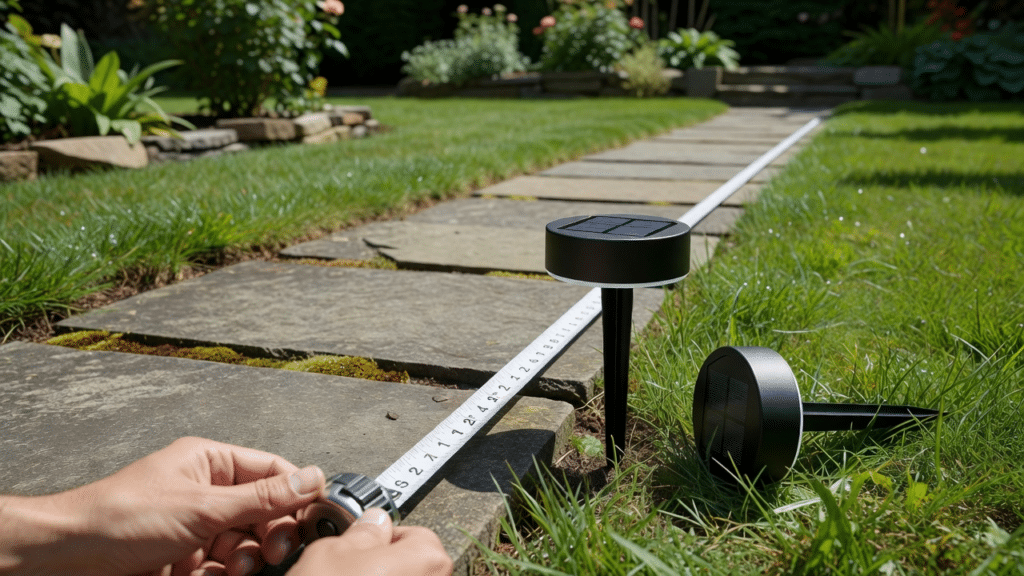
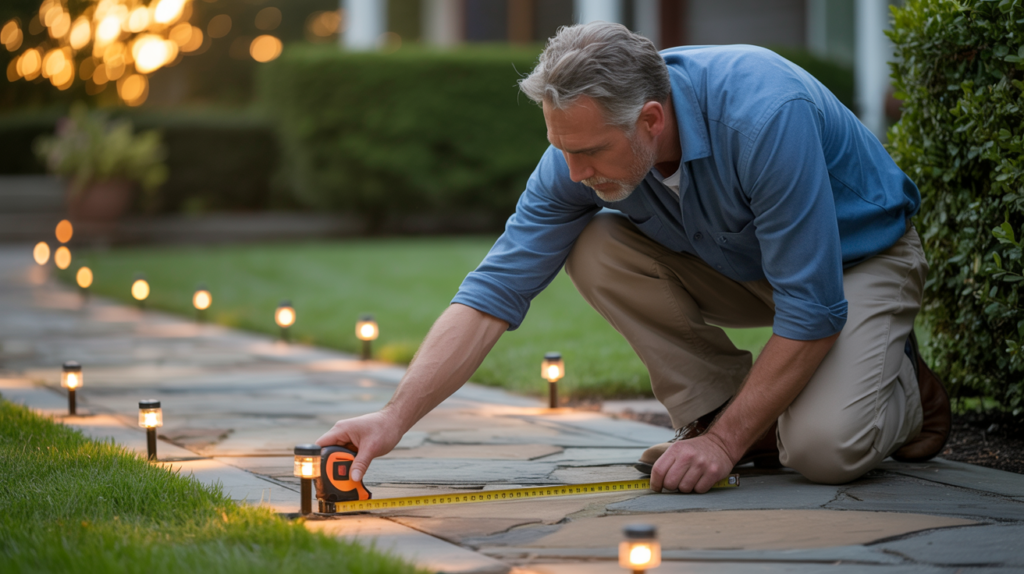
Walk your path with a tape measure. Write down the total length in feet. That one number decides everything.
Say your walkway is 30 feet long. Here’s the simple math:
- Pick your spacing. Let’s say 6 feet.
- Divide the length by the spacing. 30 ÷ 6 = 5. That’s the number of gaps between lights.
- Add one light to cap the end. So you need about 6 lights.
That’s it. A 30-foot path at 6-foot spacing needs roughly 6 lights, clean and even from end to end. Do the math on paper. Never eyeball it. Eyeballing is exactly how you get that garage-sale look. (If you’d rather skip the guesswork entirely, our installation guide walks through the 7 rookie mistakes that wreck a run before it starts.)
Step 2: Dry-Fit the Whole Run Before You Commit
Before you push a single stake into the ground, lay out the whole run on top of the soil.
Set each light at your measured marks. Use a tape measure, or a length of rope with knots tied at your spacing. Then walk to your front door and look. Really look.
Ask yourself:
- Do the gaps look equal?
- Does the line look straight, or is one light wandering off?
- Does the last light land at the end of the path — not three feet past it?
I’ve laid out enough of these runs to promise you one thing: the ones I eyeballed always came back to nag me, and the ones I measured never did. Fix it now, while it’s easy. Once you pack the soil, moving lights becomes a chore.
Step 3: Line One Side of the Path, or Commit to Both
Minimalist design loves a clear decision. Wishy-washy layouts kill the look. You have two clean options:
- Single-side lining. All lights on one edge of the path, evenly spaced. Simple, modern, easy to keep straight.
- Symmetrical both-side. Lights directly across from each other, like a mirror. This reads formal and high-end. It needs twice the lights and twice the care.
What you should almost never do is stagger them at random — one here, one over there. Random staggering is the fastest way to look cheap. If you go both-side, keep every pair even and aligned. For more layout looks that hold up in real yards, see the design ideas pros actually use.
Step 4: Space Path Lights Evenly Around Curves
Straight paths are easy. Curves trip people up.
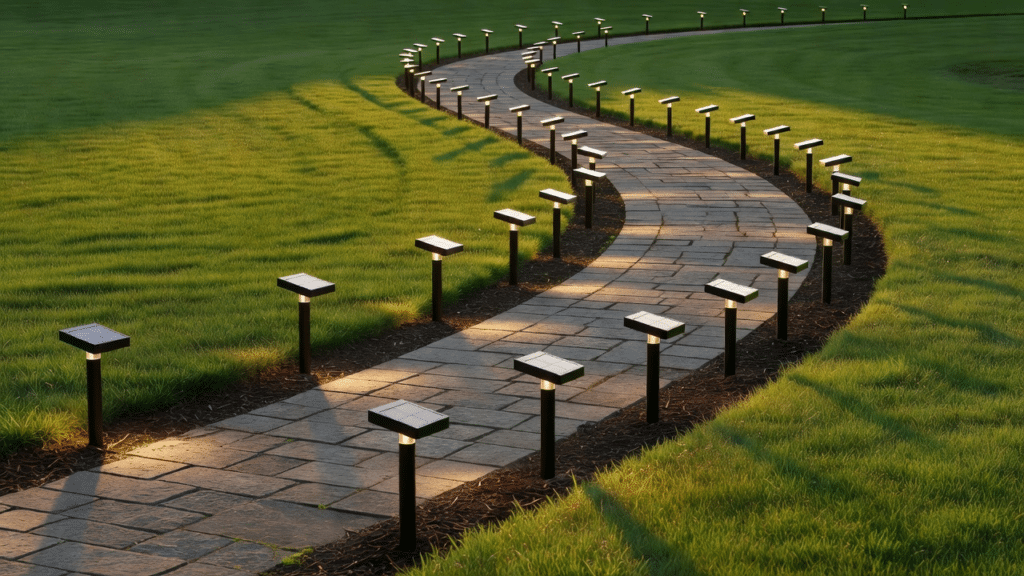
The mistake is measuring in a straight line across a bend. Don’t. Measure along the curve, following the actual walking edge. Use a flexible tape or a rope laid right on the path edge, then mark your spacing along that curve.
This keeps the beat even as the path turns. On a curve, spacing the lights a touch closer helps. It stops the outer edge from looking stretched and thin. The home-improvement pros at Family Handyman give the same advice for corners: don’t drop a light right on the bend — put one on each side of it so the turn stays lit.
Step 5: Put Solar Lights Where They Get Direct Sun
Here’s the one rule unique to solar. Your perfect layout means nothing if the lights sit in shade.
Solar path lights need direct sun to charge. A light stuck under a bush or against a north-facing wall will die by 9 p.m. — which is exactly why “bright at 9 p.m.” means nothing if it can’t hold the charge to midnight. So before you lock in spacing, check each spot for sun:
- Watch where shadows fall during the day.
- Avoid tree canopy, tall shrubs, and deep house shade.
- If one perfect spot sits in shade, shift the whole run a little to catch light.
Sometimes you give up an inch of perfect spacing to gain two hours of glow. Make that trade. A dark light breaks the rhythm far worse than a small spacing shift ever will.
Step 6: Match the Height and Angle of Every Light
Even spacing is only half of “even.” The other half is height. If one light leans and one stands tall, your clean line falls apart. The eye catches the wobble instantly.
So after you plant them:
- Stand at the start of the path.
- Sight down the line like you’re aiming a rifle.
- Straighten any light that leans or sits too low.
- Push every stake to the same depth, and pack the soil so it won’t sink after the first rain.
On minimalist fixtures, a crooked post is the loudest flaw in the whole yard.
Step 7: Test Your Path Light Spacing at Night, Then Adjust
Daytime layout lies to you. The real test happens after dark.
Wait for a fully charged night. Then walk the path slowly and look for:
- Dark gaps that feel too long.
- Bright spots that crowd together.
- Any light that’s clearly dimmer than its neighbors.
If a gap feels too dark, you don’t always need more lights. Sometimes shifting two lights a foot each fixes the whole flow. And if a light is simply dead while its neighbors glow, that’s a different problem — here’s why solar path lights stop working and how to bring them back. This final walk is what pros do and amateurs skip. It’s the difference between “good enough” and “how did you get it to look like that.”
Watch it done: a quick visual on placing and spacing solar lights before you commit your run.
Does Solar Path Light Spacing Really Affect Curb Appeal?
Let me talk to the skeptic one more time — the one thinking, “It’s just yard lights. Who cares about six inches?”
Your neighbors care, even if they don’t know it. And the data backs it up. In the National Association of Realtors’ 2023 Remodeling Impact Report: Outdoor Features, landscape lighting earned a perfect Joy Score of 10 — the highest of any outdoor project studied — and 92% of Realtors tell sellers to improve curb appeal before they list. Clean, intentional landscape lighting is one of the cheapest ways to lift how a home reads to the eye.
And you care too. You’ll feel it every night you pull into the driveway. A messy light run creates low-grade friction — something looks off, and your brain keeps snagging on it. An even run does the opposite. It reads as calm, finished, handled.
That feeling is the whole point. You’re not buying lights. You’re buying the sense that your home is put together.
How Cheap Solar Path Lights Can Beat Expensive Fixtures
Here’s what people who’ve actually done this know. You can spend $600 on wired fixtures and still get a mediocre look if the spacing is random. Or you can spend $80 on clean minimalist solar stakes, space them with a tape measure, and stop people on the sidewalk.
No electrician, no trenching, no permits — just a tape measure and one free afternoon. The expensive part of great lighting was never the fixtures. It was the care. And care costs you one afternoon and one tape measure.
That’s the part critics never admit. They blame the product because blaming the product is easier than measuring the path.
The Solar Path Lights I’d Buy for an Even Run
You don’t need the priciest set — you need enough matching lights to cover your run at your chosen spacing, and a look that suits your yard. Three that fit the job:
As an Amazon Associate, solarpathlights.org earns from qualifying purchases. Prices and availability change, so confirm each listing before you buy.
- GIGALUMI 16-Pack Stainless Steel Solar Path Lights (Cold White) — the workhorse pick. Sixteen matching stakes is enough to line a long walkway at 6-foot spacing with a few spares, so your whole run looks uniform out of one box.
- Dazzle Bright 10-Pack Warm White Solar Pathway Lights — the minimalist warm-glow option. Compact black posts with a soft warm-white cast, which is the exact “expensive matte fixture” look this guide is built around.
- Pure Garden Stainless Steel Solar Path Lights (4-Pack) — the starter/top-up pick. Perfect for a short front walkway, or for closing a gap when you measured and came up one or two lights short.
Not sure which finish or brightness fits your yard? Our full solar path lights buyer’s guide and reviews breaks down the trade-offs before you commit.
How Lumen Output Changes Your Spacing Math
Here’s where most outdoor lighting tips fall short — they give you a single spacing number without accounting for brightness differences between fixtures. A 5-lumen solar stake and a 100-lumen bollard-style light need radically different spacing. Treating them the same guarantees uneven results.
What spacing works for low-lumen solar path lights under 15 lumens?
Budget solar path lights in the 2-to-15-lumen range throw a pool only about 2 to 3 feet wide. I tighten spacing to 4 to 5 feet apart for these. Yes, you’ll need more fixtures. But trying to stretch cheap lights across 8-foot gaps just creates that dreaded dark-stripe look. If you’re buying a 10-pack of inexpensive lights, the tight spacing actually works in your favor — you’ve got the quantity to pull it off.
What about brighter fixtures rated 30 lumens or higher?
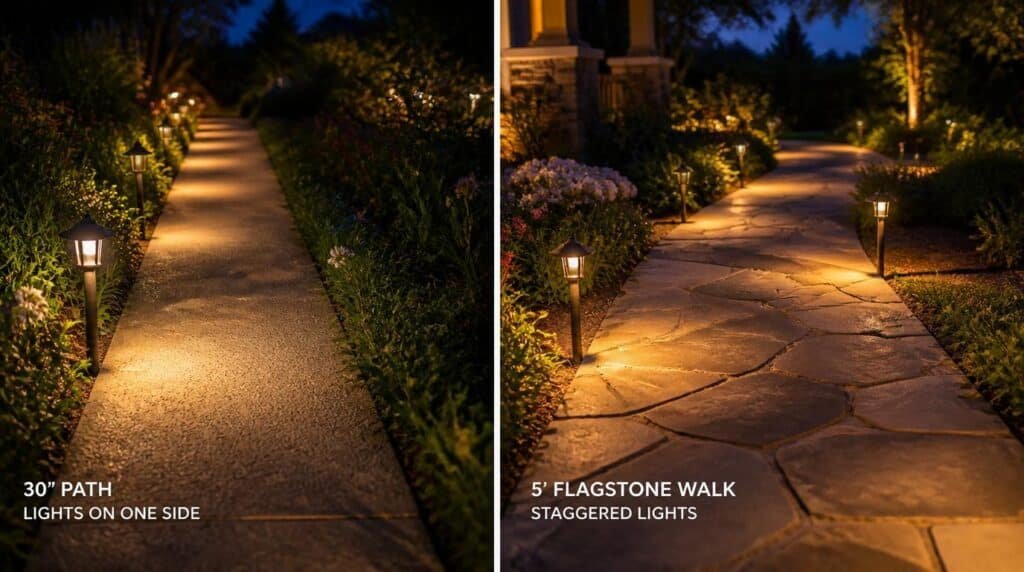
Once you step into the 30-to-100-lumen range, you’re dealing with fixtures that throw 5- to 7-foot diameter pools. Here, you can relax spacing to 8 to 10 feet and still achieve solid overlap. These higher-output lights also give you the option of single-side placement on narrow paths (under 30 inches wide) since the pool is wide enough to wash across the full path width.
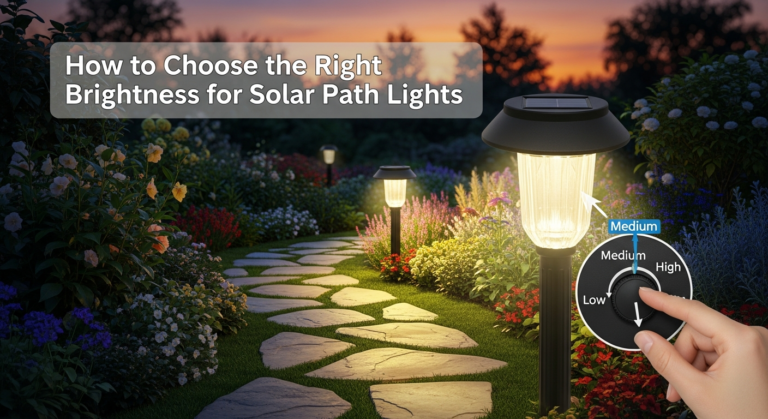
The key variable is choosing the right brightness for your solar path lights before you even think about spacing. Brightness dictates geometry. Get brightness wrong, and no spacing formula saves you.
Staggered vs. Straight-Line Placement — What I’ve Seen in 200+ Installs
Should you stagger your lights on alternating sides or line them all up on one side? I’ve done both configurations more times than I can count. The answer isn’t even close.
Staggered wins. Every time. And I don’t say that because it’s what the textbooks recommend — I say it because I’ve stood on driveways at 10 PM comparing the two approaches side by side on the same property.
When you line up all your solar path lights on one side, you illuminate only half the walkway surface. The opposite side stays dark, which creates an asymmetric, lopsided feel. Worse, it can actually be a safety hazard — the dark side hides trip points like raised pavers or tree roots. A study from the Illuminating Engineering Society shows that asymmetric pathway lighting increases pedestrian misstep risk by creating misleading shadow patterns that obscure surface irregularities.
Staggering distributes light across both edges, and the overlapping pools meet in the center of the path. The result: a continuous ribbon of soft illumination with no dead zones. TBH, once you see the difference at night, you can’t unsee it.
Path Width: The Variable Everyone Ignores
How wide is your path? No, seriously — go measure it. I’ll wait. Because path width changes everything about your spacing strategy, and almost nobody talks about it.
A standard residential front walkway runs 36 to 48 inches wide. At that width, a staggered layout at 6- to 8-foot intervals works beautifully because the light pools from alternating sides overlap right across the center.
But what if you have a wider path — say a 5- or 6-foot-wide flagstone walkway? Now the gap between opposite-side lights is wider, and mid-range fixtures may not throw enough light to cover the center. You’ve got two options:
- Tighten the stagger spacing to 4 to 5 feet so the light pools push deeper toward center
- Use higher-lumen fixtures that cast a wider pool (50+ lumens per light)
For narrow paths under 30 inches — like side-yard walkways or garden stepping-stone trails — single-side placement actually works fine. Just keep spacing at 5 to 6 feet and use fixtures that throw at least 15 lumens.
Advanced Layout Tactics for Curves, Slopes, and Driveways
Straight paths are easy. What happens when your walkway curves, your yard slopes, or you’re lighting a long driveway edge?
How should you space solar path lights on a curved walkway?
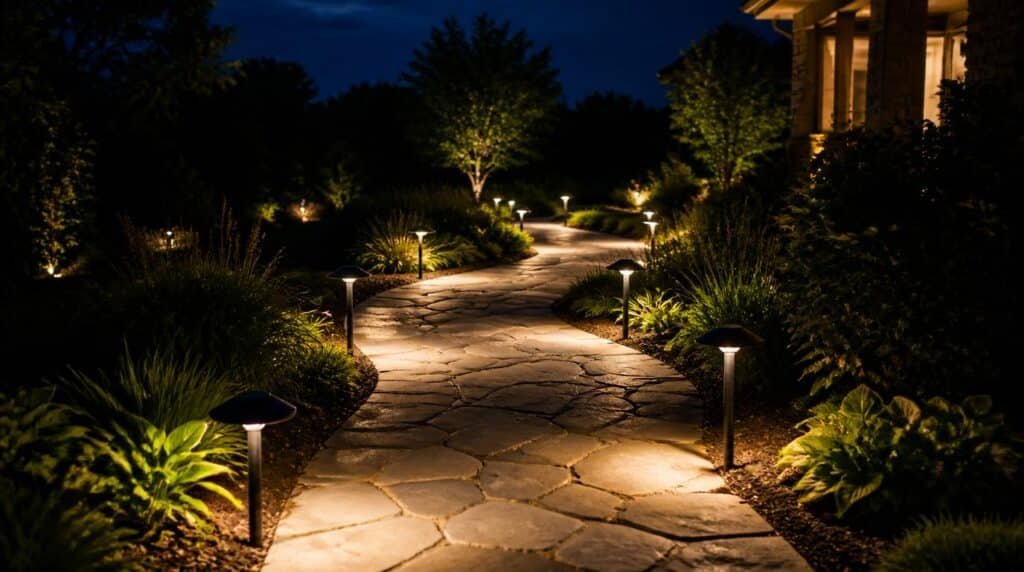
On curves, tighten your spacing by about 20%. If your straight-path interval is 7 feet, drop to 5.5 to 6 feet through the curve. Why? Curves create angular shifts between fixtures, which means the light pools no longer align in a straight overlap pattern. Tighter spacing compensates for the geometry change. I also place an extra light at the apex of any curve — that’s the point where people’s eyes naturally track, and a dark spot there feels especially jarring.
What about paths on a slope or grade change?
Slopes are sneaky. A light at the top of a grade throws its pool downhill, stretching it into an elongated oval rather than a circle. The light at the bottom throws uphill, compressing its pool into a tight circle. The result: inconsistent coverage even when fixtures are evenly spaced. My fix is to add one extra fixture at the midpoint of any grade change steeper than a 10% slope. That midpoint light acts as a bridge between the distorted pools above and below it.
For driveway edges, I use a single-side linear layout at 8-foot intervals with fixtures rated at 30 lumens minimum. Driveways don’t need the same intensity as front walkways — the goal is wayfinding, not area illumination. You want drivers and pedestrians to see where the driveway edge is, not to flood the entire surface with light.
One last pro-level trick most people never consider
Do a “walk test.” After placing your lights temporarily, walk the entire path at your normal pace at full dark — not twilight, actual dark. Count how many steps you take in complete shadow. If you take more than two consecutive steps without any light on the ground in front of you, you have a gap. Move the nearest fixture 12 inches closer and test again. This walk test catches problems that aerial diagrams and daytime planning miss completely. 🙂
How to measure spacing without overthinking it
You don’t need a CAD model of your walkway. You need a repeatable process that gets you 90% right on the first try.
Step 1: Decide the job (guide vs illuminate)
Guide lighting means you just want edges visible—think driveway border or garden path. Illuminate lighting means you want enough light to see surface detail—steps, cracks, changes in elevation.
If you’re in “guide” mode, you can space farther. If you’re in “illuminate” mode, you tighten up. Simple.
Step 2: Use human-scale spacing, not math-scale spacing
Here’s the veteran trick: use your stride. A relaxed adult step is roughly 2.5–3 feet. That means:
- 4–6 feet = about 2 steps (tight spacing, safer, more uniform)
- 6–8 feet = about 3 steps (default, balanced)
- 8–10 feet = about 3–4 steps (only if lights are strong and wide)
Mark spots with painter’s tape or little stones, wait until dark, then move them. Yes, it’s low-tech. It also works.
Step 3: Understand what “even” lighting actually means
Even lighting doesn’t mean “same brightness everywhere.” It means no jarring bright dots and no black holes. If your lights create intense circles, you’ll need tighter spacing or better optics (diffusers/lenses).
If you want a nerdy unit behind the vibe: illuminance is commonly measured in lux or foot-candles. A foot-candle is defined as one lumen per square foot (and it converts to about 10.764 lux). That’s not trivia—it’s why “a little more light” can be a measurable thing. See: foot-candle definition and illuminance overview.
Install like a pro: layout patterns that hide flaws
Spacing isn’t just a number. It’s also geometry. The same lights can look premium or chaotic depending on the pattern.
Pattern 1: Staggered “zipper” layout (my default)
Best for: most walkways, especially 3–5 feet wide.
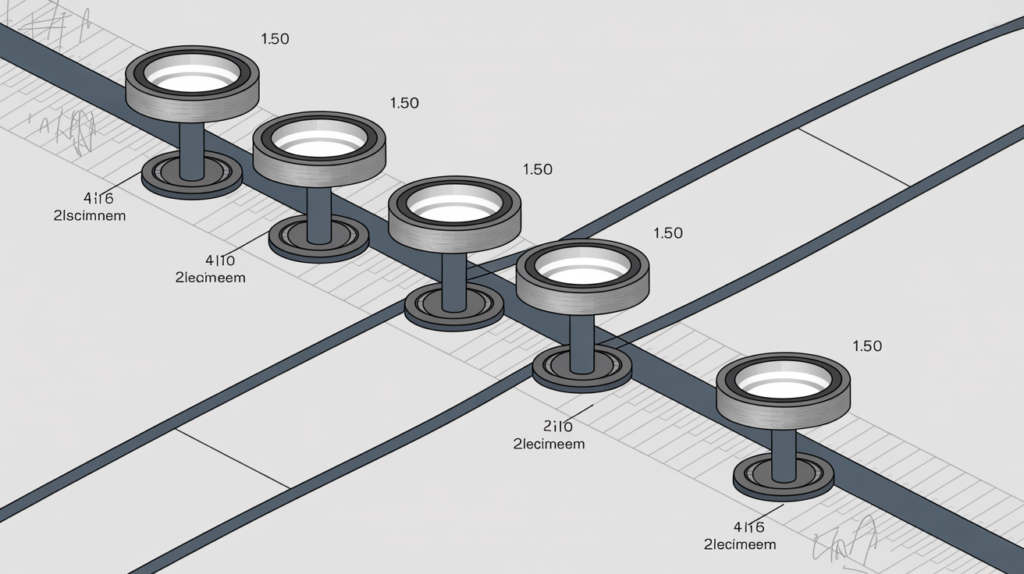
Instead of placing lights directly opposite each other, stagger them like a zipper. Why? Because it smooths out the perceived gaps. Your eyes read it as continuous guidance rather than “pairs of dots.”
- Start 12–18 inches from the walkway edge (so you’re lighting the walking surface, not the shrubs).
- Place the first light on the left, then the next on the right 3–4 feet ahead (half-step offset).
- Continue at your chosen spacing (6–8 feet default) while maintaining the offset.
Pattern 2: One-side tight spacing (when you can’t do two sides)
Best for: narrow paths, fence-side walkways, planting-bed constraints.
If you’re forced into one-side lighting, don’t pretend it’s two-sided. Tighten to 4–6 feet and keep the fixtures aligned. Curves get extra lights. Yes, extra. Safety beats symmetry.
Pattern 3: “Hazard clustering” (the grown-up move)
Best for: steps, transitions, uneven pavers, slopes.
Most people space lights evenly like robots. Pros “cluster” where the risk is. Put lights closer together near hazards and let them breathe on straight, flat sections.
If you want a bunch of layout patterns with visuals (and fewer regrets), steal from this: solar path light layout ideas for walkways.
Quick troubleshooting: if it still looks bad
- Uneven brightness: check panel shading, clean the panels, and replace mismatched batteries (don’t mix “random drawer batteries” with new ones).
- Too much glare: lower the fixture angle (if adjustable) or choose a hat-style shielded light.
- Still patchy: tighten spacing by one “step” (about 2–3 feet) and reassess.
One more external reality-check: exterior lighting is often overdone, and “more light” isn’t always safer if it creates glare or harsh contrast. DOE’s exterior lighting guidance talks about identifying overlit areas and using appropriate levels—useful mindset even at home: DOE exterior lighting for savings, security, and safety (PDF).
Solar Path Light Spacing FAQ
How far apart should solar path lights be? Space them 6 to 8 feet apart for most walkways. Move closer (4 to 6 feet) for continuous, gap-free light, or wider (8 to 10 feet) for a sparse, modern look. Brighter lights can sit farther apart without leaving dark spots.
How many solar path lights do I need? Measure your path length in feet, divide by your spacing, then add one light to cap the end. A 30-foot path at 6-foot spacing needs about 6 lights (30 ÷ 6 = 5 gaps, plus 1).
Should solar path lights go on one side or both sides of the path? One evenly spaced side looks clean and modern and is easiest to keep straight. Both sides — lights mirrored directly across from each other — looks more formal but needs twice the lights and twice the care. Avoid staggering them at random.
How far from the edge of the path should I place them? Set each stake a few inches back from the paved edge, roughly 6 to 7 inches, so the spike seats in soil instead of hitting gravel or the path’s base. Keep every light the same distance back so the line stays straight.
Do solar path lights need direct sunlight? Yes. They charge from direct sun, so a fixture in deep shade or against a north-facing wall may quit early in the evening. Give each spot several hours of direct daytime sun, even if it means nudging the whole run slightly.
Why do my solar path lights look uneven or dim? Usually it’s charging or spacing, not the lights themselves. Check for shaded fixtures, uneven stake heights, and gaps that are too wide. Fully charge them, straighten the line, and re-test after dark before adding more.
Get Your Solar Path Light Spacing Right
Here’s what nobody selling you fixtures wants to admit. The people with the yards you envy aren’t buying better lights. They’re spacing the ones they already have. Nail your solar path light spacing and a handful of $15 stakes will read like $200 fixtures — every single night you pull into the driveway.
So do the one thing that actually changes the result. Grab a tape measure this weekend, mark your run at 6 feet, and dry-fit the whole line before a single stake touches the dirt. That’s the trick. Go measure.