
Solar Path Lights in Shade: A Practical Planning Guide
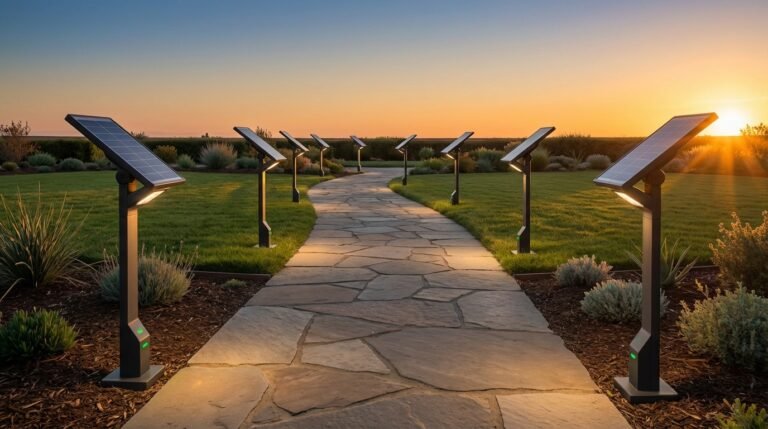
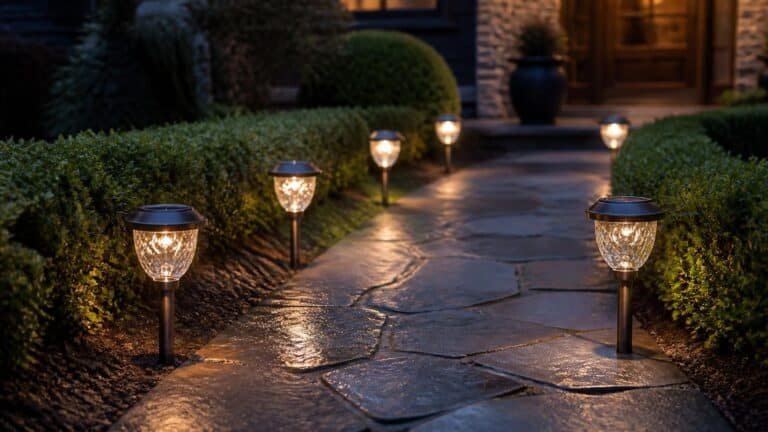
Your walkway sits beneath a tree, but the sunny flower bed is several feet away. Can solar path lights in shade still be useful? Sometimes—but the charging panel needs enough usable daylight to support the light you want. A separate panel can let the lamp sit in shade while its energy source sits in sun. If neither location receives suitable sunlight, wired lighting is usually the more dependable direction.
Before buying a full set, separate three questions: where can the panel charge, where must the light fall, and when do you need that light? This guide uses a simple location-and-runtime worksheet to connect those decisions. It is a planning method, not a laboratory test or a promise that any fixture will last all night.
Table of Contents
How solar path lights in shade get their power
Solar panels convert light into electricity. The U.S. Energy Information Administration explains photovoltaic generation and notes that panels produce the most electricity when directly facing the sun. A place that looks bright to your eyes is therefore not automatically a suitable charging location.
Distinguish moving shade from persistent shade. A fence may block the panel in the morning but leave it exposed later. A dense evergreen canopy or deep roof overhang may block direct sunlight through most of the day. Thin cloud and tree shade are also different conditions; avoid treating every less-than-sunny situation as the same test.
There is no single reliable runtime for “partial shade.” Panel size, available light, battery condition, operating mode, and the fixture’s controls all affect the result. A manufacturer’s stated charging requirement is a starting condition to check, not a guarantee for every yard. Claims about working in shade need meaningful conditions behind them.
Map the charging location before the lighting layout
Sketch the walkway, nearby beds, fences, and buildings. Mark the places where you need to see a turn, an edge, or an entrance. Then mark possible panel positions separately. This prevents an attractive row of lamps from dictating a poor row of charging locations.
- Observe the candidate positions during the morning, around midday, and later in the afternoon.
- Write down when direct sun begins and ends; add observations between those checkpoints when shadows move quickly.
- Note the date, cloud conditions, leaves overhead, and anything likely to change.
- Compare the observed exposure with the manual for the specific model.
Three quick observations cannot measure daily solar energy. They are a screening exercise that tells you where closer observation is worthwhile. Do not convert a phone photograph of a sunny patch into a precise charging forecast. If the purchase matters, repeat the check on more than one day.
Consider the season you actually need. A summer afternoon without leaves on a nearby young tree does not represent its future mature canopy. Likewise, a sunny October location may lose exposure as the sun’s path changes. In Southern Hemisphere countries, seasonal timing and useful panel orientation differ from the United States.
Compare integrated panels, separate panels, and wired lighting
| Arrangement | Most useful when | Main check |
|---|---|---|
| Panel built into each light | The lamp position itself has suitable sun | Exposure at every individual fixture |
| Separate solar panel | A sunny charging position is within the supplied cable’s reach | Panel exposure, cable route, and compatible components |
| Wired pathway lighting | Solar exposure is unsuitable or the required operating period is demanding | A suitable outdoor system and installation requirements |
Integrated lights keep installation simple
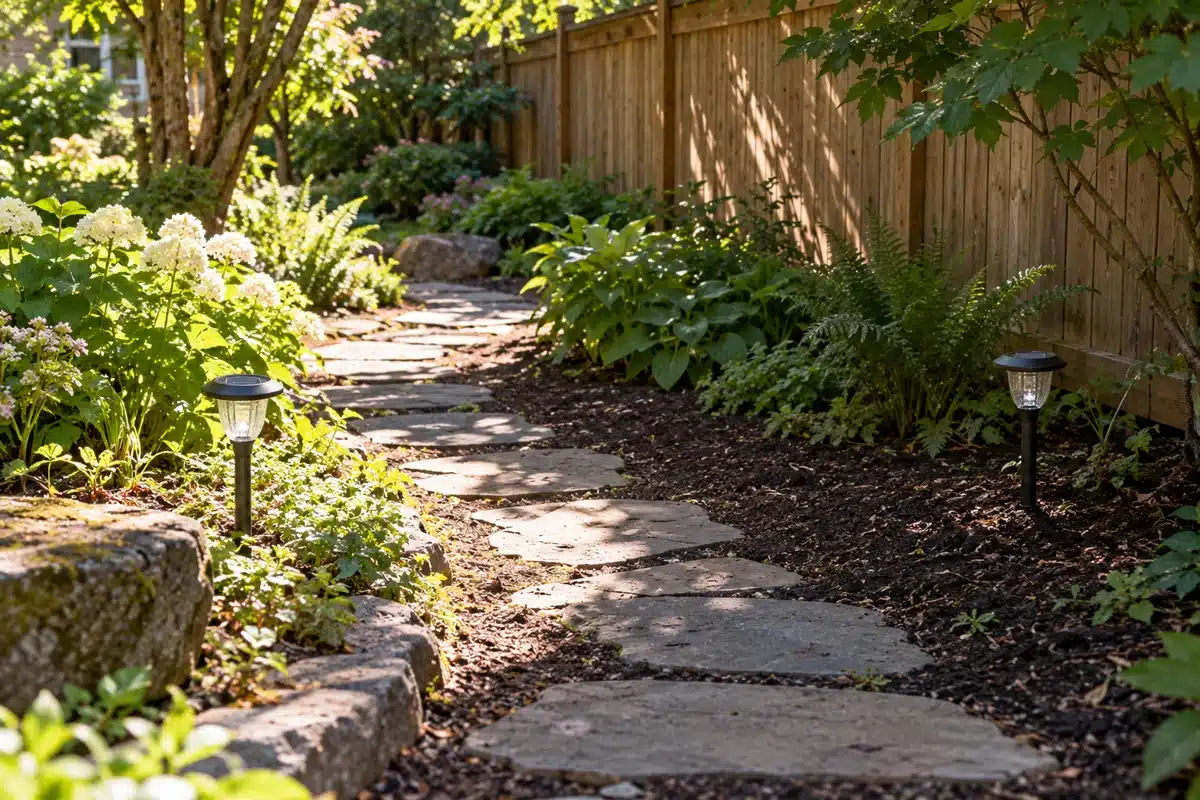
An integrated light has fewer separate pieces to position. That can be convenient along an open border. It also ties the panel to the lamp: moving the light into better sun moves its illumination too. One shaded fixture can behave differently from the rest of an otherwise identical set.
Try a modest position adjustment before changing the whole design. Keep the fixture outside the walking surface and away from mower routes. Use the site’s solar path light spacing guide to refine the pattern once charging locations are plausible. Spacing advice cannot compensate for an unsuitable power source.
Separate panels solve a location problem
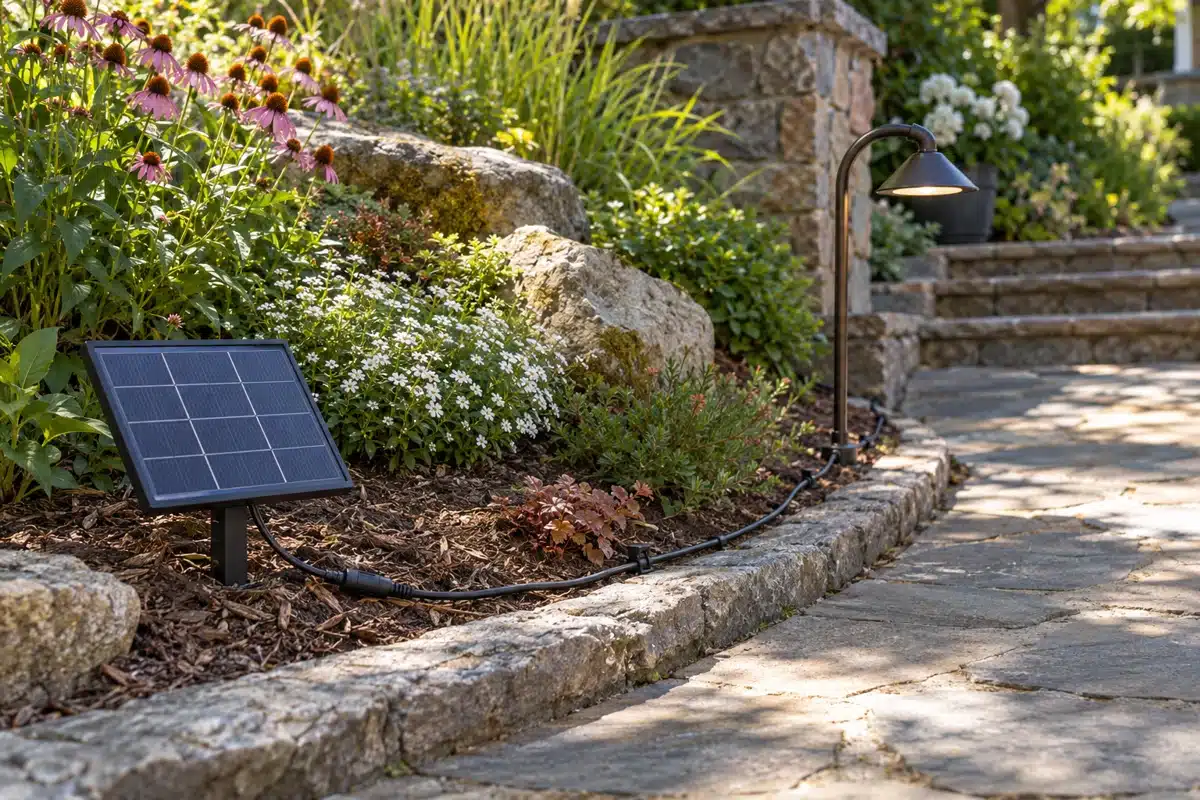
A separate panel allows the energy collection point to sit somewhere different from the lamp. That can suit a shaded side passage beside an open bed. It does not remove the need for sunlight, and a long cable in the wrong place can create a new maintenance problem.
Look for a complete system designed for that arrangement. Measure the route around the border rather than the straight-line distance across the walkway. Keep connectors accessible as the manual requires. Do not assume an extension cable, extra lamp, or replacement panel is compatible merely because its plug looks similar.
Wired lighting deserves a fair comparison
If useful sun is absent, stop treating battery replacement as the default solution. A suitable wired system avoids dependence on daily local solar charging, although it introduces its own equipment, installation, and electricity needs. Use the solar versus plug-in pathway lighting comparison as background, then assess your actual site.
For steps or a route that must remain usable late at night, prioritize dependable illumination over decorative appearance. Follow local requirements and manufacturer instructions, and obtain qualified installation help where needed. Small decorative solar lamps should not be assumed to satisfy required access or emergency lighting standards.
Use a location-and-runtime planning worksheet
Make one row for each part of the path. Record the lighting task, hours of use, possible charging point, and an observation that would make you reject the arrangement. This is an original editorial decision framework, rather than a measured performance rating.
| Path section | Need | Candidate arrangement | Decision check |
|---|---|---|---|
| Open entrance | Evening edge guidance | Integrated solar light | Panel meets its manual’s exposure requirement |
| Passage by fence | Visible turn during evening use | Separate panel in sunny bed | Cable fits safely and illumination reaches the turn |
| Doorstep | Light whenever entry is needed | Suitable dependable entry lighting | Required operating period and installation needs are met |
The useful outcome is a decision, not a score. If the panel cannot meet its stated charging conditions, reject that location. If the light misses the walking surface, reject that optical layout. If it turns off before your needed period ends, reject that operating arrangement even if it looks attractive just after dusk.
This approach also prevents unnecessary purchases. A sunny entrance and shaded passage may need different power arrangements. Matching visible finishes can create a coherent look without forcing every section to use the same charging method.
Run a small trial before ordering a full set
Where practical, evaluate one light or the smallest suitable kit first. Follow its initial charging instructions, switch settings, and installation guidance. Record the model and mode so you can interpret the result later. A high-output setting and a reduced-output setting are different trials.
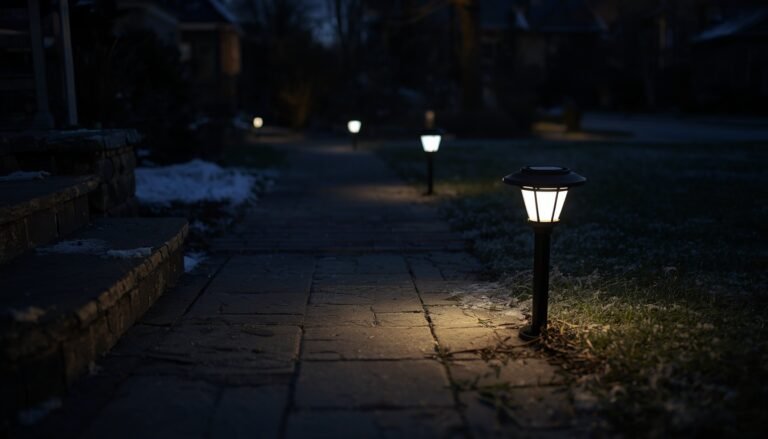
Check the path after dark and again near the end of your intended use period. Ask whether the edge, turn, or obstacle is visible without looking directly into the lamp. View it from both directions. A fixture can appear bright while leaving the surface between lamps difficult to distinguish.
Record weather and charging conditions alongside the observation. Repeat after a less favorable day if the product’s instructions and return period allow. A successful clear evening provides useful local evidence, but it does not validate winter performance or continuous operation throughout a cloudy week.
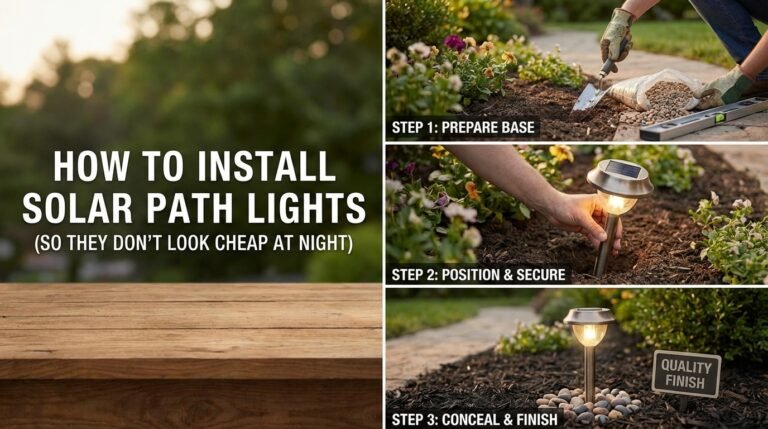
If you compare locations, keep the model and mode consistent and note that the battery’s starting charge may differ. These observations help household planning; they are not a controlled product comparison. For physical setup details, consult the solar path light installation guide alongside the product manual.
Read the specifications that affect this decision
Check charging instructions, operating modes, cable length where applicable, mounting options, permitted temperatures, and battery service information. Look for an accessible manual before buying. If a listing makes a broad runtime claim without explaining the charging conditions, treat that gap as uncertainty.
Do not choose on battery capacity alone. Storage and daily energy collection are separate questions. Nor does a large advertised lumen figure tell you where the light falls or how output changes during the night. Ask whether the manufacturer describes the operating profile and intended use.
For a practical shopping shortlist, consider a complete separate-panel lighting kit, a simple tape measure for the cable route, and reusable markers for temporary positions. You may already own the last two. Avoid buying spare cells until you have confirmed that battery replacement is supported and identified the exact required type.
Keep the light restrained. DarkSky and the Illuminating Engineering Society’s lighting principles favor purposeful, targeted, low-level, controlled, warm-colored lighting. Apply that by directing light onto the route, limiting spill toward windows, and using only the output and duration the task requires.
Products for your shade-lighting plan
Amazon disclosure: As an Amazon Associate I earn from qualifying purchases. We may receive a commission when you purchase through the paid links below.
Nanoleaf Solar Garden Lights, 2-Pack
An option to compare when you can place a separate panel in sun and the decorative lights nearby. Nanoleaf’s installation guidance describes a panel connected by cable and calls for direct sunlight. Measure the supplied cable route before ordering. These decorative lights are not a substitute for dependable step or entry lighting, and we have not tested their runtime in shade.
View Nanoleaf Solar Garden Lights on Amazon (paid link)
Komelon SL2825 Self Lock 25-Foot Tape Measure
Useful for checking the panel-to-light route and comparing fixture positions before installation. Measure around borders rather than across the walking surface. If you already own a suitable tape measure, use it instead.
View the Komelon SL2825 on Amazon (paid link)
Maintain the charging route as well as the light
Revisit the panel after plants grow, leaves fall, or outdoor furniture moves. Follow the manufacturer’s cleaning method and inspect accessible cables and connectors without modifying sealed parts. A separate panel that gradually becomes shaded can lose the very advantage you bought it for.
If performance changes, compare your notes before buying replacements. Has exposure changed? Is the mode different? Are all fixtures affected or only one? The solar path light troubleshooting guide gives a broader starting point. Use the current manual for battery and enclosure instructions.
Frequently asked questions
Will solar path lights charge in full shade?
A panel may receive some indirect light, but that does not establish useful nightly runtime. Deep shade is a poor basis for a dependable lighting plan. Compare the location with the specific manual, then consider a panel elsewhere or a different power source.
Can the lamp stay in shade if the panel is in sun?
Yes, when the system is designed with a separate panel. Check the supplied cable route, mounting instructions, and the light’s actual coverage. Keep the cable out of walking and maintenance routes.
How many hours of sunlight are enough?
Use the requirement for the exact model. Hours alone do not capture intensity, angle, interruptions, or season. Observe the site and verify performance through your needed operating period rather than applying one universal number.
Will a larger battery fix a shaded location?
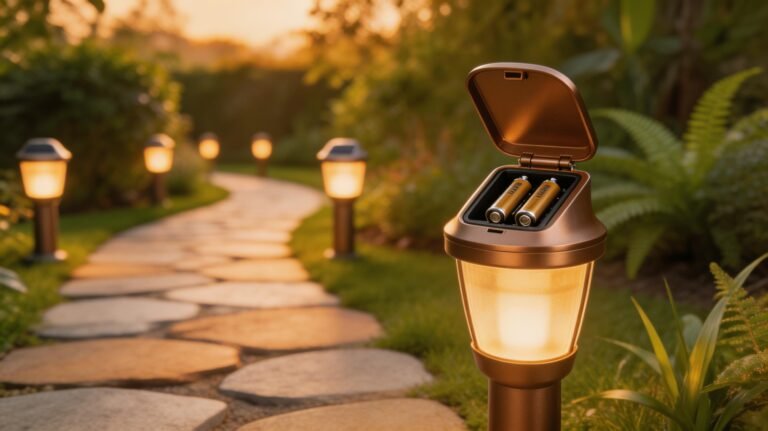
It does not create additional daily charging energy. Use only manufacturer-approved replacements with the correct specifications. First determine whether the problem is the location, operating mode, battery condition, or another fault.
Can I move integrated lights into sun every day?
You can follow the manual’s permitted use, but daily relocation adds work and can disturb the layout. Consider whether a separate-panel system or wired option would fit the routine better before purchasing several fixtures.
Should I buy more lights for a shaded walkway?
More fixtures do not improve the sunlight reaching each panel. Establish a workable power arrangement first, then choose spacing based on the light pattern and path. Avoid adding bright points that leave the important surface dark.
Watch a separate-panel setup tutorial
Nanoleaf’s official Solar Garden Lights tutorial introduces the product’s setup and controls. Use it alongside the manufacturer’s written instructions to understand the separate-panel arrangement. It is a manufacturer demonstration, not an independent test of shaded-yard performance.
Choose the charging location first
Which part of your path loses direct sun first? Put that location on your sketch. Before buying a full set, map one charging position, measure any cable route, and trial the smallest suitable arrangement through the hours you actually need. Let those observations decide the purchase.