Solar Lights in Winter: 7 Powerful Fixes for Dim Paths
Your path lights switch on at dusk, then disappear before you take the dog out. Solar lights in winter often run short because yesterday’s charge cannot cover tonight’s demand. Buying a larger battery first can leave you with exactly the same dark path and another receipt.
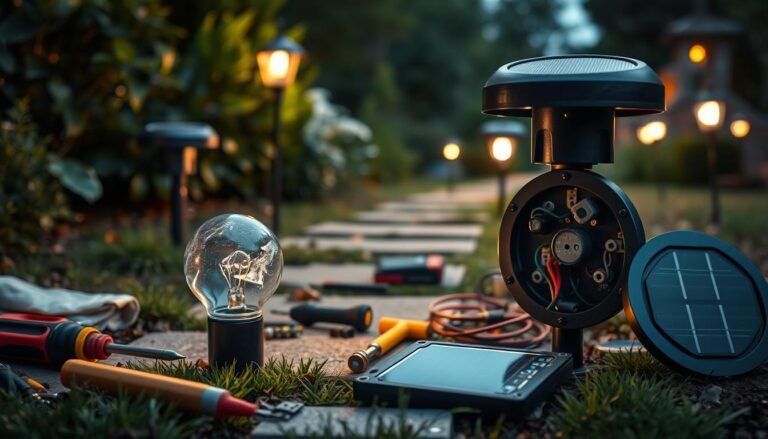
Start by comparing one weak light with one working light under the same charging conditions. Then check winter shade, panel obstruction, operating mode, battery compatibility and moisture. The seven checks below help you decide whether to reposition, repair, store or replace the fixture—and when solar is the wrong source for a route you must see reliably.
Affiliate disclosure: As an Amazon Associate, I earn from qualifying purchases through the product links below, at no extra cost to you.
Table of Contents
What to expect from solar lights in winter
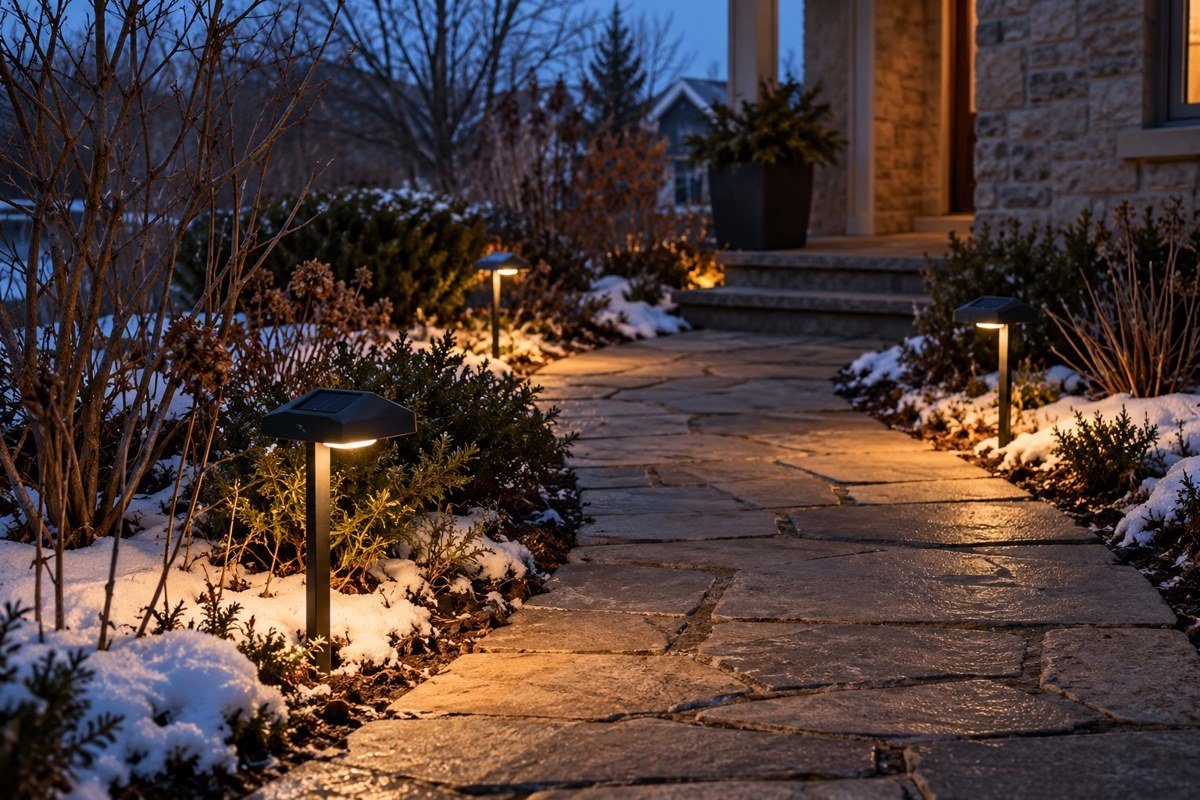
A light coming on is a much lower bar than a light illuminating your path until morning. Energy Saving Trust explains that photovoltaic panels still generate on cloudy days, but winter output falls with shorter days, cloudier weather and less intense sunlight. That principle applies to small garden panels; rooftop generation figures do not predict your particular stake light’s runtime.
Treat “up to 10 hours” as a conditional claim. Ask what sunlight, mode and battery condition produced it. A fixed-output light may stay bright and switch off abruptly; another may deliberately dim to stretch its reserve. Compare the usable light on your paving, rather than whether you can still see a glowing LED.
For solar lights in winter, choose a practical target before troubleshooting: perhaps the path needs useful light from 5 to 10 p.m. An entrance used at 6 a.m. needs a different solution. Check the actual surface at those times; a photograph with automatic night exposure can make a weak fixture look reassuringly bright.
1. Diagnose solar lights in winter with a paired test
Label a weak fixture A and a reliable fixture B. They should be the same model, with the same mode and similar battery age. Clean both panels, place both in the same unshaded outdoor position and allow the charging period specified in their manual. Keep them within the product’s temperature limits throughout.
At dusk, put them side by side where a porch light will not confuse their sensors. Note switch-on time, useful brightness after an hour and when each becomes too dim for the task. Repeat after another suitable charging day if conditions allow. This is a home comparison, not a laboratory capacity measurement.
Read the result before buying parts
If both recover, their original locations or recent weather probably limited charging. If only A remains weak, investigate its battery, contacts, switch and housing. If both perform poorly, the shared conditions or the model’s winter capability may be the constraint. Two cloudy days cannot prove that two batteries have failed.
A simple log makes solar lights in winter easier to judge. Record date, charging location, weather, mode, switch-on time and the last time the path was adequately visible. Change one thing per comparison. Replacing a battery while moving the light and changing its mode makes it impossible to tell which action helped.
If you own only one fixture, move it to an open charging position and compare its useful evening runtime before and after the move, keeping the mode unchanged. Solar lights in winter are harder to diagnose this way because weather changes between days. Keep several observations and avoid calling one good night proof that the repair will last. This also gives you a baseline for later solar light troubleshooting.
2. Follow the winter shadow across the panel
Check the panel in the morning, around solar noon and again in the afternoon. A place that looks open while you eat lunch may lose most of its useful charging window behind a fence. Bare branches, evergreen hedges and your roofline can matter more than the small distance between two stakes.
Low sun creates surprisingly long shadows. As a geometric example, a 6-foot fence casts a shadow about 16.5 feet long when the sun is 20 degrees above the horizon: shadow length equals height divided by the tangent of the solar elevation. That is an illustration, not a prediction for your garden; orientation, slope and time change the result.
Move an integrated fixture only if it still illuminates the path properly. With a separate panel, move the panel within the supplied cable’s reach and mounting instructions. In the Northern Hemisphere, an unobstructed southerly exposure is a useful starting point; reverse the direction in the Southern Hemisphere. Actual shade beats compass direction.
Our solar path lights in shade planning guide explains the separate-panel option. For solar lights in winter, avoid moving a stake into the walkway simply to catch sunlight. A charging improvement that creates a new obstruction is a poor trade.
3. Remove obstruction without damaging the panel
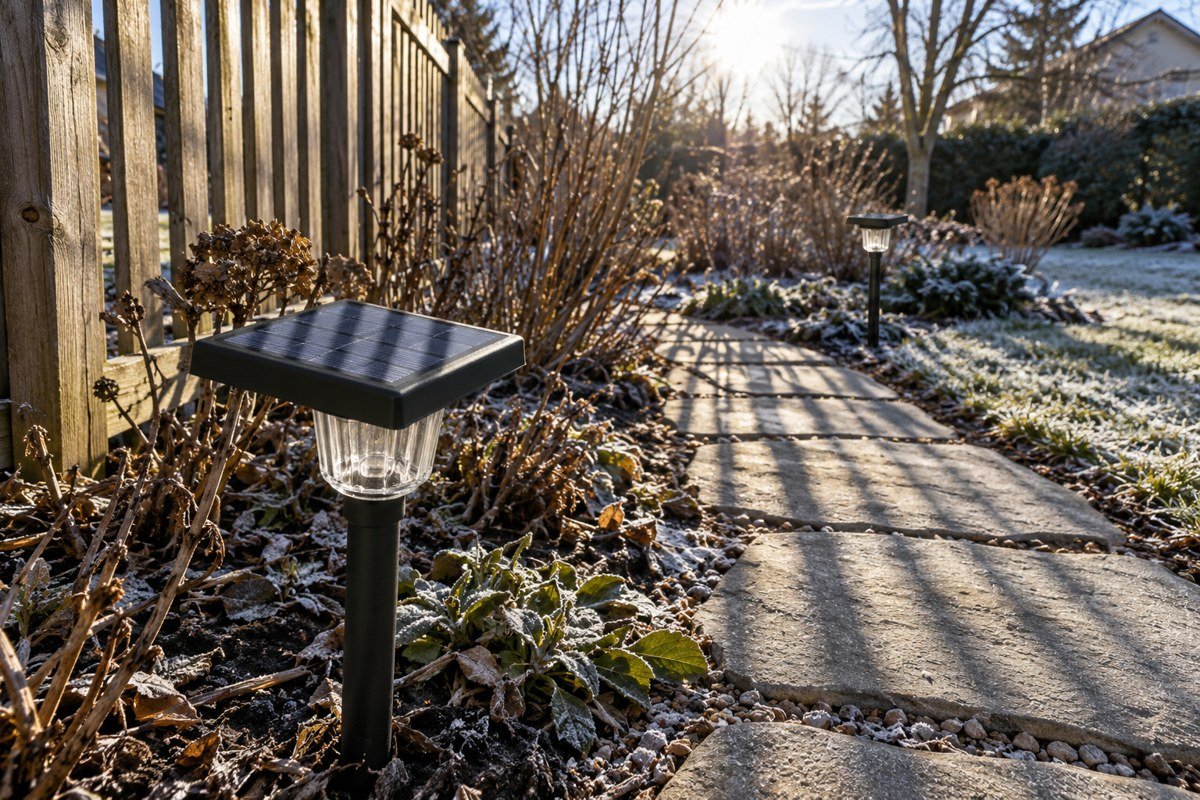
Leaves, bird droppings and a cap of snow can block a tiny panel’s collecting area. Inspect solar lights in winter after storms and leaf fall, rather than waiting for a monthly date. First remove loose debris gently; then follow the fixture’s cleaning instructions with a soft cloth and an approved cleaning method.
For this job, Amazon Basics Microfiber Cleaning Cloths, 24-pack are a practical reusable option. Keep one clean cloth for panels so grit picked up from paving does not scratch their surface; rinse trapped particles away before wiping.
Do not scrape ice with a screwdriver, pour boiling water onto a frozen cover or spray the assembly with a pressure washer. Let bonded ice release naturally unless the maker supplies a removal procedure. A cracked cover can turn a charging problem into water damage. Do not polish a cloudy coating with an abrasive car product without explicit manufacturer approval.
After cleaning, compare performance following suitable daylight. If the panel remains yellowed, cracked or delaminated, ask about a replacement head or panel. Cleaning cannot reverse damaged material. Keep the distinction clear: dirt is removable; an ageing encapsulant may no longer transmit light adequately even when its surface feels clean.
4. Reduce the nightly load before increasing capacity
Select the lower output or shorter-duration mode if the light offers one and the result still suits the path. Solar lights in winter have a daily energy budget: the panel must replace what the LED and electronics use. A bigger battery adds storage room; it does not enlarge the day’s harvest.
A worked energy budget for solar lights in winter
Consider an illustrative fixture with a 0.5-watt panel. Assume it receives the equivalent of two hours at rated output and 60% of that energy reaches useful storage. The calculation is 0.5 × 2 × 0.60 = 0.60 watt-hours. These are stated assumptions, not measured specifications for a recommended product.
If the light and electronics average 0.10 watt, that stored energy supports roughly six hours before further limitations. At 0.20 watt, it supports roughly three. Real charging, battery cutoffs, temperature and dimming alter the outcome. The calculation explains why turning brightness down can matter more than replacing a healthy cell with a higher-capacity one.
A motion mode can reduce full-output time, but check whether its dim background light reveals the path between activations. Repeated triggers from a busy pavement can consume much of the saving. Use our motion-sensor lighting guide to decide whether that behavior matches how people approach your entrance.
For solar lights in winter, record the selected mode in your test log. Do not compare one night on low with another on high and conclude the weather improved. Keep essential visibility as the target; extending a barely visible glow is not a useful repair.
5. Check battery chemistry, fit and charging limits
Switch the light off before opening a user-serviceable battery compartment. Read the old cell’s chemistry, voltage, dimensions and capacity, then check the manual’s replacement specification. Photograph the polarity before removal. Similar-looking cylindrical cells can have very different voltages; physical fit alone does not establish compatibility.
For a fixture approved for a 1.2-volt AA NiMH cell around 1000 mAh, consider Tenergy Solla AA 1000 mAh rechargeable batteries. Their stated specification matches that particular use; they are not a universal upgrade for lithium-powered lights or for fixtures requiring another capacity or chemistry.
For a compatible smaller compartment, Tenergy Solla AAA 600 mAh rechargeable batteries provide a separate size option. Choose them only when the fixture permits that specification; an AAA cell is not an AA substitute, even if you can improvise an adapter.
For context, Tenergy’s AA product specifications list 1.2 volts and 1000 mAh. That is nominally 1.2 watt-hours, calculated as volts × amp-hours. Available energy at the LED will be lower and depends on discharge conditions. The label does not promise any particular winter runtime.
Cold-weather discharge capability and cold-weather charging permission are different specifications. As an example of that distinction, Victron’s Lithium Battery Smart manual permits discharge from −20°C but charging only from +5°C. Those limits belong to that battery system, not your garden light. Find your own model’s limits instead of borrowing another manufacturer’s numbers.
With solar lights in winter, never substitute disposable alkaline cells into a charging circuit or bypass a temperature cutoff. If external charging is allowed, use the charger specified for that chemistry and let a cold battery reach the permitted charging temperature naturally. Do not heat it on a radiator or open a sealed pack.
Keep a separate record of battery changes for solar lights in winter: fixture label, installation date and the exact replacement specification. That prevents a future mix-up when several similar lights use different cells. When comparing the cost of solar light batteries with replacement fixtures, include a damaged gasket or panel in the repair estimate. A cheap cell is good value only when the rest of the assembly remains usable.
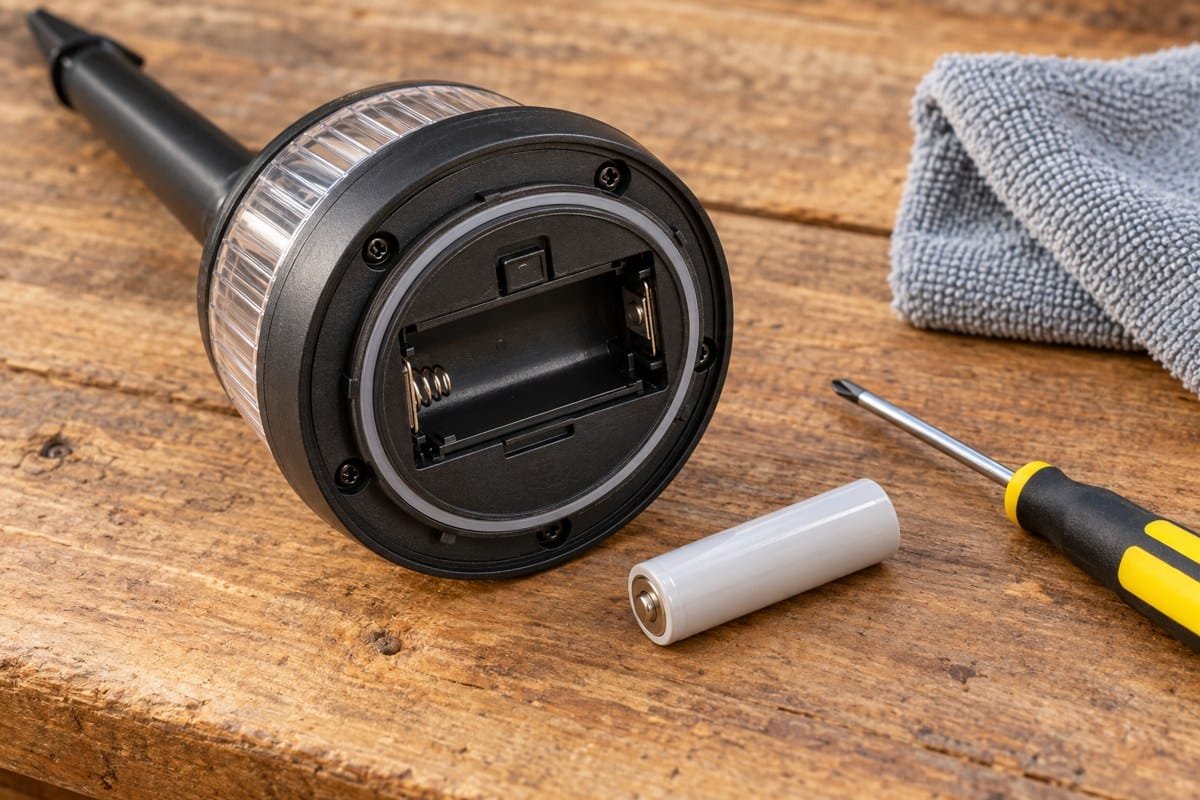
Tenergy’s short video below shows basic solar garden-light battery checks. It is manufacturer guidance with a commercial interest, useful for seeing the process; your fixture’s manual remains the authority on opening, charging and replacement.
6. Separate moisture and sensor faults from low charge
A light that stays dark beside a bright porch lamp may be interpreting the surroundings as daytime. After the specified charge, use the manual’s darkness test—often covering the panel or sensor briefly. If it lights during that test but not in position, investigate competing light before buying a battery.
Check solar lights in winter for a cracked lens, standing water, a displaced gasket or corroded contacts. Do not treat an ingress rating as a guarantee against every situation. Snowmelt, a flooded planting bed and a sprinkler spraying a damaged seal present different conditions from ordinary rain.
If water reaches the battery compartment, stop operating the fixture and follow the maker’s service instructions. Do not charge a wet assembly. A swollen, leaking or damaged battery belongs in the appropriate local battery collection process, not in a charger. Avoid sealing drainage openings or coating every seam with silicone; you can trap moisture and obstruct service access.
Our rain-related troubleshooting checks cover that branch in more detail. For solar lights in winter, visible ingress is a separate fault to resolve before another charging comparison. A sunny day cannot repair a broken seal.
7. Choose repair, winter storage or dependable backup
Keep solar lights in winter when they operate within their temperature rating and meet the hours you need after representative weather. Replace a serviceable cell when the controlled comparison points to the battery and the housing remains sound. Replace the fixture when damaged construction makes a successful repair unlikely.
Store decorative lights when the manufacturer’s limits or persistent snow make outdoor operation unsuitable. Follow our winter storage instructions for the cleaning, drying and battery-care questions. Switching a light off does not always mean its panel still charges: switch behavior varies by circuit, so check the manual.
For a regularly used step, entrance or uneven route, add suitable wired or independently powered lighting when winter solar performance is inconsistent. Position it to reveal the surface without glare. Solar markers can still outline garden beds, but an early-evening success does not establish dependable visibility for a late return home.
Before buying winter solar lighting, look for a downloadable manual rather than relying on the listing photographs. For solar lights in winter, useful details include battery chemistry, replacement access, panel dimensions or wattage, operating modes and distinct temperature limits. Ask the seller to clarify missing specifications. If those answers remain vague, buy a small trial quantity rather than equipping the whole driveway at once.
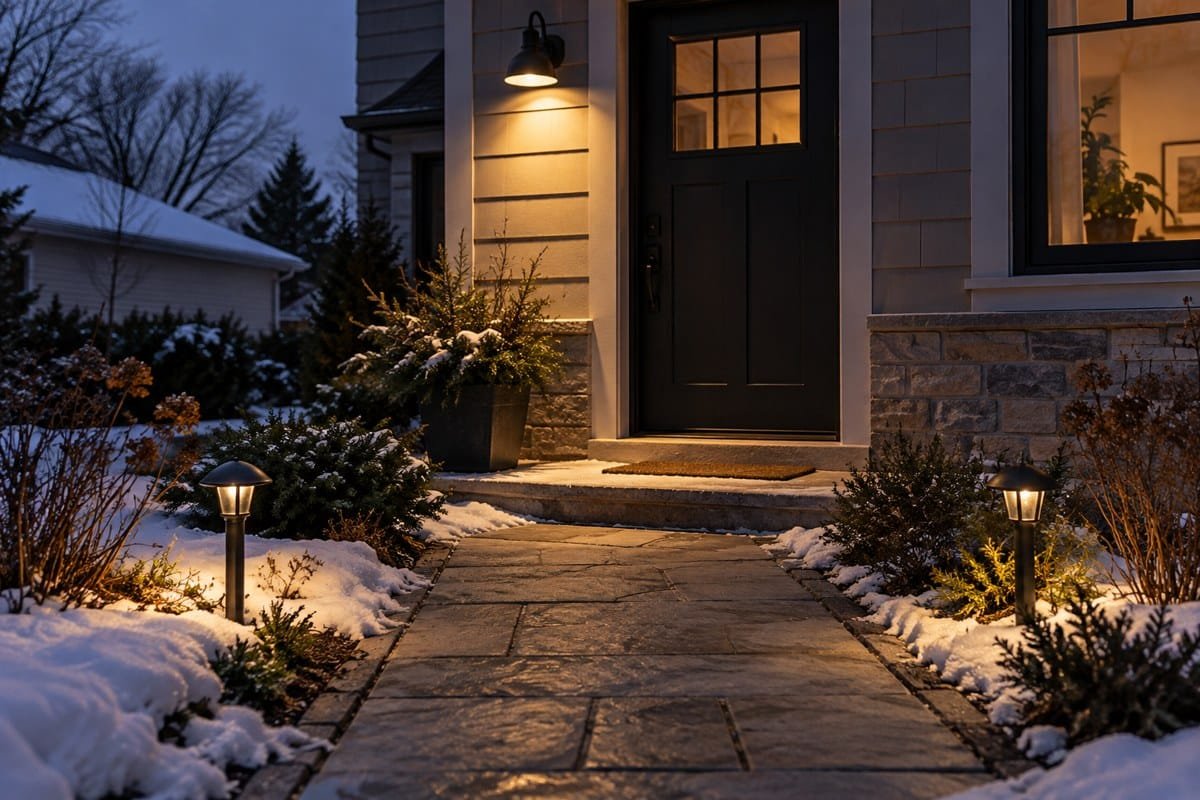
The best outcome for solar lights in winter is a clear decision after a fair comparison. Keep the fixtures that meet your actual schedule, repair the ones with an identifiable serviceable fault and stop spending on models whose charging location cannot support the job. Repeat the visibility check after the next run of dull weather.
Questions homeowners ask about solar lights in winter
Do solar lights work in winter without direct sunlight?
They can collect energy from diffuse daylight, but a heavily shaded panel may not store enough for useful evening light. Compare performance in an open outdoor position before deciding the battery is faulty.
Why do solar lights in winter turn off early?
Shorter charging days and seasonal shade can leave less stored energy for a longer night. Check panel obstruction and operating mode, then compare two identical fixtures under the same charging conditions.
Can you leave solar lights outside in freezing weather?
Only within the fixture and battery manufacturer’s stated limits. Check charging and discharge temperature ranges separately, keep panels clear and follow the storage instructions if the product is unsuitable for your conditions.
Should I switch off solar lights in winter to recharge?
Check the manual. Some circuits charge with the light switched off, while others require the switch on. Do not assume that leaving a fixture off for several days will recharge its battery.
Will a higher-mAh battery make solar lights last longer?
Only when the fixture permits it and the panel can replenish the energy used. More capacity does not produce more daily charge. Match chemistry, voltage and physical size before considering capacity.
Can I charge solar garden lights indoors in winter?
Use an approved USB input or remove user-replaceable cells for a compatible charger only if the manual permits it. Ordinary room lighting is not a dependable substitute for outdoor solar charging. Never charge a wet or damaged battery.